Why Tree Roots Become a Problem
After cutting down a tree, the stump and the underground root system remain. These remnants can create serious issues for your yard, driveway, and even your home’s foundation. Roots spread far beyond the trunk. They can invade water lines, crack patios, lift sidewalks, and create tripping hazards. Many homeowners face the challenge of dealing with these underground networks. You have options. You can hire a professional or handle the job yourself. The three safe and efficient approaches below will help you kill tree roots without damaging the surrounding landscape or risking your safety.
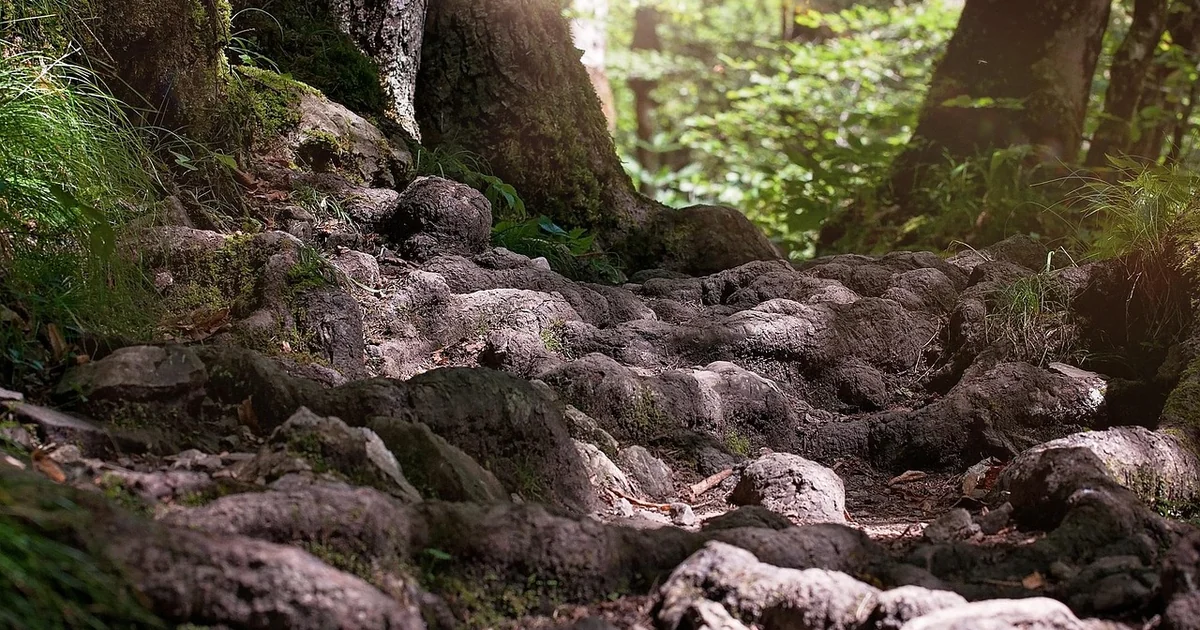
Tree roots that grow where they are not wanted cause real damage. They push through underground pipes, crack concrete slabs, and make lawn maintenance dangerous. Large surface roots can ruin mower blades and cause people to trip. When you want to start a landscaping project or simply clear an area, removing those roots becomes essential. The methods you choose depend on how much time and physical effort you want to invest.
Method 1: Manual Digging and Cutting
Digging is the fastest way to get rid of unwanted roots. It requires physical labor, but the results are immediate. This method works best when you have already removed the stump or plan to remove it at the same time. You will need a few basic tools: a shovel, a pry bar, a hand saw or chainsaw, and possibly a mattock or axe. The more roots you expose and cut, the quicker the process goes.
Step-by-Step Digging Process
Start by locating any underground utility lines in the area. Call your local utility marking service before you dig. Once you know it is safe, use a shovel to dig a trench around the stump or the main root you want to remove. Loosen the soil around the roots. Use a pry bar to lift the roots upward. Cut through large roots with a saw or loppers. Follow the length of each root, prying it up as you go. Continue digging and cutting until you can pull the root sections out of the ground.
For very long roots, cut them into smaller pieces. This makes removal much easier. After you extract the roots, fill the hole with dirt, rocks, or natural debris. The ground will settle over time, so add a little extra fill. Manual digging requires effort, but it gives you complete control. No chemicals enter the soil, and no waiting is needed. You see the results the same day.
Cutting Without Digging
If you do not want to dig out every root completely, you can cut them at intervals. Trace the root from the stump outward. Dig around the root to create space for your cutting tool. Then cut through the root at several points along its length. This method is less physically demanding than full excavation. However, the cut sections left in the ground will take months or even years to decay naturally. If you plan to plant grass or flowers in that spot soon, digging out the cut pieces is the better choice.
Cutting roots can be a good option when the roots are very thick and digging seems overwhelming. You reduce the root system’s ability to send up new shoots. Over time, the remaining wood rots and becomes part of the soil. But be patient. Decomposition happens slowly, especially with dense hardwood roots.
Method 2: Using Salt to Kill Roots
Applying salt is one of the most effective non-labor-intensive ways to kill tree roots. Both rock salt and Epsom salt work, but they function differently. Rock salt encourages a fungus to grow that speeds up decay. Epsom salt draws moisture out of the root, drying it out and causing it to break down. The process takes several months, so do not expect overnight results. However, once the salt does its job, the roots become brittle and easy to remove.
Why Salt Works
Salt disrupts the water balance within plant cells. When you drill holes into a root and fill them with salt, the salt draws moisture out of the living tissue. The root cannot transport nutrients or water anymore, and it begins to die. Rock salt also promotes fungal growth, which accelerates the rotting process. Epsom salt is a bit gentler on the environment because it contains magnesium and sulfur, which are plant nutrients in small amounts. But in high concentrations, both salts can harm surrounding soil and plants. Use them carefully.
How to Apply Rock Salt
Drill several holes into the exposed root. Space the holes a few inches apart. Use a drill bit that is about half an inch wide. Fill each hole completely with rock salt. Cover the root with a thin layer of soil, then add mulch on top. Water the area well and keep it moist. The moisture helps dissolve the salt and carry it into the root. Over the next few weeks, the root will begin to show signs of decay. Check the root monthly. When it feels soft and spongy, you can dig it out easily.
How to Apply Epsom Salt
Epsom salt works similarly. Drill holes into the root, fill them with Epsom salt, and then cover the root with a black tarp. The tarp blocks sunlight and traps moisture, which helps the salt penetrate deeper. Keep the tarp in place for at least two to three months. After that, lift the tarp and check the root. If it is still firm, reapply salt and wait another month. Epsom salt tends to be slower than rock salt, but it is less likely to create a long-term salt buildup in the soil.
A word of caution: all salts can remain in the ground and affect future plant growth. If you plan to replant the area, consider using Epsom salt in moderation. You may need to flush the soil with plenty of water after removing the dead root to reduce salt concentration.
You may also enjoy reading: 7 Reasons Hummingbirds Like Petunias.
Method 3: Starving Roots with a Tarp and Fertilizer
This method denies the roots oxygen and adds nitrogen to speed up decomposition. It is one of the easiest ways to kill tree roots with minimal physical effort. All you need is a black tarp, high-nitrogen fertilizer (like ammonium nitrate or urea), and patience. The process takes several months, but it requires almost no work after the initial setup.
How Oxygen Starvation Works
Tree roots need oxygen to survive and actively grow. When you cover a root with a black tarp, you cut off its air supply. The tarp also traps heat and moisture, creating an environment that encourages fungal and bacterial activity. Adding high-nitrogen fertilizer provides food for those microorganisms. They break down the root tissue faster than natural decay. Over time, the root becomes soft, brittle, and easy to remove.
Step-by-Step Tarp and Fertilizer Method
First, drill several holes into the root. Make them about an inch deep and half an inch wide. Fill each hole with high-nitrogen fertilizer. You can also sprinkle a layer of fertilizer on the soil around the root. Then cover the entire root area with a thick black tarp. Secure the edges with rocks, bricks, or landscape staples. The tarp must stay in place for several months. Check underneath periodically to see how the root is breaking down. Once the root feels crumbly, you can dig it out with a shovel or simply break it apart by hand.
The biggest advantage of this method is its simplicity. You set it up once and then forget about it for a few months. There is no need to dig, saw, or apply harsh chemicals. However, the tarp can look unsightly. If the area is in a visible part of your yard, you might want to cover the tarp with a thin layer of mulch or wood chips. Just make sure the tarp remains intact and in direct contact with the root.
Which Method Is Right for You?
Choosing between these three approaches depends on your timeline, physical ability, and environmental concerns. If you need results quickly and are willing to work, manual digging is the best choice. If you prefer a hands-off approach and do not mind waiting, try the salt or tarp method. Both are safe when done correctly. Remember that any method that kills roots will also affect the tree if it is still alive. If you want to keep the tree, consult an arborist before taking action.
All three methods are considered safe for the average homeowner. They do not involve toxic herbicides that can drift and harm nearby plants or wildlife. The focus is on mechanical removal, salt application, or oxygen deprivation. Each approach has its own set of precautions, but none require specialized training.
When to Call a Professional
There are situations where DIY root removal is not advisable. If the roots are tangled with underground utilities such as water lines, septic systems, or gas pipes, digging or drilling could cause a major problem. In these cases, hire a licensed professional who can safely cut or grind the roots without damaging the infrastructure. Similarly, if roots have already caused significant damage to your home’s foundation or a large concrete slab, a professional assessment is necessary. They can determine whether root removal alone is sufficient or if structural repairs are also needed.
The average cost of professional tree root removal is around $550, with a typical range of $300 to $800. Some companies offer stump grinding that includes root removal for an additional fee. If the root system is extensive or located near a structure, spending the money on a professional may save you from costly mistakes.