Drip irrigation looks like a job for a professional landscaper, but the reality is far simpler. I recently helped a neighbor set up a system for their vegetable beds. My earlier experience with a complicated sprinkler install made me nervous. This time was totally different. The entire project cost about seventy-five dollars and took just a few hours from start to finish. No special tools or plumbing experience were needed. We simply connected everything to an ordinary outdoor spigot. The result was a watering system that uses roughly fifty percent less water than a standard sprinkler setup. If you have been putting off this upgrade, know that it is genuinely one of the easiest home improvement tasks you can tackle.
5 Steps to Install a Drip Irrigation System
Now it is time to get your hands dirty. Follow these five steps to install drip irrigation in your own yard. The entire process can be completed in a single afternoon.
Step 1: Gather Your Components and Plan the Layout
Begin by assembling all the parts. Lay the main tubing out in the sun for a few minutes to make it more flexible. Measure the distance from your spigot to the farthest plant. Your kit likely comes with fifty or one hundred feet of tubing, but you can buy extra lengths if needed. Sketch a rough map of your garden, noting where each plant sits. This will help you decide where to place emitters and how much branching tubing you need.
Consider the water pressure and flow rate. Most residential spigots deliver between five and ten gallons per minute. A drip system with many emitters might exceed that capacity. Calculate the total flow by adding up the gallons per hour of each emitter. If the total exceeds your spigot’s capacity, you will need to run multiple zones or use lower-flow emitters. This planning step is often overlooked, but it prevents the disappointment of a system that starves the far plants.
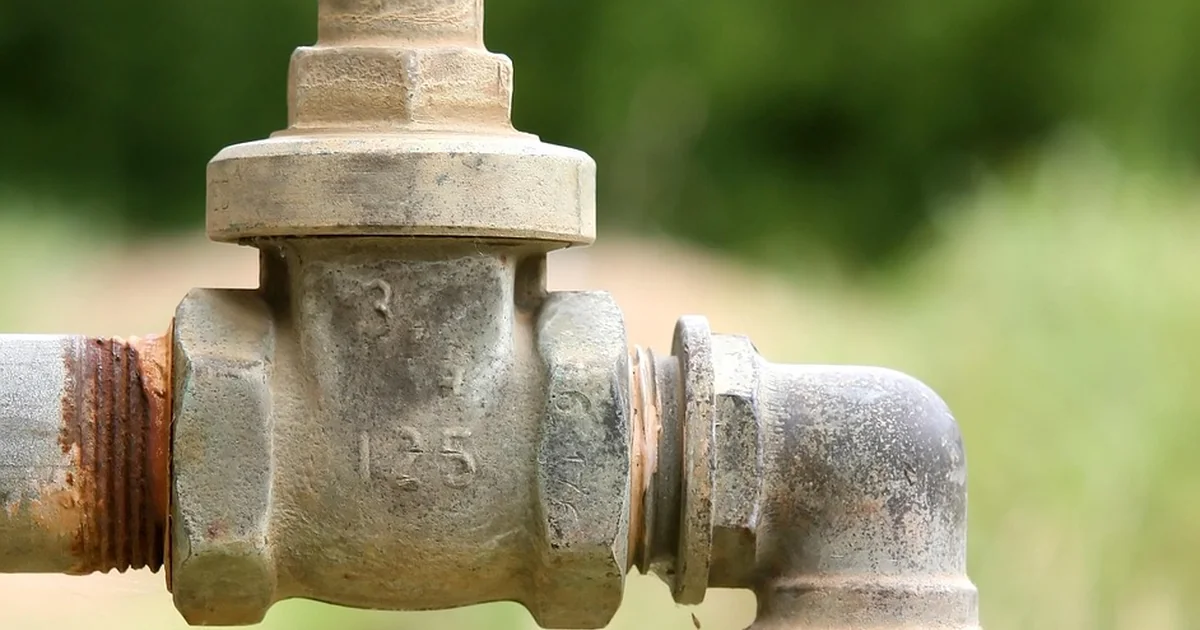
Step 2: Connect the Timer and Backflow Preventer to the Spigot
Start at the spigot. If you are using a timer, screw it directly onto the outdoor faucet. Wrap Teflon tape around the threads to create a watertight seal. Next, attach the backflow preventer to the timer. Then add the filter after the backflow preventer. Then thread on the pressure regulator. Finally, attach the drip adapter. Hand-tighten each connection; you do not need a wrench. Tighten just enough to stop leaks, but avoid overtightening which can crack plastic parts.
One common mistake is forgetting to leave room for the timer to open and close. Ensure the spigot handle and timer control are accessible. If your spigot is in a tight spot, consider using a brass swivel connector to angle the timer sideways. Test the connections by briefly turning on the water at the spigot. Check for drips at each joint. Correct any leaks before moving to the next step.
Step 3: Lay Out the Main Tubing and Connect the Adapter
Take the half-inch main tubing and push one end firmly onto the barbed drip adapter. Some kits require you to heat the tubing in hot water for a few seconds if it is too stiff. Once connected, unroll the tubing along your planned path. Use plastic ground stakes every few feet to keep it in place. Cut the tubing at the end of the line, leaving a few extra inches for adjustments.
If your garden has multiple rows or sections, you can insert tee fittings to create branches. This allows you to run separate lines to different areas from the main supply. Each branch should have its own valve or gooseneck to control flow. Keep the tubing buried under a light layer of mulch or soil to protect it from sun damage and accidental tripping. However, do not bury it deeper than a few inches, or you will have trouble accessing it later for repairs.
Step 4: Install Emitters and Branch Tubing at Each Plant
Now comes the detailed part. For each plant, punch a small hole in the main tubing using the hole punch tool that comes with the kit. Insert a barbed connector or a pre-assembled emitter directly into the hole. If the plant is far from the main line, run a length of quarter-inch tubing from the connector to the plant base. Push the emitter onto the end of the quarter-inch tube. Drip emitters come in fixed flow rates or adjustable types. For most vegetables and flowers, one or two emitters per plant delivering half a gallon per hour is sufficient. For larger shrubs or trees, use two to four emitters with higher flow.
Position each emitter within the root zone—usually six to twelve inches from the stem. Secure the tubing with small ground stakes to keep it in place. Avoid placing emitters directly against the stem, which can rot the plant tissue. If you have a vegetable garden with rows of lettuce or carrots, you might prefer drip tape: a flat tube that weeps along its entire length. Drip tape works well for closely spaced crops and can be cut to fit each row.
A tip to prevent clogging: flush the system before installing all emitters. Run the water for a minute with the end of the main tubing open to wash out any debris. Then cap the end and install the emitters.
Step 5: Test the System and Make Adjustments
Turn on the water at the spigot and set your timer to run for five minutes. Walk along each line and watch the emitters. Every emitter should produce a slow, steady drip. If you see a jet of water, the pressure is too high (check your pressure regulator). If an emitter does not drip at all, it may be clogged or the tubing may be kinked. Straighten any bends and flush the emitter by pinching the tubing near it.
Adjust the placement of emitters if water is pooling or missing a plant. For sloped gardens, run the tubing perpendicular to the slope rather than downhill. This helps maintain even flow. After the first few watering cycles, dig down a couple of inches around a few plants to ensure the soil is moistening deep enough. The goal is to wet the root zone without creating runoff. You may need to increase or decrease watering duration to match your soil type and climate.
You may also enjoy reading: 7 Secrets to Get Biggest Sweet Potato Crop.
If you notice that plants at the far end of the line are not getting enough water, you may have a pressure drop. Solutions include shortening the run, using larger diameter tubing, or adding a pressure-compensating emitter that maintains a constant flow regardless of pressure changes.
Common Problems and How to Avoid Them
Even a straightforward install drip irrigation project can hit snags. One frequent issue is emitter clogging. Hard water deposits or tiny sediment particles can block the small openings. Using the filter from the start is essential. Also, consider installing a flush valve at the end of the main line so you can open it occasionally to clear debris.
Another problem is that animals sometimes chew through the tubing. Squirrels and rodents are attracted to the taste of the polyethylene. To deter them, bury the tubing under mulch or use a repellent spray. You can also wrap vulnerable sections with metal tape.
Freeze damage is a concern in cold climates. Before winter, disconnect the timer and backflow preventer and drain the entire system. Store the components indoors. Blow compressed air through the tubing to remove lingering water, or simply run the system for a few minutes with the end open to let water drain out.
Finally, avoid mixing different brands of fittings. Even though most drip parts use standard sizes, slight variations can cause leaks. Stick with one manufacturer’s kit for compatibility. If you need to expand later, buy the same brand or use universal adapters.
Maintaining Your Drip Irrigation System
A drip system requires minimal upkeep, but a little attention extends its life significantly. Every few weeks during the growing season, check the filter and rinse it clean. Inspect the emitters for clogs and pinch them to dislodge particles. Once a year, replace the batteries in the timer and lubricate the O-rings with silicone grease. After a few seasons, some emitters may need replacement, but the tubing itself can last many years if protected from UV rays. Cover exposed tubing with mulch or paint it with UV-resistant coating.
If you notice water pooling in one area, the emitter may be damaged or the tubing may have a crack. Repair kits with couplers and extra tubing are inexpensive to keep on hand. With regular checks every couple of months, your drip system should deliver consistent, efficient watering for at least five to ten years.
Taking the time to install drip irrigation transforms the chore of watering into a set-it-and-forget-it convenience. Your plants will thrive with consistent moisture at their roots, you will save water and money, and you will reclaim hours of your weekend. The whole project costs less than a dinner out for a family and takes an afternoon of simple assembly. Over the next season, you will wonder why you did not do it sooner.


