From Seed to Salad: Following the Cucumber Growth Stages
A cucumber vine’s journey from a tiny seed to a crisp, ready-to-pick fruit is a fascinating process that spans roughly 50 to 70 days. When you know what to look for, you can water smarter, fertilize at the right moment, and spot trouble before it slows your harvest. Let’s walk through all seven phases of development so you can grow a thriving crop this season.
Stage 1: Seed Germination
Every cucumber plant begins as a dormant seed waiting for warmth and moisture. During this first phase, the seed absorbs water through its outer shell and activates enzymes that break down stored starches into energy. This process, called imbibition, typically takes three to 10 days depending on soil temperature. Cucumber seeds germinate fastest when the soil sits between 70 and 95 degrees Fahrenheit. Anything below 60 degrees delays sprouting significantly and can lead to rot before the seedling ever emerges.
Plant your seeds about half an inch deep in loose, well-drained soil enriched with organic matter. Press the soil gently over the seed so it makes good contact without being compacted. Full sunlight is essential even at this early stage. If you start seeds indoors, place them under a grow light or on a sunny windowsill. Outdoors, wait until all frost danger has passed and the soil has warmed naturally. Cold soil is the number one reason home gardeners lose cucumber seeds during germination.
A useful benchmark to remember: at 70 degrees Fahrenheit, roughly 80 percent of viable cucumber seeds will sprout within seven days. This first cucumber growth stage sets the foundation for everything that follows, so pay attention to temperature and moisture levels right from the start.
Stage 2: Seedling Emergence and Cotyledon Development
Once the seed cracks open, a tiny root pushes downward while a small stem reaches upward toward the light. Within a day or two of breaking the soil surface, you will see two small, rounded leaves called cotyledons. These seed leaves look nothing like the true cucumber leaves that appear later. Their job is to catch sunlight and produce energy for the young plant while the root system continues to establish itself underground.
During this phase, the plant is extremely vulnerable. The stem is thin, the roots are shallow, and any sudden stress can stall growth permanently. Water gently around the base of the seedling rather than overhead. Heavy droplets can flatten the tiny plants or splash soil onto the cotyledons, which invites fungal disease. A fine mist or a slow trickle from a watering can works well.
Between 10 and 14 days after the cotyledons appear, you will notice the first true leaves emerging. These leaves have the familiar serrated edges and slightly rough texture that cucumber plants are known for. Once your seedling has at least two sets of true leaves and stands about four inches tall, it is ready for transplanting if you started it indoors or for thinning if you direct-seeded multiple plants in one spot. Leaving seedlings crowded together forces them to compete for light, water, and nutrients, so give each one enough personal space from this cucumber growth stage onward.
Stage 3: Vegetative Growth — Leaves and Vines
After the seedling establishes itself, growth accelerates noticeably. Within a few weeks, the main stem thickens, the leaves expand rapidly, and side vines begin to branch out. Each new leaf emerges with a slightly serrated edge and a coarse texture that helps the plant manage water loss through transpiration. The vine may start to sprawl across the ground or reach upward if it finds a trellis, stake, or fence to climb.
During this period, the plant’s energy goes entirely into building vegetative mass. This is the time when the leaf canopy grows dense enough to shade the soil below, which helps retain moisture and suppress weeds. However, dense foliage also traps humidity around the base of the plant, which is why watering technique matters so much at this stage. Direct water toward the root zone rather than spraying the leaves. Wet foliage, especially in the evening, creates ideal conditions for powdery mildew and downy mildew to take hold.
Cucumbers are considered heavy feeders, but during this vegetative phase they benefit most from a balanced fertilizer with equal parts nitrogen, phosphorus, and potassium. Too much nitrogen pushes excessive leaf growth at the expense of flowers and fruit later on. A slow-release granular fertilizer mixed into the soil at planting time provides a steady supply without the risk of overdoing it. If you prefer liquid fertilizers, apply a half-strength solution every two weeks until the flower buds appear.
The root system expands significantly during this third cucumber growth stage. Roots can reach 36 to 48 inches deep in loose soil, though most of the active feeding roots stay within the top 12 inches. Mulching around the base with straw, shredded leaves, or untreated grass clippings keeps the root zone cool and consistently moist, which the plant appreciates on hot afternoons.
Stage 4: Flower Bud Formation
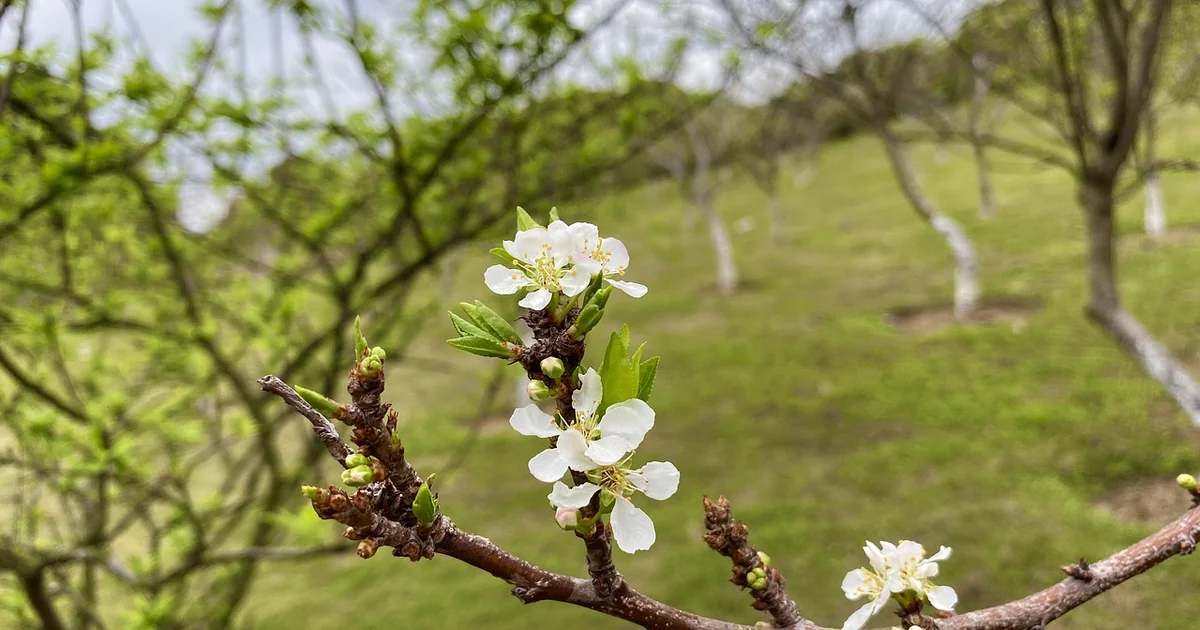
Roughly four to six weeks after planting, depending on the variety and growing conditions, you will notice bright yellow flower buds forming at the leaf nodes. These buds appear in clusters over the course of about two weeks. Male flowers typically emerge first. Their job is to attract bees and other pollinators to the area so that when the female flowers open a few days later, pollination happens quickly and efficiently.
You can tell the difference between male and female flowers by looking at the base. Male flowers grow on a thin, straight stem. Female flowers have a small swollen structure behind the petals that looks like a tiny cucumber. That swelling is the ovary. If pollination succeeds, this ovary will swell further and develop into a full-sized fruit. If pollination fails, the tiny cucumber will turn yellow and drop off the vine.
Some cucumber varieties are parthenocarpic, meaning they set fruit without pollination. These types produce seedless cucumbers and are excellent choices for greenhouse growing or for gardeners who notice low bee activity in their area. Check the seed packet or plant tag to see if your variety has this trait. If you are growing standard slicing or pickling cucumbers that require pollination, consider planting pollinator-friendly flowers nearby to attract bees. Borage, lavender, and marigolds work well for this purpose.
During this fourth cucumber growth stage, the plant’s nutrient demands shift. Apply a fertilizer higher in phosphorus and potassium once the first flower buds appear. Phosphorus supports flower development and fruit set, while potassium helps the plant manage water movement and disease resistance. Stop using high-nitrogen fertilizers at this point to avoid encouraging leafy growth when the plant should be focusing on reproduction.
Stage 5: Pollination and Fruit Set
Once the female flowers open, the window for successful pollination is narrow. Each female flower remains receptive for only one day. Bees typically visit cucumber flowers in the morning hours when the blooms are fully open and nectar production is highest. A single bee may visit dozens of flowers in one foraging trip, transferring pollen from male to female blooms as it moves through the patch.
If you notice plenty of flowers but few developing cucumbers, poor pollination is often the cause. Cool weather, rain, high winds, or low bee activity can all interfere with pollen transfer. You can step in as a backup pollinator yourself. Take a small, clean paintbrush or a cotton swab and brush it gently across the center of a male flower to gather the yellow pollen grains. Then transfer that pollen to the center of a female flower. Repeat this process each morning for several days to ensure as many female flowers as possible get pollinated.
Temperature plays a critical role during this stage as well. Pollen viability drops sharply when daytime temperatures exceed 90 degrees Fahrenheit. At the same time, nighttime temperatures below 50 degrees can cause flower drop and poor fruit set. Providing shade cloth during extreme heat waves and using row covers on unusually cool nights can help buffer the plants against these temperature swings.
Once a female flower is successfully pollinated, the tiny cucumber at its base begins to enlarge. Within a few days, the petals will wither and fall off, leaving the young fruit attached to the vine. This is the moment when your plant transitions from flower production into fruit development, and your watering and feeding routine needs to adjust accordingly.
Stage 6: Fruit Development and Swelling
During this stage, the visible change happens fast. A cucumber fruit can double in size every 24 to 48 hours under ideal conditions. The small, pale green nub behind the flower quickly elongates into a recognizable cucumber shape. The skin darkens, the texture firms up, and the internal seeds begin to mature. This rapid expansion places heavy demands on the plant’s water and nutrient reserves.
Keep the soil consistently moist during fruit development. In hot weather, you may need to water once daily. When temperatures are moderate, watering every other day is usually sufficient. Aim for about one to two inches of water per week, including rainfall. The soil should feel damp to the touch about an inch below the surface but never soggy. Overwatering at this point leads to mushy fruit, yellowing leaves, and a sour smell around the root zone.
Fertilize once per week with a phosphorus-rich formula during this cucumber growth stage. A water-soluble fertilizer applied alongside your regular watering routine provides a quick boost that the plant can use immediately. Potassium also plays a key role here because it influences fruit firmness and helps the plant regulate water use as the cucumbers swell. If you see fruit that is misshapen, narrow at the stem end, or curving oddly, inconsistent watering or nutrient imbalance is usually the cause.
Some gardeners notice that the first few cucumbers on the vine grow slowly or remain small. This often happens when the plant is still allocating energy to root and vine expansion. Once the vine reaches its full size, fruit production typically accelerates. Pinching off the first one or two fruits can encourage the plant to channel more energy into vine growth and later yield a heavier total harvest.
Stage 7: Harvest Maturity and Extended Picking
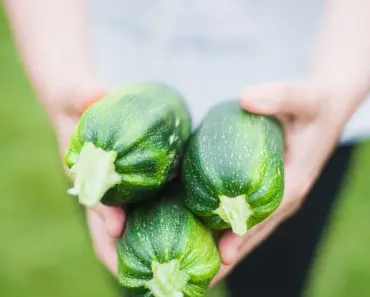
Cucumbers are ready to pick within eight to 10 days after the tiny fruit first emerges from the blossom. The exact timing depends on the variety and your personal preference for size. Slicing cucumbers are usually harvested at six to eight inches long. Pickling cucumbers are taken earlier, typically at two to four inches. Check the description on your seed packet for the mature length of your specific variety.
You may also enjoy reading: Experts Say: 5 Ways to Stop Lawn Grubs Before They Destroy Grass.
A ready cucumber feels firm to the touch and has a deep, even color. For most slicing varieties, that color is a rich dark green. Some specialty types may be yellow, white, or striped at maturity. Gently cut the stem about half an inch above the fruit with pruning shears or a sharp knife. Pulling or twisting the fruit can damage the vine and reduce future yields. Harvest in the early morning when the fruit is cool and crisp for the best texture and shelf life.
Regular harvesting is the secret to an extended production season. Each time you pick a mature cucumber, the plant sends energy to the remaining fruits and produces new flower buds. If you leave cucumbers on the vine past their prime, the plant gets the signal that its reproductive cycle is complete and it stops producing new fruit. Overripe cucumbers develop a watery, bland flavor and tough seeds, and they drain resources that could go toward new growth.
During this final cucumber growth stage, continue your watering and fertilizing routine to support ongoing production. A single healthy cucumber plant can yield 10 to 20 fruits over the course of a season, and some vigorous varieties produce even more. Succession planting, where you start new seeds every two to three weeks, keeps your harvest going from early summer straight through to the first fall frost.
Common Cucumber Cultivation Problems to Watch For
Understanding the seven growth stages helps you anticipate problems before they threaten your crop. Here are a few challenges that gardeners encounter most often and how to address them at the right stage.
Fungal diseases like alternaria leaf blight and anthracnose show up during the vegetative and flowering stages, especially in warm, humid weather. These diseases cause dark spots on leaves and can spread quickly through the vine. Prevent them by watering at the base, spacing plants for good air circulation, and applying a copper-based fungicide at the first sign of infection. Crop rotation also matters. Do not plant cucumbers in the same spot where squash, melons, or other cucurbits grew the previous year. Many soilborne pathogens persist in the soil for two to three years and will infect new plants if you rotate out of that family.
Bacterial diseases such as angular leaf spot appear as water-soaked lesions on leaves and fruit. This disease spreads through splashing water and by insects that move between plants. Removing affected leaves promptly and avoiding overhead irrigation reduces the spread. There is no chemical cure for bacterial infections, so prevention through clean gardening practices is your best defense.
Poor fruit set during the flower bud and pollination stages often frustrates new growers. If your plants grow large and leafy but produce few cucumbers, the issue is almost certainly pollination related. Increase bee activity by planting flowers, reduce pesticide use, or hand-pollinate with a paintbrush as described earlier. Extreme temperature swings also cause flower drop, so consider using shade cloth during heat waves and row covers during cool nights.
Bitter cucumbers are another common complaint. Bitter compounds called cucurbitacins build up in fruit when plants experience stress from inconsistent watering, extreme temperatures, or poor soil nutrition. Keeping the soil evenly moist and maintaining a regular fertilizer schedule throughout the fruit development stage minimizes bitterness. Some varieties are bred to be low in cucurbitacins and are labeled as non-bitter on the seed packet.
Growing Cucumbers Vertically to Maximize Space
If your garden space is limited, training cucumber vines up a trellis, fence, or cage can dramatically increase your yield per square foot. Vertical growing also improves air circulation around the leaves, which reduces the risk of fungal diseases, and keeps the fruit off the ground where it is less likely to rot or get eaten by pests.
Set up your support structure at planting time or when the seedlings first go into the ground. Trying to install a trellis after the vines have started sprawling can damage the roots and break the stems. Use soft garden twine or fabric strips to tie the main vine to the support every 12 to 18 inches as it grows. Cucumber vines do not grip tightly on their own the way pea or bean vines do, so they need a little help staying in place.
Choose a vining cucumber variety rather than a bush type for vertical growing. Vining types produce longer vines and continue flowering and fruiting along the entire length of the stem, which makes them well suited to trellis systems. Some excellent choices for vertical growing include Marketmore, Lemon cucumber, and Armenian cucumber, though the latter is technically a different species with similar growing requirements.
Tips for Extending Your Cucumber Harvest
With a little planning, you can enjoy fresh cucumbers from your garden for several months rather than just a few weeks. One reliable strategy is to plant two or three different varieties with staggered days to maturity. Early varieties like Bush Pickle can be ready in as little as 45 days. Main-season slicing cucumbers typically mature in 55 to 65 days. A late-season variety such as Poinsett 76 can keep producing well into the early fall.
Succession planting every two to three weeks ensures that as one round of plants slows down, the next round is just entering its productive phase. Mark your calendar when you sow the first seeds, then count forward 14 to 21 days and plant another batch. Continue this pattern until about 60 days before your area’s first average frost date. This technique provides a continuous supply of young, vigorous plants that fruit heavily rather than one massive harvest that overwhelms your kitchen all at once.
Keep harvesting diligently even as the season winds down. Removing mature fruit signals the plant to keep producing. If you stop picking, the plant shifts its energy to ripening seeds in the overgrown fruit and flower production drops to near zero. A final tip worth remembering: cucumbers store best at around 50 to 55 degrees Fahrenheit with high humidity. Do not store them below 40 degrees because chilling injury shows up as soft, water-soaked spots within a few days. Keep them in the refrigerator’s main compartment instead of the coldest part near the back wall.
By recognizing each cucumber growth stage and responding with the right care, you set yourself up for a productive and enjoyable growing season. Pay attention to the signals your plant gives you, and you will find that cucumbers are one of the most rewarding vegetables to grow in a home garden.