If your hydrangea’s leaves are drooping or turning crispy at the edges, your first instinct might be to grab the watering can. But more water isn’t always the answer. In fact, overwatering can cause just as much stress as underwatering. The real key lies in getting your hydrangea watering schedule just right. By learning to read your plant’s signals and adjusting your routine, you can keep those blooms perky and healthy all season long.
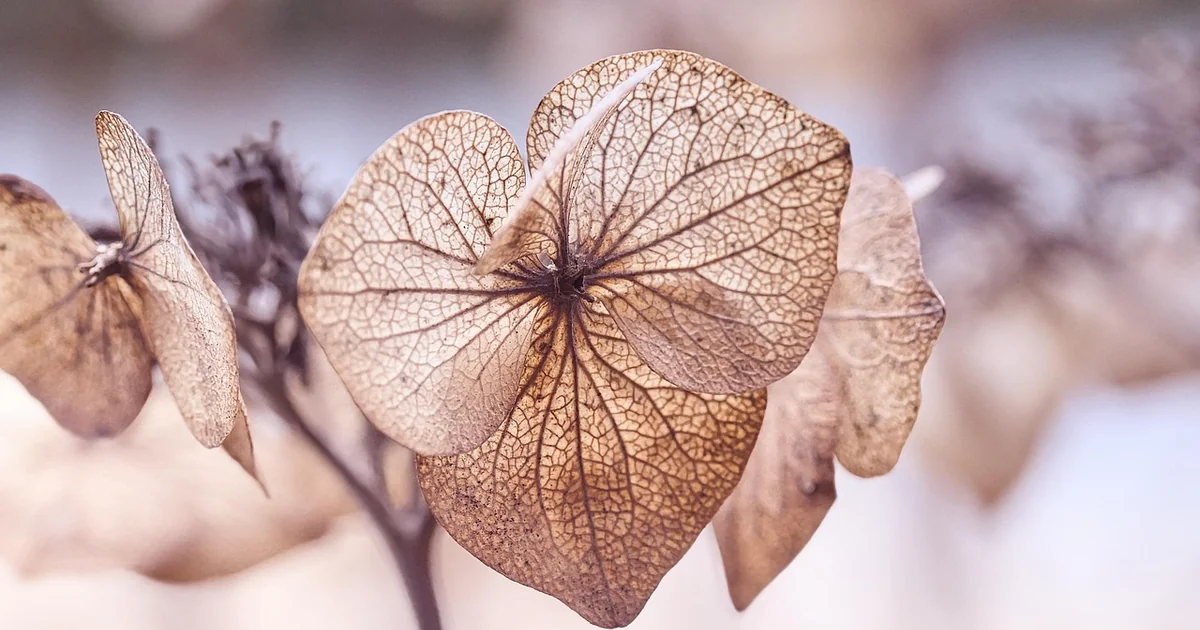
Hydrangeas are clear communicators. Drooping, wilting, or crispy leaves are their way of telling you they need a deep drink. But before you water, check the soil about 6cm deep—if it feels dry, it’s time to soak the roots at the base of the plant. Watering in the morning helps prevent evaporation and keeps mildew at bay. These simple hydrangea watering tips are the foundation of a smart schedule, but the real magic comes from tailoring your approach to the season, your soil type, and whether your hydrangea is in a pot or in the ground. That’s where deep watering hydrangeas makes all the difference, and where most gardeners get tripped up.
Fix 1: Sync Your Watering Schedule with the Season and Weather
Many gardeners water on a fixed routine, but hydrangeas need a schedule that adapts to spring rains, summer heat, and fall cool-down. Forgetting this is a fast track to sad, wilted blooms. The key is to match your hydrangea watering schedule to what is actually happening outside, not just the calendar. In spring, you can usually reduce watering since natural rainfall often provides enough moisture. Summer is a different story. During the hottest months, plan on deep watering once or twice a week — established hydrangeas need that deep root soak to stay happy. When a heatwave hits, you may need to increase that frequency, but always check the soil first. A good layer of mulch on top helps lock in moisture and keeps roots cooler.
As autumn arrives, start tapering off your hydrangea watering schedule to help the plant settle into dormancy. This seasonal hydrangea care is simple once you get the rhythm. Speaking of rhythm, know how to adjust for rainy periods versus drought. When rain is steady, skip watering entirely until the top 6cm of soil feels dry. During a drought, you’ll likely water more often, but the soil check remains your best guide. One more thing: hydrangeas can droop dramatically on hot afternoons. That is often just their way of coping — they typically perk back up when evening temperatures drop. If they don’t recover by nightfall, they definitely need water. So watch your plants, watch the weather, and you’ll dial in the right timing for beautiful, healthy hydrangea watering in summer and beyond.
Fix 2: Tailor Watering to Container vs. In-Ground Plants
But there’s another layer to getting your hydrangea watering schedule just right: where your plant lives makes a big difference. Containers dry out much faster than garden soil, so if your hydrangea is in a pot, you’ll need to check on it more often. For container hydrangea care, the golden rule is to test the soil daily and water whenever the top 6 cm feels dry. Make sure your pot has drainage holes so water doesn’t pool at the bottom — soggy roots are just as harmful as dry ones.
For hydrangeas in the ground, the schedule depends on how established they are. Newly planted hydrangeas need daily watering for the first week (or longer in hot, dry weather). After that, water every other day for the first month. Once your plants are settled, switch to deep watering once or twice weekly. Always water at the base to soak the roots directly, and avoid overhead watering to keep leaves dry and reduce disease risk. This simple approach to hydrangea watering frequency ground and container keeps your plants thriving.
Fix 3: Diagnose the Problem and Adjust for Soil Type
If your hydrangea droops but the soil feels wet, you might be dealing with overwatering or a soil type that holds too much moisture. Getting the Hydrangea watering schedule right means learning to read your plant’s signals and understanding your garden’s specific drainage.
Signs of Overwatering vs. Underwatering
Spotting hydrangea overwatering signs early can save a plant. Look for yellowing leaves, mushy stems, or fungus growing on the soil surface. These suggest the roots are drowning. On the other hand, hydrangea underwatering symptoms include crispy brown leaf edges, persistent wilting, and soil pulling away from the container sides. Drooping, wilting, or crispy leaves also mean your hydrangea needs deep watering. To decide, check soil moisture 6cm down—if it’s damp and the plant droops, overwatering is likely; if dry, water immediately.
Related reading: our post 7 Vegetable Garden Ideas for a Great Harvest offers more practical ideas on this.
Adjusting Watering for Clay, Sandy, and Loamy Soil
Your soil type directly affects hydrangea soil drainage. Clay soil drains slowly and stays wet longer, so reduce frequency to avoid root rot. For watering hydrangeas clay soil, water less often but deeply. Sandy soil drains quickly, so increase frequency with deep soaks to reach the roots. Loamy soil is ideal; maintain a regular check and water when the top 6cm feels dry. Regardless of type, always water at the base—overhead watering invites fungal diseases. Ensure the ground is well-draining to prevent water pooling, and adjust your Hydrangea watering schedule as needed throughout the season.
Executive Summary: Key Takeaways for Wilting Hydrangeas? 3 Watering
Mastering Wilting Hydrangeas? 3 Watering requires harmonizing botanical soil biology, moisture retention, and seasonal crop cycles. Key pillars of this guide include:
- Soil Ecosystem Architecture: Incorporating biologically active finished compost and perlite to maintain an optimal 6.2–6.8 pH range.
- Hydration Efficiency: Transitioning from shallow daily spraying to deep, bi-weekly root-zone soaking to build extensive vascular drought resistance.
- Organic Companion Defense: Cultivating beneficial insectary plants that naturally eliminate aphids and foliage pests without synthetic chemicals.
- Succession Planning: Staggering sowing cycles every 14 to 21 days to ensure sustained harvest yields throughout the entire growing season.
Comprehensive Horticultural Matrix: Wilting Hydrangeas? 3 Watering
Achieving consistent, high-yield vitality with Wilting Hydrangeas? 3 Watering requires understanding how environmental parameters intersect across different growth stages. The structured matrix below provides an operational framework for modern home gardeners:
| Operational Stage | Horticultural Objective | Essential Soil & Tool Inputs | Optimal Timing Cadence | Primary Health Metric |
|---|---|---|---|---|
| 1. Soil Inoculation & Aeration | Establish rich mycorrhizal fungi networks and pore structure. | Broadfork, organic aged manure, worm castings, coarse horticultural sand. | Early Spring / 3 weeks before planting | High crumb structure & water permeability |
| 2. Transplanting & Root Anchorage | Prevent transplant shock and encourage downward vertical root growth. | Liquid kelp root stimulator, clean trowel, untreated cedar bark mulch. | Overcast mornings or late afternoons | Zero stem wilting; active leaf turgor |
| 3. Vegetative Canopy Development | Maximize photosynthetic surface area while ensuring internal air circulation. | Organic fish emulsion, balanced 5-5-5 organic granular food, pruning snips. | Mid-vegetative growth spurt | Deep green foliage without fungal blemishes |
| 4. Reproductive & Fruit Set | Direct energy from foliage development toward robust flower and fruit production. | Bone meal, phosphorus-rich rock dust, calcium-magnesium foliar spray. | First sign of flowering buds | High blossom retention; vigorous pollination |
| 5. Post-Harvest Bed Renewal | Replenish depleted micro-nutrients and protect bare soil from erosion. | Cover crop seed (crimson clover/winter rye), shredded deciduous leaves. | Immediately following final seasonal harvest | Protected winter biology; zero topsoil runoff |
Advanced 5-Stage Implementation Roadmap for Wilting Hydrangeas? 3 Watering
To successfully transition theoretical horticultural knowledge into thriving, disease-resistant plant life, implement the following rigorous five-stage roadmap developed by seasoned master gardeners:
Stage 1: Conducting Detailed Micro-Site Diagnostics
Residential landscapes are not uniform environments; they are dynamic mosaics of localized temperature, wind, and moisture fluctuations. Before planting or reorganizing around Wilting Hydrangeas? 3 Watering, spend several days mapping your garden space. Note where morning condensation lingers longest—an indicator of reduced airflow that may predispose plants to fungal blight. Verify sunlight trajectories at 9:00 AM, 1:00 PM, and 5:00 PM to distinguish between intense full-sun exposure and gentler dappled light. Dig test pits 12 inches deep to evaluate subsoil compaction; if water takes longer than 30 minutes to drain from a filled hole, install raised beds or integrate coarse organic compost to prevent root rot.
Stage 2: Precision Nutrient Profiling and Microbiome Health
Healthy plants are the natural byproduct of thriving soil biology. Rather than relying on synthetic quick-release fertilizers that provide a temporary nitrogen surge followed by mineral leaching, focus on feeding the subterranean soil web. Apply well-composted organic matter alongside mycorrhizal inoculants during planting. Mycorrhizae form symbiotic relationships with plant root systems, effectively expanding their root surface area up to one hundredfold, which dramatically improves phosphorus absorption and water uptake during midsummer dry spells.
Stage 3: Hydro-Zoning and Moisture Optimization
Water management is the single most critical factor determining garden health. Implement hydro-zoning by clustering species with identical moisture requirements together, preventing the common trap of overwatering drought-tolerant herbs while dehydrating thirsty vegetables. Install low-pressure drip irrigation tubing equipped with pressure-compensating emitters directly adjacent to root crowns. Cover all exposed soil with a 2-to-3 inch blanket of shredded organic mulch, leaving a clear two-inch buffer around plant stems to deter collar rot and burrowing insect pests.
Stage 4: Integrated Ecological Pest Stewardship
Rather than declaring war on all insects, establish an ecological balance. Pests like aphids and spider mites flourish when natural predator balances are disrupted. By intentionally cultivating companion flowering herbs—including sweet alyssum, French marigolds, dill, and coriander—you provide nectar reserves that sustain beneficial predatory insects like hoverflies, green lacewings, and minute pirate bugs. When pest outbreaks do occur, employ mechanical controls (such as a forceful jet of water) or mild potassium-salt insecticidal soaps applied at dusk before escalating to stronger treatments.
Stage 5: Seasonal Pruning, Sanitization, and Crop Rotation
Sustained botanical vigor requires diligent garden hygiene. Deadhead spent blossoms promptly to stimulate continuous flower production and channel energy away from unwanted seed production. When pruning, always use bypass pruners sterilized in a 70% isopropyl alcohol solution between distinct plants to prevent cross-contamination of bacterial wilts. Practice a strict 3-to-4 year crop rotation for heavy feeders (such as nightshades and brassicas), ensuring that soil-borne pathogens naturally diminish over successive growing seasons.
Common Gardening Pitfalls to Avoid
- Over-Fertilizing with Nitrogen: Excessive nitrogen stimulates lush, tender vegetative foliage at the expense of floral development, rendering stems highly attractive to sap-sucking pests.
- Shallow Overhead Evening Sprinkling: Wetting foliage right before dark creates prolonged leaf wetness, providing optimal conditions for powdery mildew and anthracnose to germinate.
- Planting Too Deeply: Burying root flares or root crowns below surrounding soil levels suffocates roots and causes stem decay. Always align root flares flush with ground level.
- Ignoring Seasonal Soil Compaction: Walking on damp garden beds compresses soil pore spaces, starving roots of vital oxygen. Always work from designated stepping stones or access paths.
Frequently Asked Questions About Wilting Hydrangeas? 3 Watering
What is the single most effective way to start with Wilting Hydrangeas? 3 Watering?
Begin with rigorous soil testing and site preparation. Amending native soil with finished organic compost and ensuring 6+ hours of unobstructed sun exposure eliminates over 80% of common gardening frustrations before seedlings even enter the ground.
How do I identify whether my garden is overwatered or underwatered?
Both conditions cause leaf discoloration, but underwatered foliage feels dry, brittle, and crisp, whereas overwatered plants exhibit yellowing lower leaves that feel soft and limp, accompanied by damp, oxygen-deprived soil at root level.
Can I apply these gardening principles to container gardens and raised beds?
Absolutely. In fact, raised beds and containers offer superior soil drainage and faster spring warming. Use a high-quality soilless potting blend enriched with perlite and organic worm castings, and increase watering frequency during midsummer heat.
What organic fertilizers yield the best results for long-term soil health?
Opt for slow-release organic amendments such as composted chicken manure, alfalfa meal, kelp meal, and bone meal. These feed beneficial soil microbes steadily rather than causing volatile chemical spikes.
How do I protect my garden from late spring or early autumn frosts?
Erect lightweight floating row covers or frost blankets suspended over wire hoops. Water the soil thoroughly the afternoon prior to a predicted frost, as moist soil holds and radiates thermal heat significantly better than dry earth.