Imagine turning the shaded space beneath a large tree into a living gallery of greenery. Hanging clusters of ferns in mossy spheres create a canopy of life that sways gently in the breeze. This is the idea behind a floating forest, and it transforms an ordinary yard into something magical. Floating forest ferns offer a fresh way to enjoy these ancient plants, lifting them off the ground and into view. The technique builds on kokedama, the Japanese art of encasing plant roots in a moss ball. By moving this method outdoors, you can craft a suspended garden that captivates everyone who walks beneath it.
Why Choose Ferns for a Floating Forest Display
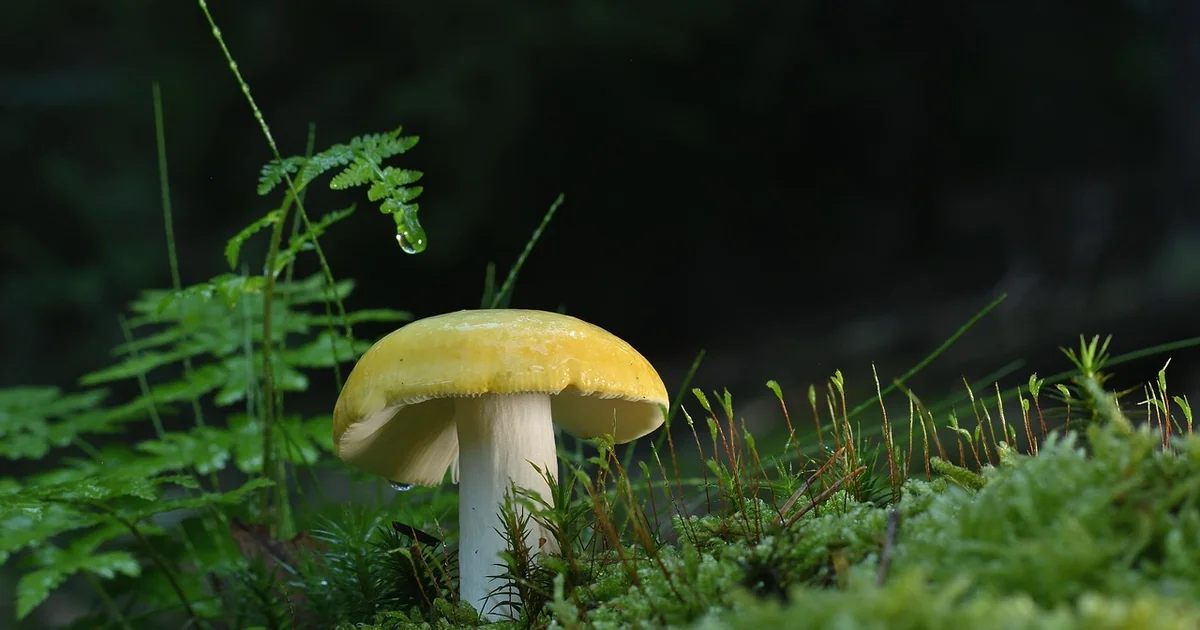
Ferns have thrived on Earth for more than 360 million years. They evolved to flourish in low-light, damp conditions, which makes them ideal for the dappled shade under a tree canopy. Most flowering plants struggle in such spots, but ferns spread their fronds with ease. Their delicate textures and varied leaf shapes add visual interest without overwhelming a small space. When you hang them as kokedama, each fern becomes a living sculpture. The combination of soft moss, trailing roots, and feathery leaves creates a layered look that changes with every breeze. Floating forest ferns also solve a common problem: how to use the often-neglected area beneath a large tree. Instead of bare soil or struggling groundcovers, you get a vertical garden that draws the eye upward.
Understanding the Art of Kokedama
Kokedama translates literally to “moss ball.” It blends two traditional Japanese practices: bonsai (miniature tree cultivation) and kusamono (displaying grasses and flowering plants). The root ball is wrapped in a mixture of bonsai soil and peat moss, then encased in a layer of living or preserved moss. The result is a self-contained planter that needs no pot. You can set it on a dish or hang it from a branch. Because kokedama is both a noun and a verb, you might hear someone say, “I made two kokedama,” or “I love to kokedama my ferns.” This flexibility makes the technique accessible for beginners and rewarding for seasoned gardeners alike.
5 Ways to Create Your Own Urban Floating Forest with Ferns
Below are five distinct methods to design and install a floating forest in your yard. Each approach builds on the same core technique but offers a different visual effect. Choose the one that fits your space and style.
1. Start with a Single Statement Fern Kokedama
Begin with one standout fern as the anchor of your display. A fern like the Regal Red Japanese Painted Fern works beautifully. Its fronds display a silvery overlay with dark burgundy centers, making it a focal point even from a distance. To create the kokedama, select a healthy plant with a root ball about six inches wide. Remove it from its nursery pot and gently shake off excess soil. Soak the roots in water to loosen any remaining dirt. While the roots soak, prepare the moss covering. Lay preserved sheet moss green-side down in a circle three to four times the diameter of the root ball. Preserved sheet moss holds its color longer than sphagnum or basket moss, so the ball stays vibrant for months. Mix equal parts bonsai soil and peat moss, then add water until the blend holds together when squeezed. Form a ball with your hands, break it open, and nestle the fern roots inside. Close the ball and place it in the center of the moss circle. Lift the edges of the moss up around the ball, then secure everything with clear fishing line or jute twine. To hang, tie three lengths of jute twine together at one end, set the moss ball on the knot, and bring the three strands up and over the ball. Tie them together at the top, then suspend the kokedama from a sturdy tree branch. This single piece creates an instant floating forest feel without overwhelming the space.
2. Mix and Match Shade-Loving Fern Varieties
A floating forest gains texture when you combine several fern species. Monrovia offers a wide selection of ferns that thrive in partial to full shade. Consider these five varieties, each with distinct characteristics:
- Dwarf Asparagus Fern – bright yellow-green, needle-like foliage, compact habit. Zones 9–11.
- Lemon Button Fern – a tiny Boston fern relative that grows up to one foot tall. Its crushed leaves release a lemony scent. Zones 10–11.
- Tatting Fern – dwarf fern with slender fronds and small bead-like structures along the midribs. Zones 4–8.
- Pewter Lace Painted Fern – lacy fronds that are silvery at the edges and dark blue near the center. Zones 5–8.
- Virginia Blue Rabbit’s Foot Fern – silvery blue leaves and fuzzy orange rhizomes that creep over the moss ball. Zones 8–9.
Group three or four of these together under a single branch. Vary the heights and leaf shapes to create a miniature forest canopy. Because each fern has different water needs, group them by similar requirements. Ferns generally like consistent moisture, but the Rabbit’s Foot variety can tolerate slightly drier conditions. Hang them at eye level so you can appreciate the intricate details of each frond.
3. Incorporate Repurposed Containers and Vintage Finds
Not every floating forest element must be a bare moss ball. You can nestle a fern kokedama inside a vintage egg basket, a wire hanging planter, or an old metal colander. This approach adds a layer of personality and works well if you want a more rustic or eclectic look. Start by making the kokedama as described in method one. Instead of wrapping the moss ball with jute twine for hanging, place it inside a basket that already has a hanger. For example, a tassel fern set in a vintage egg collecting basket hangs beautifully and allows the fronds to spill over the sides. The basket provides extra support and gives the root ball a break from direct sun, which helps retain moisture. Make sure the container has drainage holes or is open enough to allow air circulation. If the basket is solid like a bucket, drill a few holes in the bottom. The combination of fern greenery and weathered metal or wood creates a charming contrast that feels collected over time.
You may also enjoy reading: 7 Simple Spring Ideas for Lee’s New York Garden.
4. Layer Your Display at Different Heights
A truly immersive floating forest uses multiple hanging points at varying elevations. Start with one or two large kokedama near the trunk of the tree, where the branches are thickest. Then suspend smaller balls from outer branches, creating a cascade effect. You can also attach a series of jute ropes to a single strong branch and hang several kokedama at staggered lengths. This technique mimics the natural layering of a woodland understory. Ferns that are lower will get slightly less light, so choose hardier varieties for those positions. The Tatting Fern and Lemon Button Fern both handle lower light well. For higher positions, where a bit more sun filters through, the Regal Red Japanese Painted Fern will show its best colors. To secure the ropes to branches, use a slip knot that can be adjusted without damaging the bark. Check the knots regularly, especially after heavy rain or wind. With proper layering, your floating forest becomes a three-dimensional artwork that changes throughout the day as sunlight moves through the leaves.
5. Maintain Your Floating Forest Ferns for Long-Lasting Beauty
The most common challenge with hanging kokedama is keeping the moss ball consistently moist without waterlogging the roots. Ferns prefer even moisture, so a regular watering routine is essential. Submerge the entire moss ball in a bucket of rainwater for about ten minutes once a week. Rainwater is ideal because it contains no chlorine or other chemicals found in tap water. After soaking, let the ball drain completely before hanging it back. If you notice the fronds turning brown or crispy, increase watering frequency to twice a week. If the moss starts to look yellow or develops mold, reduce the soak time. During hot, dry spells, mist the fronds in the morning to boost humidity. In winter, bring ferns that are not cold-hardy indoors or into a frost-free garage. Most of the varieties listed here have specific hardiness zones, so match your choices to your local climate. Over time, the moss covering will break down. Replace it every six months to keep the kokedama looking fresh. Prune off dead or yellowing fronds at the base to encourage new growth. With consistent care, your floating forest ferns will thrive for years, providing a living canopy that greets you every time you step outside.
Getting Started: Tools and Materials Checklist
Before you begin, gather these items to make the process smooth:
- Preserved sheet moss (available at craft stores or online)
- Bonsai soil and peat moss (equal parts)
- Clear fishing line or jute garden twine
- Jute twine for the hanger (three lengths per kokedama)
- A bucket of warm water for soaking moss
- Scissors
- A friend to lend an extra set of hands
The friend is especially helpful when wrapping the moss around a large fern root ball. Fern leaves can snap easily if handled roughly, so work slowly and reposition the ball rather than bending the fronds.
Creating a floating forest with ferns is a rewarding project that adds vertical interest to any garden. The combination of ancient plants and modern hanging techniques brings a sense of peace and surprise to outdoor living spaces. Whether you start with a single statement fern or a layered collection of five varieties, the result is a living work of art that changes with the seasons. Give it a try, and watch your backyard transform into an enchanted woodland retreat.


