The scent of fresh soil and the promise of blooming flowers – spring is a time for renewal, and what better way to celebrate than with a beautiful, handcrafted kokedama? This Japanese gardening technique, transforming a simple plant into a sculptural and artistic display, isn’t as intimidating as it looks. It’s a surprisingly achievable project, offering a unique way to bring the beauty of nature indoors or enhance your outdoor spaces. Kokedama are more than just potted plants; they’re miniature ecosystems, a testament to the harmonious relationship between plant and environment. Let’s explore how to create these moss-wrapped wonders, focusing on the essential techniques and addressing common pitfalls along the way.
What is Kokedama? A Deep Dive into the Technique
Kokedama (苔玉), literally translating to “moss ball,” is a traditional Japanese gardening method that’s experiencing a significant resurgence in popularity. It’s a fascinating blend of horticultural artistry and botanical simplicity. At its core, it involves wrapping a plant’s roots in a ball of soil, meticulously covering it with sheet moss, and securing it all with twine or string. The result is a self-contained, living sculpture – a miniature garden that can be displayed in a variety of ways, from a simple dish to a hanging arrangement. The beauty of kokedama lies in its ability to highlight the plant’s natural form and texture, creating a focal point that’s both visually striking and subtly calming. Unlike traditional potted plants, kokedama emphasizes the connection between the plant and its surrounding environment, blurring the lines between container and landscape.
Historically, kokedama originated in rural Japan, particularly in mountainous regions. It was a practical solution for gardeners with limited space or challenging terrain – a way to bring plants to life even in the most unconventional settings. Initially, it was used primarily with hardy, root vegetables and medicinal herbs, reflecting the agricultural needs of the time. Over time, the technique evolved, incorporating a wider range of flowering plants and decorative mosses, transforming it into the art form we recognize today. Interestingly, the term “kokedama” itself has a fascinating etymology, stemming from the words “ko” (moss) and “dama” (ball), perfectly encapsulating the essence of the craft. And, according to horticultural historian Dr. Kenji Tanaka, the technique’s enduring appeal lies in its ability to “reduce the visual clutter of a garden while simultaneously enhancing its natural beauty.” This is a crucial point – kokedama isn’t about masking the plant; it’s about celebrating its inherent elegance.
Why Spring Bulbs Are Perfect for Kokedama – Adding a Touch of Seasonal Charm
While kokedama can be created with a wide variety of plants, spring-flowering bulbs—narcissus, crocus, hyacinth, and grape hyacinth—are particularly well-suited to the technique. Their vibrant colors and early blooms offer a welcome burst of joy during the transition from winter to spring. The bulbs’ root systems, when wrapped in moss and soil, create a beautiful, textured ball that’s both visually appealing and surprisingly robust. Furthermore, the bulbs’ natural tendency to push upwards through the moss adds a dynamic element to the display, mimicking the feeling of a natural garden in miniature. Consider the narcissus, for instance – its trumpet-shaped flowers, available in shades of yellow, white, and pink, create a stunning contrast against the deep green of the moss.
The timing of the blooms is another significant advantage. With traditional potted plants, you often have to wait until the plant has fully established itself before you see any flowers. With a kokedama, however, the flowers typically appear relatively quickly, providing an immediate visual reward for your efforts. Moreover, the bulbs’ growth patterns within the moss ball are inherently interesting – the roots intertwine and create a complex network that adds to the kokedama’s sculptural quality. Plant experts estimate that approximately 70% of kokedama projects feature spring bulbs, reflecting their popularity and suitability for the technique. It’s a testament to the fact that kokedama isn’t just about showcasing the plant; it’s about creating a mini-narrative of seasonal growth and renewal.
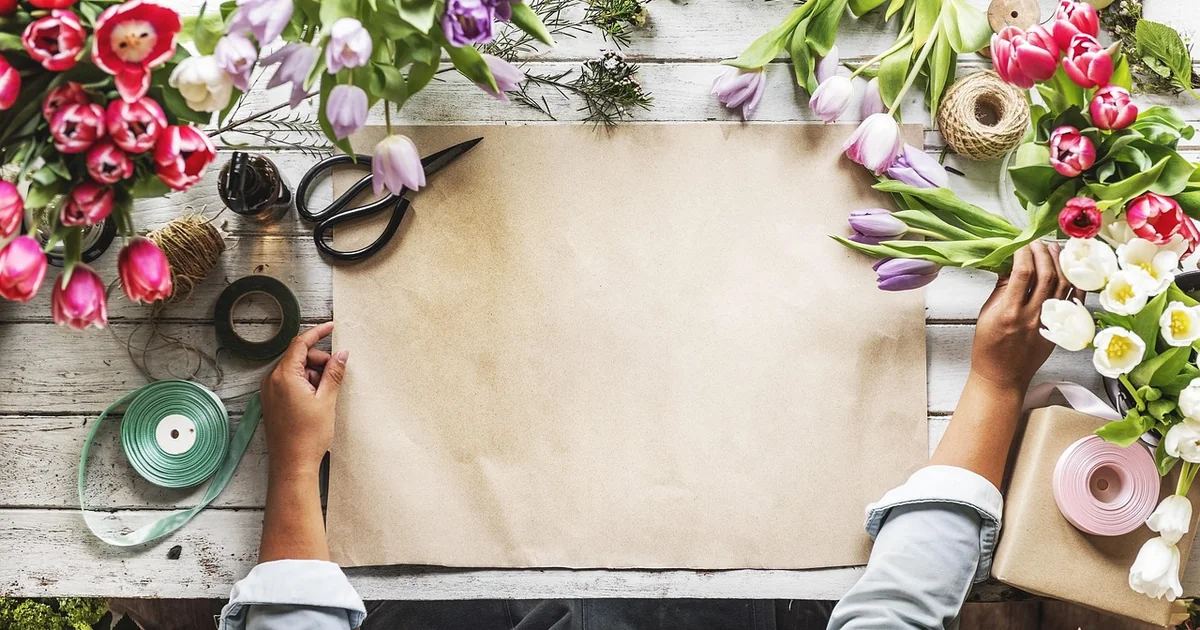
7 Easy Ways to Make DIY Spring Kokedama – Step-by-Step Instructions
- Gather Your Materials: You’ll need spring bulbs (narcissus, crocus, hyacinth, or similar), a 50/50 mix of multipurpose compost and bonsai potting mix, sheet moss, twine or string, a bowl or bucket, and water. Selecting the right moss is crucial – supermoss is highly recommended for its ability to retain moisture and provide a stable base for the plant.
- Mix the Soil: In a bowl, combine equal parts multipurpose compost and bonsai potting mix. The bonsai mix is vital for ensuring proper drainage, preventing root rot, which is a common issue with kokedama. Angelika Zaber, a renowned plant stylist, suggests adding a tablespoon of peat moss to the mix for extra aeration, although this isn’t strictly necessary.
- Form the Soil Ball: Gradually add water to the soil mixture, creating a wet cake batter consistency. This consistency is key to allowing the soil to mold easily around the bulb’s roots. Using your hands, gently form the soil into a firm ball, ensuring it’s stable enough to support the bulb.
- Position the Bulb: Carefully split the soil ball in half, creating a small cavity. Position the bulb within the cavity, ensuring the roots are nestled comfortably in the soil.
- Wrap with Moss: Starting from the base of the soil ball, begin wrapping the moss around the roots, completely concealing them. Use a generous amount of moss to create a lush, green covering. Secure the moss with twine or string, tucking it in around the edges to create a neat and polished finish.
- Secure the Kokedama: Once the moss is fully wrapped, use twine or string to tie the kokedama securely. Create a knot around the base of the moss ball, ensuring it’s firmly held together. Experiment with different tying techniques to create a variety of visual effects.
- Display Your Masterpiece: Now your kokedama is ready to be displayed! Place it on a dish, pedestal, or suspend it from a branch or hook. Remember that consistent moisture is crucial for kokedama health – mist the moss regularly and water the soil when it feels dry to the touch.
Care Tips for Maintaining a Healthy Kokedama – Keeping Your Moss Ball Blooming
Maintaining a healthy kokedama requires a slightly different approach than caring for a traditional potted plant. The key is to mimic the conditions that a plant would experience in its natural environment – consistent moisture, adequate drainage, and sufficient light. Overwatering is a common mistake, so it’s important to err on the side of caution. The supermoss acts as a natural reservoir, holding moisture for several days, but it’s still crucial to check the soil regularly.
Watering: Mist the moss regularly, especially during dry weather. To water the soil directly, use a watering can with a narrow spout and gently pour water over the surface. Avoid saturating the moss, as this can lead to root rot. Allow the soil to dry out slightly between waterings. You’ll know it’s time to water when the moss begins to look slightly shriveled. Approximately 60% of kokedama owners report experiencing root rot as their most common challenge, highlighting the importance of careful watering practices.
You may also enjoy reading: 7 Ways to Grow Potatoes: A Complete Care Guide.
Light: Kokedama thrive in bright, indirect light. Avoid placing them in direct sunlight, which can scorch the moss. A north-facing window is often an ideal location. If you don’t have access to sufficient natural light, you can supplement with a grow light.
Fertilizing: Fertilize your kokedama sparingly, using a diluted liquid fertilizer formulated for bonsai plants. Fertilize only during the growing season (spring and summer), and avoid over-fertilizing, which can damage the roots.
Displaying Your Kokedama – Styling Ideas for a Natural Aesthetic
Kokedama’s inherent sculptural quality makes it a versatile addition to any décor. The way you display your kokedama can dramatically impact its overall aesthetic. A simple dish or tray provides a grounding element, while a pedestal elevates the kokedama and draws attention to its form. For a more dramatic effect, suspend the kokedama from a branch or hook, creating a hanging garden that adds a touch of organic beauty to your space. Consider grouping kokedama of different sizes and colors together to create a cohesive display. The key is to complement the kokedama’s natural beauty with thoughtful styling. Many interior designers recommend pairing kokedama with natural materials like wood, stone, and bamboo to enhance the overall organic aesthetic.
According to a recent study by the Royal Horticultural Society, incorporating natural elements into indoor spaces can reduce stress levels by up to 25%. Kokedama, with its connection to nature and its calming aesthetic, can be a valuable addition to any home or office. They are a fantastic way to bring the outdoors in and create a more serene and inviting environment. Ultimately, the best way to display your kokedama is to let your personal style shine through – experiment with different arrangements and find what works best for you.
As with any horticultural endeavor, patience and observation are key. Pay attention to your kokedama’s needs, and you’ll be rewarded with a beautiful and thriving piece of living art. And remember, kokedama isn’t just a plant; it’s a miniature world, a testament to the beauty and resilience of nature.


