The scent of freshly cut grass and the buzz of bees – May signals a beautiful transition, and for many gardeners, it’s graduation day for their tomato plants. After weeks of careful tending indoors, these little seedlings are ready to embark on a new adventure: life in the garden. But moving them from a controlled, sheltered environment to the often-challenging realities of the outdoors can be tricky. A sudden temperature drop, a blast of wind, or simply the shock of a new environment can set them back significantly. The good news is, with a little preparation and a few key steps, you can ensure your tomatoes thrive and reward you with a truly impressive August harvest. Let’s dive into six essential tasks to give your tomato plants the best possible start – and the best chance at a bumper crop.
1. Harden Off Seedlings: Preparing for the Great Outdoors
As we’ve already established, the biggest hurdle for newly planted tomato seedlings is the sudden shift from a cozy indoor life to the unpredictable world outside. Hardening off is the process of gradually acclimatizing them to these conditions, minimizing shock and maximizing their chances of survival. It’s not just a recommendation; it’s a vital step, akin to sending a soldier into battle – you wouldn’t throw them into the fray without training first, would you? Tomatoes, unlike some other plants, develop roots along their stems, a remarkable adaptation that allows them to establish themselves even after being planted deeply. This ability is hugely beneficial, but it also means that a rough transplant can be detrimental.
The process itself is remarkably simple, but consistency is key. Start by placing your seedlings outdoors in a shaded, sheltered spot for just 2 hours during the day. Choose a location that receives dappled sunlight – direct sun can be overwhelming for newly hardened-off plants. Bring them back indoors before the evening chill sets in. Repeat this process daily, gradually increasing the amount of time they spend outside by 1-2 hours each day. Within 7-10 days, your seedlings should be accustomed to full sun and able to withstand the elements. This gradual exposure is crucial because it allows their cells to adjust to changes in temperature, humidity, and light intensity. Interestingly, research published in the HortScience journal in 2018 found that plants hardened off for a longer period (14 days) exhibited greater tolerance to drought stress later in their growth cycle. So, while 7-10 days is a good target, extending the process slightly can provide an extra layer of protection.
Tip: To further aid in hardening off, consider using a lightweight shade cloth initially. This provides a bit of extra protection from the sun while still allowing them to receive essential light. Don’t be tempted to skip this step – it’s an investment in the future health and productivity of your tomato plants.
2. Dig Deep and Transplant: Unleashing the Rooting Power
Once your seedlings have successfully completed the hardening-off process, it’s time to transplant them into their final positions in the garden. But before you do, there’s a crucial detail to consider: soil temperature. Tomatoes thrive in warm soil – a minimum of 60°F (16°C) is ideal. Planting them in cold soil will stunt their growth and leave them vulnerable to disease. The good news is that soil temperatures in May often rise quickly, especially in sunny locations.
Now, let’s talk about digging the hole. As mentioned earlier, tomatoes possess the remarkable ability to root along their stems, which is why they can be planted deep. This isn’t just a gardening trick; it’s a fundamental part of their biology. When you dig a deep hole, you’re essentially providing the plant with a massive head start – a network of roots that will quickly explore the surrounding soil, seeking out water and nutrients. The deeper the roots, the more stable the plant will be, and the better it will be able to withstand wind and drought. A study by the University of California, Davis, in 2015 demonstrated that deep planting significantly increased tomato yields, particularly in areas with hot summers.
Advanced Technique: Trench Planting. For particularly long-stemmed varieties, consider trench planting. Dig a long, angled trench in the ground, and lay the seedling along the bottom of the trench so that the top few inches of the stem remain above the soil surface. This allows the roots to establish themselves in the warmer, more moist soil just beneath the surface, while the leaves receive ample sunlight. This method is particularly beneficial in areas with heavy clay soil, where root penetration can be challenging.
3. Add Support: Preventing Toppling and Protecting Fruit
As tomato plants mature, they can quickly grow into impressive, sprawling behemoths. Without proper support, these heavy branches can easily topple over, damaging the plant and scattering ripe fruit across the garden. This isn’t just a matter of aesthetics; it’s about protecting the plant’s structural integrity and ensuring that your harvest isn’t lost to the elements.
The most common support systems for tomatoes are cages and stakes. Tomato cages provide a wide, stable base for the plant to grow around, while stakes offer vertical support. When choosing a support system, consider the size and growth habit of your tomato variety. Indeterminate tomato varieties (those that continue to grow and produce fruit throughout the season) require more substantial support than determinate varieties (those that grow to a fixed size and produce most of their fruit at once). It’s recommended to install support structures at the time of planting, rather than waiting until the plant is already large and difficult to maneuver. This minimizes the risk of damaging the roots when you install the support.
Pro Tip: Weigh down the base of the tomato cage with a few bags of soil or gravel to prevent it from tipping over in windy conditions.
4. Mulch, Mulch, Mulch!: Preventing Disease and Conserving Moisture
Mulch is arguably one of the most effective and affordable gardening practices you can employ. When it comes to tomatoes, mulch plays a crucial role in preventing soil-borne diseases and conserving moisture. Tomato plants are particularly susceptible to diseases like early blight and Septoria leaf spot, which thrive in damp, humid conditions. Mulch creates a barrier between the plant’s foliage and the soil, reducing the splashback of water and minimizing the risk of fungal infections.
You may also enjoy reading: 7 Easy Square Foot Gardening Secrets for a Big Harvest.
The best type of mulch for tomatoes is organic matter, such as straw, wood chips, or shredded leaves. A 2-3 inch layer of mulch should be applied around the base of the plant, keeping it a few inches away from the stem to prevent rot. Mulch also helps to retain moisture in the soil, reducing the need for frequent watering. This is especially important during dry spells. Furthermore, as the mulch decomposes, it adds organic matter to the soil, improving its fertility and structure. Research from Oregon State University’s Extension Service indicates that mulched tomato plants experience a 15-20% reduction in disease incidence compared to unmulched plants.
5. Fertilize, and Keep It Balanced: Fueling Growth and Fruit Production
Tomatoes are heavy feeders, meaning they require a significant amount of nutrients to thrive and produce a bountiful harvest. When you first plant your tomato seedlings, applying a balanced fertilizer will provide them with the essential nutrients they need to establish a strong root system and begin growing. Look for a fertilizer that is specifically formulated for tomatoes and contains a balanced ratio of nitrogen, phosphorus, and potassium. However, it’s important to note that excessive nitrogen can actually be detrimental to tomato plants, leading to rapid, unsustainable growth and reduced fruit production.
A good rule of thumb is to start with a fertilizer that has a lower nitrogen content (e.g., 5-10-5) and gradually increase the nitrogen level as the plants mature. Monitor your plants closely for signs of nutrient deficiencies, such as yellowing leaves or stunted growth. A soil test can provide valuable information about the nutrient levels in your soil and help you determine the optimal fertilizer application rate. The USDA recommends applying a fertilizer with a nitrogen-phosphorus-potassium ratio of 10-10-10 every 4-6 weeks during the growing season.
6. Monitor for Pests and Diseases: Early Detection is Key
Even with the best care, tomato plants can still be susceptible to pests and diseases. Regularly inspecting your plants for signs of trouble is crucial for early detection and effective treatment. Common tomato pests include aphids, whiteflies, and tomato hornworms. Common diseases include early blight, Septoria leaf spot, and blossom-end rot.
Integrated Pest Management (IPM): A sustainable approach to pest and disease control is integrated pest management. This involves using a combination of strategies, including cultural practices (such as proper watering and fertilization), biological controls (such as introducing beneficial insects), and chemical controls (as a last resort). Regularly check the undersides of leaves for pests and remove any diseased foliage promptly. Homemade remedies, such as a solution of soapy water, can often be effective in controlling minor infestations. If you suspect a serious disease outbreak, consult with your local extension office for recommendations on appropriate treatments.
As May fades into June, and your tomato plants begin to flourish, remember that consistent care and attention are key to a successful harvest. By following these six must-do tasks, you’ll be well on your way to enjoying a delightful abundance of homegrown tomatoes this summer. And isn’t that what gardening is all about – a little bit of effort, a whole lot of reward?
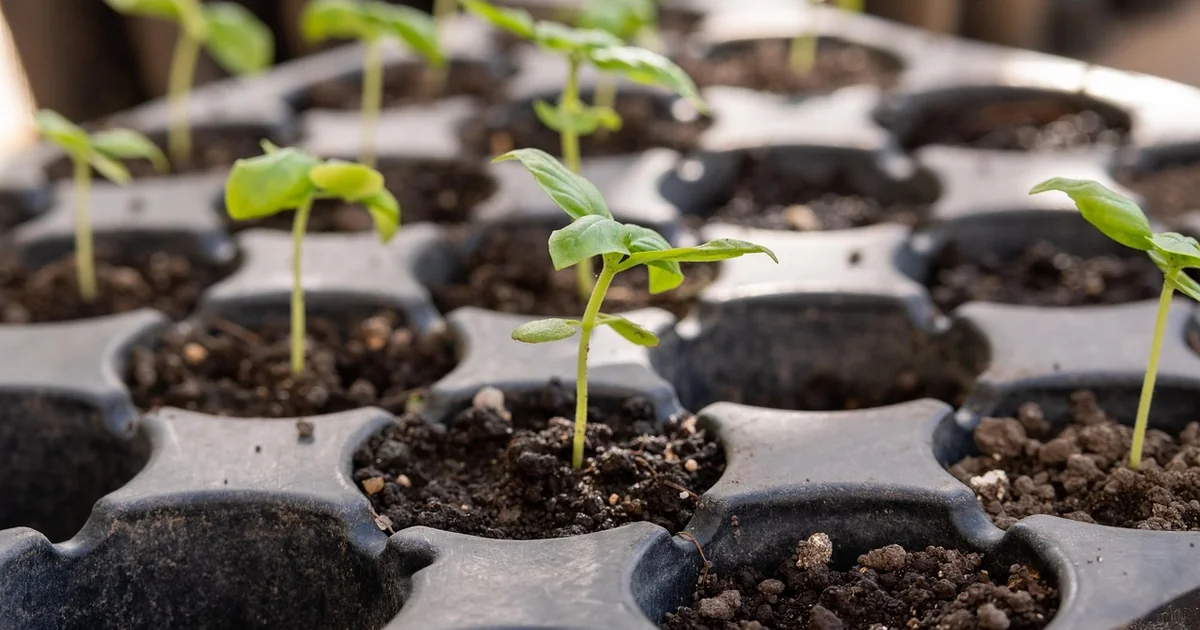
(Photo credit: Tatiana Ebel / Getty Images)


