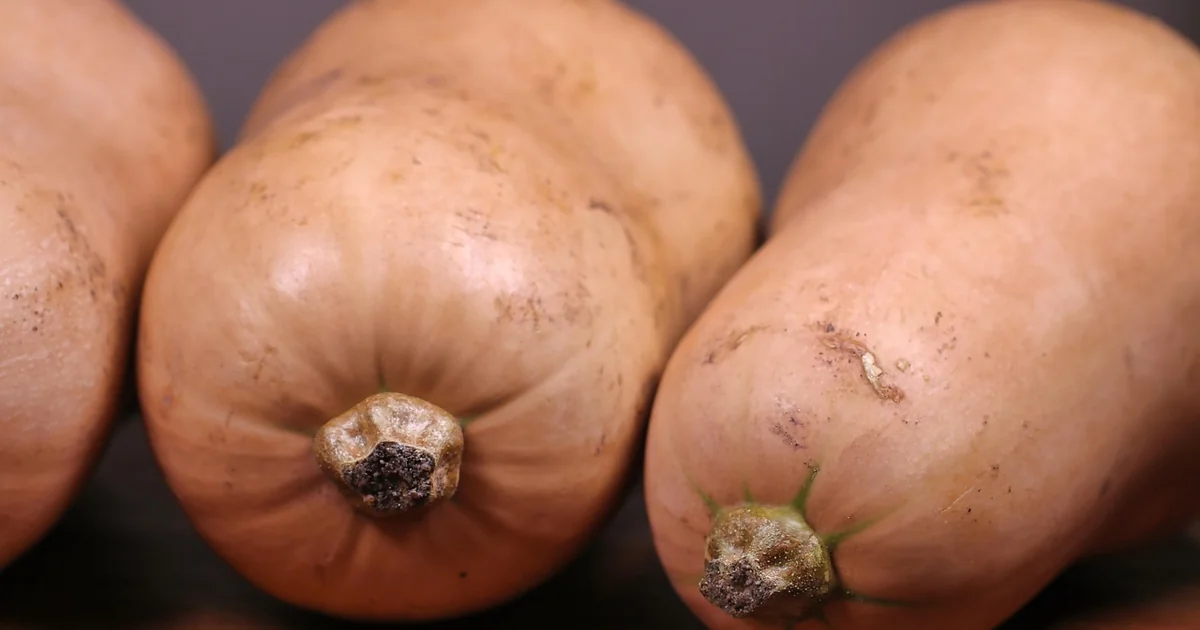
The anticipation of a sun-ripened squash, bursting with flavor, is a cornerstone of many summer gardens. But what happens when your local climate offers a fleeting growing season? Or perhaps you’re simply eager to enjoy a homegrown harvest earlier than nature allows? The answer lies in a simple, yet effective technique: starting squash seeds indoors. Squash plants, with their notoriously sensitive root systems, benefit immensely from this head start. Mastering the art of indoor squash seed starting isn’t just about extending the harvest; it’s about nurturing healthier, more robust plants that are better equipped to thrive, even under less-than-ideal conditions. Let’s delve into the seven secrets that will transform your squash dreams into a delicious reality.
1. Timing is Everything: Aligning with Your Last Frost Date
The most crucial factor in successfully starting squash seeds indoors is understanding your local climate and your last expected frost date. This isn’t a rigid rule, but a vital guideline. Squash roots are incredibly sensitive to disturbance, and transplanting a root-bound seedling is a recipe for disaster. A plant that’s spent weeks cramped in a small pot will struggle to establish itself in the ground, often leading to stunted growth and a compromised harvest. To avoid this, you need to plan ahead. Count backward from your last expected frost date and add approximately two weeks. This allows you to sow your seeds indoors, giving them the time they need to develop into strong, healthy seedlings before the outdoor conditions are ready. For example, if your last frost date is May 15th, you’d aim to sow your squash seeds indoors around April 1st. However, be mindful that this is a general estimate – local weather patterns can vary significantly. Keep an eye on the forecast and adjust your timing accordingly. The goal is to give your seedlings a short, controlled indoor phase, followed by a gentle transition to the outdoors.
2. Biodegradable Pots: Minimizing Root Shock
Traditional plastic pots can inflict significant damage to a squash seedling’s roots during transplanting. The sudden change in soil composition and the disturbance of the roots can lead to stress, hindering growth and impacting yield. The solution? Biodegradable pots. These pots – typically made from peat, coir, or paper – completely break down when planted, eliminating the root shock associated with traditional containers. This is a game-changer for squash, a crop that truly appreciates a gentle start. When you plant a biodegradable pot directly into the ground, the roots simply grow through the material, establishing themselves seamlessly. This reduces transplant stress dramatically, resulting in healthier, more vigorous plants. The fact that they decompose also benefits the soil, adding organic matter as they break down, which is always a bonus. Consider the environmental impact as well – fewer plastic pots ending up in landfills is a worthwhile benefit.
3. Seed-Starting Mix: The Foundation for Strong Roots
Don’t even think about using garden soil to start your squash seeds. Garden soil is often too dense and compacts easily in small containers, hindering root development. You need a light, sterile seed-starting mix specifically formulated for seedlings. This mix consists of ingredients like peat moss, vermiculite, and perlite, which provide excellent drainage and aeration, creating an optimal environment for root growth. Pre-moisten the mix before sowing the seeds – damp, but not waterlogged – to ensure they have a good start. A dry seed-starting mix can inhibit germination. Maintaining consistent moisture is key, but avoid overwatering, which can lead to damping-off disease. A good seed-starting mix is the foundation upon which a strong, healthy squash seedling is built. It’s a small investment that pays significant dividends in the long run.
4. Light Up the Night: The Importance of Grow Lights
Squash seedlings are demanding when it comes to light. They quickly become leggy and weak if they don’t receive enough sunlight. While a south-facing window can provide some light, it’s often insufficient, especially during the shorter days of spring. This is where grow lights become indispensable. A grow light provides the consistent, intense light that squash seedlings need to thrive. Position the light two to three inches above the seedlings and run it for approximately 14 hours a day. As the plants grow, raise the light to maintain that distance, ensuring they continue to receive adequate illumination. Stocky, compact seedlings with short spaces between the leaves are a clear indicator that your plants are getting enough light. The objective is to prevent them from reaching for the light, which results in weak stems and reduced yields. Investing in a good quality grow light is a worthwhile investment for any serious squash grower.
5. The Warmth Factor: Utilizing a Heat Mat
You may also enjoy reading: 11 Plants for a Private Front Yard All Year.
Germination is significantly accelerated when the soil is warm. Squash seeds, like many others, germinate best in soil temperatures between 75°F and 85°F (24°C – 29°C). Room temperature is often insufficient, especially during the cooler months. This is where a heat mat comes into play. Placing the seed trays on a heat mat provides gentle, consistent warmth, dramatically speeding up the germination process. Without supplemental heat, germination can take considerably longer – sometimes weeks – pushing out your transplanting timelines. The heat mat doesn’t just speed things up; it also helps to ensure even moisture distribution in the soil, creating an ideal environment for the seeds to sprout. A heat mat is a relatively inexpensive piece of equipment that can make a huge difference in the success of your squash seed starting efforts.
6. Harden Off: Preparing Seedlings for the Great Outdoors
Hardening off is a crucial step that often gets overlooked. It’s the process of gradually acclimating your indoor-grown seedlings to the outdoor environment. Suddenly transplanting a plant that has been living in a controlled, indoor environment can be incredibly stressful, leading to shock and potentially even death. To harden off your seedlings, start by placing them outdoors in a sheltered location for just an hour or two each day, gradually increasing the duration over a week or two. This allows them to slowly adjust to the sunlight, wind, and temperature fluctuations of the outdoors. During this period, protect the seedlings from strong winds and direct sunlight. A shaded area is perfect for the initial hardening-off process. This gradual acclimatization process prepares your seedlings for a successful transition to their permanent outdoor location, significantly increasing their chances of survival and thriving.
7. Direct Sowing: A Simpler Alternative in Warmer Climates
While starting squash seeds indoors offers a significant advantage in cooler climates, it’s not always necessary – and sometimes even less desirable – in warmer regions. Direct sowing is a simpler and often more reliable approach in areas with long growing seasons and consistently warm soil. The key to successful direct sowing is to ensure the soil has warmed up to at least 70°F (21°C). You can test the soil temperature with a soil thermometer. Once the soil is warm, sow the seeds directly into the ground, spacing them according to the variety’s recommendations. Squash plants are vigorous and can handle being transplanted, so direct sowing is a perfectly viable option in suitable climates. However, remember that starting indoors provides a head start, allowing you to harvest earlier and potentially enjoy a longer growing season. The optimal choice depends entirely on your local climate and growing conditions.
Successfully starting squash seeds indoors isn’t about following a rigid set of rules; it’s about understanding the needs of these sensitive plants and providing them with the optimal environment for growth. By paying attention to timing, using the right containers and soil mix, providing adequate light and warmth, and properly hardening off your seedlings, you’ll be well on your way to enjoying a bountiful harvest of homegrown squash, extending your summer enjoyment and savoring the flavors of a truly rewarding garden.


