You see them everywhere these days—tiny rosettes spilling from teacups, spiky clusters on office desks, and oversized agaves anchoring sunny patios. Their popularity is well deserved. These water-storing plants come in an astonishing variety of shapes, textures, and colors. But here is the truth many people discover too late: they are not invincible. Without a bit of know-how, even the toughest succulent can turn into a mushy mess or a pale, stretched shadow of its former self.
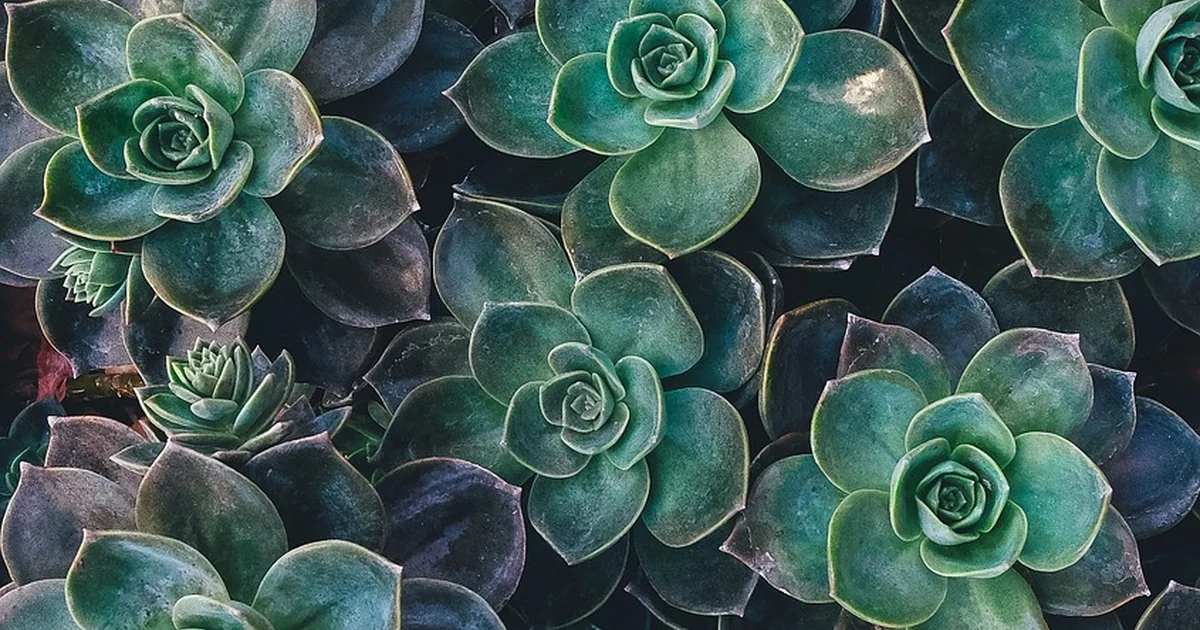
The good news? The basics are remarkably straightforward. Once you understand how these plants work, keeping them plump and vibrant becomes second nature. Here are seven essential succulent care tips that will help your collection thrive, whether you are a first-time owner or a seasoned enthusiast looking to refine your routine.
What Exactly Is a Succulent?
Before we dive into care, it helps to understand what you are actually growing. The word “succulent” does not refer to a single plant family. It describes a trait. Any plant with thickened, fleshy parts that store water can be called succulent. That stored moisture lives in the leaves, stems, or roots.
Common genera that people recognize as succulents include Sedum, Sempervivum, Echeveria, Aeonium, and Crassula (which includes the ever-popular jade plant). Because these groups come from different plant families, their individual needs vary slightly. But the principles below apply to almost all of them.
Tip 1: Start With a Healthy Specimen
Your success begins the moment you pick out a plant. Healthy succulents bounce back from minor mistakes. Unhealthy ones start with a disadvantage that is hard to overcome.
What to Look For
Choose plants with leaves that are firm and plump. Avoid any specimen with unusual discoloration, soft spots, or torn foliage. The leaves should start close to the base of the plant, especially in rosette-forming types like Echeveria and Sempervivum. A full, compact shape signals good light and proper watering from day one.
Check for Hidden Problems
Do not skip the pest inspection. Look on both sides of the leaves and along the stem. Then gently slide the plant out of its nursery pot. Examine the soil for any signs of critters, mold, or roots that are circling tightly around themselves. A root-bound succulent may struggle to absorb water even when you water correctly. If you see a dense tangle of roots, plan to repot soon after bringing it home.
Choose Your Source Carefully
Big box stores and furniture shops often carry succulents, but those plants may lack proper labels and can be stressed from poor lighting or irregular watering. Specialty garden centers, reputable nurseries, and farmers’ market plant vendors tend to stock healthier, better-identified selections. That said, I have rescued plenty of marked-down, scraggly succulents from discount racks. They can bounce back with care—just know you are starting from behind.
Tip 2: Water the Right Way
This is the area where most people go wrong. Succulents are drought-tolerant, not drought-proof. They need water to stay plump and healthy. The trick is timing and technique.
The Soak-and-Dry Method
The most reliable watering practice is simple: soak the soil thoroughly, then let it dry out completely before watering again. When you first pot a succulent, water until the soil feels damp all the way through. Then wait. Stick your finger about an inch into the growing medium. If it feels dry, it is time to water again.
Don’t Let It Dry Up
There is a big difference between soil that is dry on the surface and soil that has shrunk away from the pot edges. If the growing medium has hardened and pulled inward, you have waited too long. That bone-dry condition makes it hard for water to re-enter the soil evenly. Instead of simply pouring water on top, place the entire pot in a sink or tray with about an inch of water. Let it sit for an hour or two so the soil can slowly rehydrate from the bottom.
Seasonal Adjustments
Many succulents slow their growth in winter, especially if kept in cooler conditions. During that time, they need far less water. A monthly light watering may be plenty. In warm, sunny growing months, you might water every week or even more frequently, depending on pot size and airflow.
Tip 3: Provide the Correct Amount of Sunlight
Sunlight can make or break a succulent. Too little light causes the plant to stretch toward the window, producing a leggy, elongated stem with widely spaced leaves. Too much intense, direct sun can scorch the leaves, leaving brown or white sunburn patches.
Reading the Signs
A healthy succulent kept in adequate light keeps a compact, dense form. Colors often intensify—purples deepen, red edges become more vivid, and blue-green hues turn powdery. If you notice your plant leaning dramatically or growing tall and sparse, it is begging for more rays. Move it gradually to a brighter spot over the course of a week to avoid shocking it.
Indoor Placement
A south- or west-facing window usually offers the best light for succulents indoors. If you do not have a bright windowsill, consider using a grow light. Even a modest LED grow light placed a few inches above the plants can keep them compact and colorful during dark winter months.
Outdoor Acclimation
If you move indoor succulents outside for summer, introduce them to direct sun slowly. Start with a few hours of morning light, then increase exposure over two weeks. Otherwise, leaves that spent months in dim conditions will burn quickly.
Tip 4: Use the Right Growing Medium
Succulents do not like sitting in soggy soil. That is the fastest route to rot. Regular potting mix holds too much moisture for most of these plants. You need a fast-draining blend that allows air to reach the roots.
DIY Succulent Soil
You can buy pre-made cactus and succulent mixes, but they often still contain too much organic material. A simple homemade recipe works well: mix two parts regular potting soil with one part coarse sand and one part perlite or pumice. The perlite creates air pockets and improves drainage. The sand adds grit. The result is a mix that holds a little moisture but never stays wet for long.
You may also enjoy reading: 5 Perennials to Divide in May for Stunning Blooms.
Pot Choice Matters
Terra cotta pots are a favorite among succulent growers for good reason. The unglazed clay breathes and wicks moisture away from the soil. Plastic or glazed ceramic pots retain water longer. If you use those, you must be extra careful not to overwater. Whichever pot you choose, make sure it has a drainage hole. A layer of gravel at the bottom does not substitute for a real hole.
Tip 5: Understand Overwintering Needs
Winter presents unique challenges for succulent owners. The key question is whether your plant is hardy or tender.
Hardy Succulents
Plants like Sempervivum (hens and chicks) and some Sedum varieties can survive frost. They need a cool, dormant period in winter to stay healthy. In mild climates, you can leave them outdoors under an overhang or cold frame. They will look a bit ragged in cold months, but come spring, a dose of sunshine and water will perk them right up.
Tender Succulents
Most Echeveria, Crassula, and Aeonium cannot handle freezing temperatures. They must come indoors before the first frost. Find the sunniest window in your house. Water sparingly—maybe once a month—because growth slows dramatically in low winter light. Do not be alarmed if the lower leaves shrivel a little. That is normal during dormancy. If the plant starts stretching despite good light, consider adding a grow light.
The Transition
Moving plants between indoors and outdoors stresses them. Do it gradually over a week or two. Spray for any pests you see before bringing tender plants inside for the season.
Tip 6: Repot at the Right Time
Succulents do not need repotting often, but they benefit from fresh soil and more space every couple of years. The best time to repot is early spring, just before the active growing season begins.
Signs It Is Time
Look for roots creeping out of the drainage hole. Check if the plant looks top-heavy or if water runs straight through the pot without soaking in. Those signs suggest the soil has broken down or the roots have filled the container.
How to Repot Gently
Remove the succulent from its old pot and shake off the old soil. Trim away any dead or mushy roots. Place it in a slightly larger pot with fresh, dry succulent mix. Wait three to five days before watering to let any damaged roots callus over. This pause reduces the chance of rot.
Tip 7: Keep an Eye Out for Pests
Succulents are not pest-proof. Mealybugs are the most common troublemaker. They look like tiny white cottony blobs tucked into the leaf joints and under leaves. Scale insects appear as small brown bumps on stems. Spider mites can cause fine webbing and stippled leaf damage.
Prevention and Early Action
Inspect new plants carefully before adding them to your collection. Quarantine any newcomer for a couple of weeks. If you spot pests, isolate the affected plant immediately. A cotton swab dipped in rubbing alcohol works well for removing mealybugs and scale. For larger outbreaks, insecticidal soap or neem oil spray can help. Always test any treatment on a small area first and keep treated plants out of direct sun until they dry.
Bringing It All Together
Growing succulents does not need to be complicated. Choose healthy plants, water only when the soil dries out, provide plenty of light, use gritty soil, and adjust your care with the seasons. These succulent care tips will keep your collection looking full, colorful, and resilient for years. The beauty of succulents is that once you understand their rhythm, they become some of the most forgiving and rewarding plants you can grow. So find a sunny spot, pick a few varieties that catch your eye, and enjoy the process.