You step into your garden just as dusk settles. The last rays of sunlight disappear behind the trees. A soft glow flickers above your patio table, and for a moment, the space feels enchanted. That magical feeling comes from a simple object you built yourself: a diy solar chandelier. It requires no wiring, no electrician, and no monthly power bill. It just needs the sun and about fifteen minutes of your time.
Why a DIY Solar Chandelier Changes Your Outdoor Space
Garden lighting does more than help you see at night. It shapes the mood of your entire yard. A single overhead fixture can turn a plain corner into a cozy gathering spot. The challenge is that most outdoor lighting options come with strings attached — literally. Extension cords run across lawns. Hardwired fixtures demand professional installation and permanent changes to your home.
Solar lighting removes those barriers entirely. You place the fixture where you want it, as long as sunlight reaches it during the day. No cords, no permits, no drilling through walls. The diy solar chandelier takes this freedom one step further. It hangs in the air, suspended from a tree branch, a pergola beam, or a shepherd’s hook. The light pours downward, creating a circle of warmth beneath it.
According to a 2022 report from the Solar Energy Industries Association, residential solar lighting products saw a 37% increase in sales between 2019 and 2021. Homeowners are choosing renewable options for their outdoor décor more than ever before. The diy solar chandelier fits perfectly into this growing trend because it combines sustainability with personal style.
Hack 1: Convert a Standard Wire Hanging Basket Into the Frame
The foundation of any hanging solar chandelier is the frame. A wire hanging basket works better than almost anything else for this purpose. These baskets are inexpensive, widely available at garden centers and dollar stores, and their open structure lets light pass through freely.
Choosing the Right Basket
Look for a basket with a round wire circle at the bottom. This circle will hold your solar light in place. The ideal basket has a hole in the center of that bottom circle, large enough for the solar panel to sit in without needing glue or tape. Measure the diameter of your solar light’s top section before you shop. Most standard stake lights have a panel diameter of about two to three inches, so a basket with a center hole of that size works perfectly.
Preparing the Basket
Remove any coconut coir lining or plastic inserts that came with the basket. You want only the bare wire frame. If the basket has a hook or hanger attached at the top, remove it as well. You will reposition the chains later, so starting with a bare frame makes the process cleaner.
Why This Hack Works
Wire hanging baskets are designed to hold weight and withstand outdoor conditions. They are galvanized or coated to resist rust. A basket that costs under five dollars can support a solar light for years without bending or breaking. The open wire pattern also allows rain to drain through, preventing water from pooling around the solar panel.
Hack 2: Repurpose a Solar Stake Light by Removing the Stake
Solar stake lights are everywhere. You see them lining garden paths and illuminating flower beds. What most people do not realize is that the stake part is removable. Once you take it off, the light section becomes a standalone unit ready to hang.
How to Remove the Stake
Most solar stake lights have a plastic or metal rod that slides into a socket on the bottom of the light housing. Grip the light head with one hand and the stake with the other. Twist gently while pulling. The two pieces should separate without tools. If the connection is tight, use a pair of pliers on the stake while holding the light housing firmly. Wrap the pliers in a cloth to avoid scratching the plastic.
Selecting the Right Light
Not all solar stake lights are created equal. For a diy solar chandelier, choose a light with a flat top surface. This surface will rest against the bottom of the hanging basket. Lights with domed tops or decorative finials may not sit flush, which can make the chandelier hang unevenly. Warm white LEDs produce a softer, more ambient glow than cool white ones. If you want a golden, candle-like effect, look for lights labeled “warm white” or “2700K to 3000K” color temperature.
Battery Considerations
The light you choose should have a replaceable battery. Many budget solar lights have sealed batteries that cannot be swapped out. When that battery dies, the entire light becomes useless. A light with a removable AA or AAA NiMH battery will last much longer because you can replace the battery every two or three years. Check the product description or packaging before you buy.
Hack 3: Reattach the Chains to Create a Convex Shape
This step is the most counterintuitive part of the project, but it is also the most important. Normally, a hanging basket hangs with the chains attached to the rim and the basket opening facing upward. For a chandelier, you want the basket to hang upside down, with the convex bottom facing downward. This inverted position creates a natural bowl shape that cradles the solar light.
Step-by-Step Chain Reattachment
- Remove the chains from the rim of the basket. They are usually attached with small metal rings or S-hooks.
- Turn the basket so the flat bottom faces upward and the open rim faces downward.
- Reattach the chains to the wires near the center hole on the bottom of the basket. You may need to use small zip ties or additional rings if the original hooks do not reach.
- Adjust the chains so they are equal in length. Uneven chains will cause the chandelier to tilt.
Why This Shape Matters
When the basket is convex, the solar light sits in a depression at the top. This keeps the light stable and prevents it from sliding off. The downward-facing rim also creates a natural cage around the light, which can hold decorative elements like crystals or beads without them falling out. The convex shape also looks more like a traditional chandelier than an upright basket would.
Hack 4: Install the Solar Light Without Any Adhesive
You do not need glue, tape, screws, or magnets. The solar light should sit securely in the basket’s center hole using nothing but gravity and friction. If the hole is the right size, the light will stay in place through wind, rain, and accidental bumps.
Testing the Fit
Place the solar light into the hole from the top of the basket. The panel should rest on the basket’s wire rim around the hole. The body of the light should extend through the hole and hang below the basket. If the light falls through, the hole is too large. If the light sits on top without dropping through at all, the hole is too small. In either case, choose a different basket or a different light until you find a pair that fits snugly.
Securing the Light for Extra Safety
If you live in an area with strong winds or frequent storms, you can add a single zip tie as a safety measure. Thread the zip tie through one of the basket’s wire loops and around the neck of the solar light. Tighten it just enough to hold the light in place without crushing the plastic. This prevents the light from falling out if the chandelier swings in a gust of wind.
Orientation Matters
Make sure the solar panel faces upward. The panel needs a clear view of the sky to charge effectively. If the panel is tilted or blocked by the basket’s wires, it will receive less sunlight and produce a dimmer glow. Adjust the light’s position until the panel is as horizontal as possible.
Hack 5: Decorate With Reflective Elements for Maximum Sparkle
The solar light itself produces a gentle glow. To turn that glow into a dazzling display, you need reflective decorations. Crystals, glass beads, and mirrored tiles catch the light and scatter it in multiple directions. The result is a chandelier that looks far more expensive and elaborate than it actually is.
Choosing Crystals and Beads
Not all crystals are equal when it comes to light reflection. Swarovski-style crystals with faceted cuts produce the most sparkle, but they are expensive. Glass prisms from old chandeliers work just as well and can often be found at thrift stores for a dollar or two. Acrylic crystals are lighter and less likely to break if the chandelier swings, but they do not reflect light as brightly. For a balance of cost and performance, use a mix of glass and acrylic elements.
Attaching Decorations
Use fishing line or clear beading wire to hang decorations from the basket’s wire rim. Cut each piece of line to the desired length, thread it through the bead or crystal, and tie it to a wire on the basket. Vary the lengths so the decorations hang at different heights. This creates depth and makes the chandelier look fuller. Aim for a spacing of about two to three inches between each hanging element.
Thematic Ideas for Different Gardens
- Beach theme: Use seashells, sea glass, and pale blue beads. The warm white light will make the shells glow like they are lit from within.
- Woodland theme: Add small pine cones, wooden beads, and green or brown crystals. The natural materials complement the outdoor setting.
- Glamorous theme: Use clear crystals, silver beads, and mirrored tiles. The reflections will create a disco-ball effect when the light hits them.
- Kid-friendly theme: Let children paint wooden beads or plastic gems and string them onto the fishing line. The chandelier becomes a collaborative art project.
Hack 6: Paint the Frame for a Custom Look
A plain galvanized wire basket works perfectly, but it may not match your garden’s aesthetic. Spray paint transforms the frame into a decorative element that complements your outdoor furniture, flower colors, or home exterior.
Choosing the Right Paint
Use spray paint designed for outdoor use and metal surfaces. Rust-oleum and Krylon both offer lines of weather-resistant paint that bond to galvanized metal. Look for paints labeled “bonding” or “direct-to-metal” for the best adhesion. A primer is not always necessary, but it helps the color appear more vibrant and last longer.
Painting Process
Work in a well-ventilated area or outdoors on a calm day. Lay the basket on a drop cloth or newspaper. Apply thin, even coats from about eight to ten inches away. Hold the can parallel to the surface and sweep it across in smooth motions. Thick coats will drip and create uneven texture. Allow each coat to dry for the time specified on the can before applying the next. Two to three thin coats provide full coverage.
You may also enjoy reading: 5 Signs Backyard Chickens Are Worth the Time.
Colors That Work Best
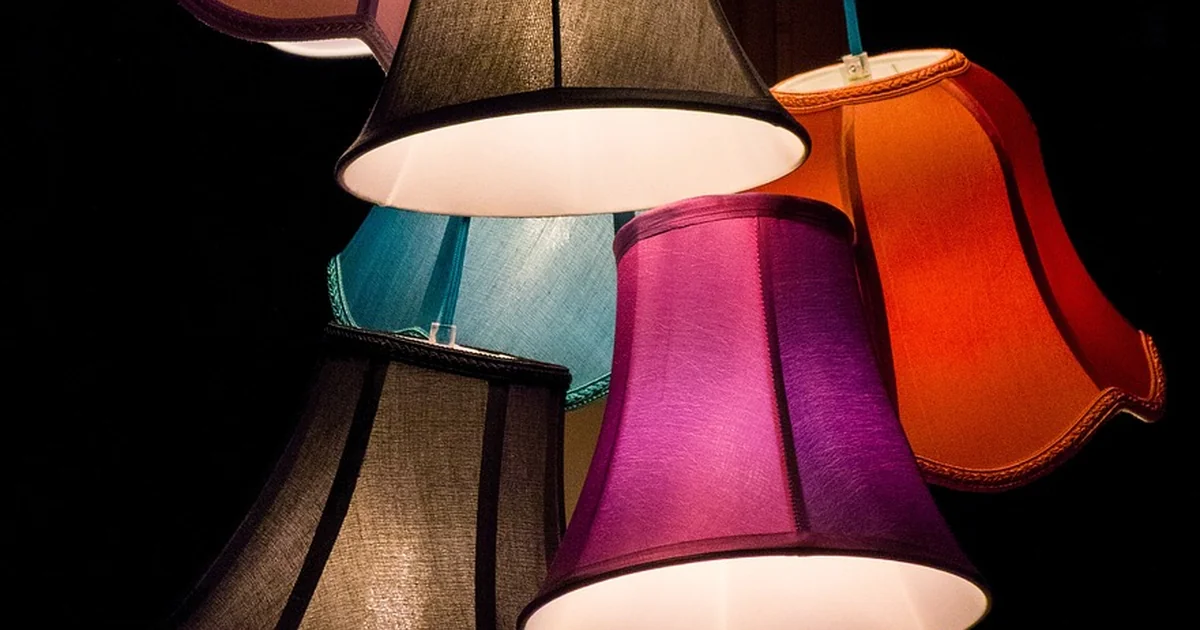
Black and dark bronze are the most popular choices because they recede visually and let the light take center stage. White and silver create a more prominent frame that stands out against dark foliage. Bright colors like teal, coral, or yellow can make the chandelier a focal point even during the day. If you plan to hang the chandelier in a tree, consider the color of the bark and leaves. A frame that blends with its surroundings will look more natural.
Important Caution
Do not paint the solar panel itself. Paint blocks sunlight and prevents the panel from charging. Cover the panel with painter’s tape before you spray. Remove the tape carefully after the paint has dried completely.
Hack 7: Position the Chandelier for Optimal Charging and Ambiance
Even the best diy solar chandelier will disappoint if it hangs in the wrong spot. Three factors determine how well it performs: sunlight exposure during the day, visibility at night, and safety from weather and physical damage.
Sunlight Requirements
Solar panels need direct sunlight for at least four to six hours per day to reach a full charge. Partial shade reduces the charge proportionally. A panel that receives only two hours of direct sun may produce light for thirty minutes instead of an hour. If your yard has limited sunny spots, consider trimming overhanging branches or using a taller hook to lift the chandelier above the shade line.
An often-overlooked fact is that solar panels can charge in ambient light, but the efficiency drops dramatically. On a cloudy day, a panel might receive only 10% to 20% of the energy it would get in full sun. This means the chandelier will glow dimly and briefly after an overcast day. If you live in a region with frequent cloud cover, choose a solar light with a larger panel or a higher-capacity battery to compensate.
Height and Visibility
Hang the chandelier at a height where it is visible but not in the way. A height of six to seven feet above the ground works well for most patios and seating areas. This puts the light at eye level when you are seated, creating a warm, intimate glow without shining directly into your eyes. If you hang it higher than eight feet, the light will spread over a larger area but appear dimmer. If you hang it lower than five feet, people may bump their heads against it.
Weather Protection
The chandelier described in this guide has been left outdoors for years through winter storms, summer heat, and heavy rain. It requires no maintenance. However, you can extend the life of the solar light by bringing it indoors during extreme weather. A hailstorm could crack the solar panel. A hurricane-force wind could snap the chain. If you live in an area with severe weather, take the chandelier down when a storm is forecast.
Creating a Focal Point
Use the chandelier to draw attention to a specific area of your garden. Hang it above a dining table, a bench, a fire pit, or a reading nook. The light will naturally pull people toward that spot after dark. Consider adding other solar lights around the area to create layers of illumination. Path lights leading to the chandelier, for example, create a sense of arrival and anticipation.
How Long Does a DIY Solar Chandelier Really Last?
The original version of this project was built in the summer of 2015. It has been hanging outdoors ever since. The solar light still glows every night for about an hour after sunset. The basket shows no signs of rust. The chains have held firm. The crystals have not broken or fallen off. That is nearly a decade of continuous, maintenance-free use from a project that took fifteen minutes to assemble.
Battery life is the primary limiting factor. A typical NiMH rechargeable battery lasts about two to three years before its capacity drops noticeably. When the light starts glowing for only twenty or thirty minutes instead of an hour, replace the battery. Open the light housing, remove the old battery, and insert a new one of the same type and voltage. This simple step can give the chandelier several more years of life.
The LED itself is rated for tens of thousands of hours. In practical terms, the LED will outlast the battery and probably the basket too. By the time the LED fails, you will likely want to upgrade to a newer, more efficient model anyway.
Common Mistakes to Avoid
Several pitfalls can turn a beautiful diy solar chandelier into a disappointment. Knowing them in advance saves time and frustration.
Using a Basket That Is Too Small
A tiny basket may not have enough room for the solar light and decorations. The light may sit too close to the basket’s edge, causing the chandelier to hang crooked. Aim for a basket with a diameter of at least ten inches. This provides enough space for the light in the center and decorations around the perimeter.
Forgetting to Angle the Solar Panel
If the chandelier hangs from a single point, the basket may tilt slightly. This tilt can angle the solar panel away from the sun, reducing its charging efficiency. Check the chandelier’s balance after you hang it. If it tilts, adjust the chain attachment points until it hangs level.
Overloading the Basket With Heavy Decorations
Wire baskets are sturdy, but they have limits. Loading the basket with dozens of heavy glass crystals can bend the wires or strain the chains. Keep the total weight of decorations under one pound. If you want a heavily decorated look, use lightweight acrylic crystals instead of glass.
Ignoring the Direction of the Sun
The sun moves across the sky from east to west. A chandelier that hangs on the north side of a tree may receive direct sunlight only in the early morning or late afternoon. Observe your chosen hanging spot throughout the day before you finalize the location. A spot that gets direct sun from late morning through mid-afternoon is ideal.


