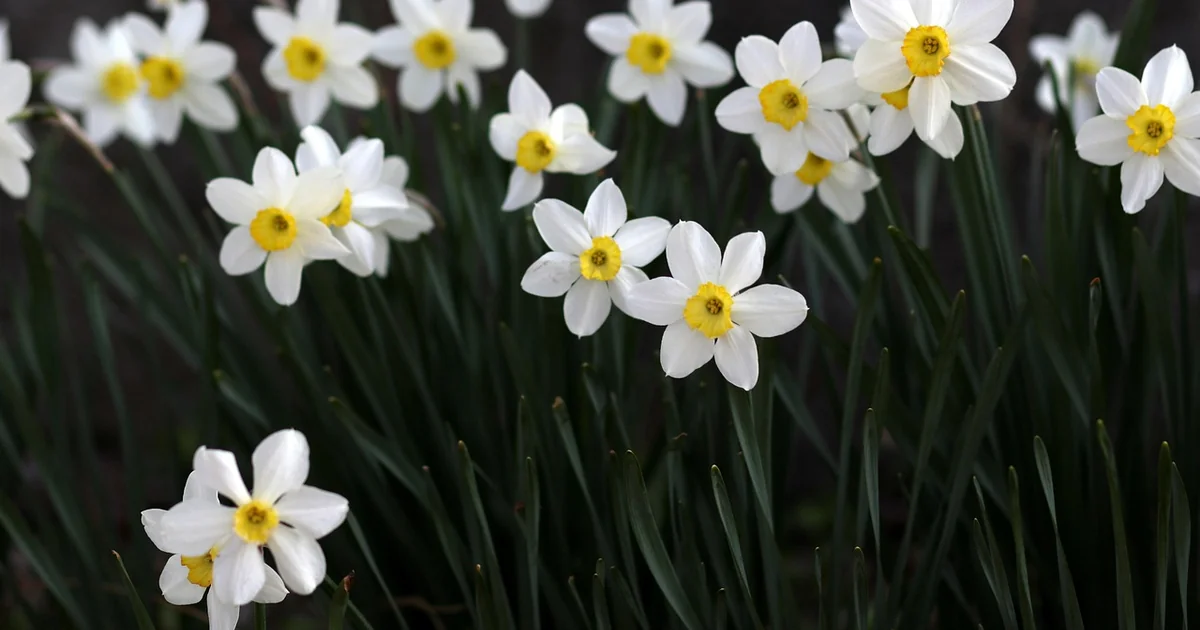
You step into your garden on a cool March morning. The soil is beginning to warm, and tiny green shoots are pushing through the last of winter’s mulch. This is the perfect time to think about spring perennial pruning. Done correctly, this task improves the overall performance of your plants. Cutting back old growth at the right moment and with the right technique makes perennials bloom more abundantly. They become healthier and more visually pleasing. It takes a bit of practice to learn the best methods for each plant, but the rewards are worth the effort.
7 Tips for Effective Spring Perennial Pruning
1. Learn Each Plant’s Life Cycle
Before you pick up your shears, take time to understand the basic rhythm of each perennial. Know when it blooms, when it dies back, and when it leafs out in spring. Some perennials keep their stems standing through winter. Others collapse entirely and go dormant at the root crown. For plants that retain above-ground stems, wait until you see fresh leaves sprouting at the base before you cut the old stems away. Cutting too early forces the plant to use stored energy at a time when it is still weak.
I like to keep a simple garden journal. In winter, while I am planning seed orders, I also note which perennials need a spring trim and which ones should be left alone until later. This small habit prevents me from accidentally snipping away future flower buds. If you prefer a less regimented approach, that is fine too. Just make it a point to observe each plant closely in early spring before you act.
2. Keep Blades Clean and Sharp
Clean, sharp shears produce smooth cuts that heal faster. If you use dull, rusty, or dirty blades, your perennials will suffer more than necessary. Ragged cuts take longer to seal over, leaving an open door for pathogens like bacterial leaf spot or powdery mildew. Sharp tools also make the work easier on your hands and wrists, which means you are less likely to rush and make a mistake.
Before you start spring perennial pruning, spend a few minutes cleaning and sharpening your blades. Remove any rust with fine steel wool or a wire brush. Use a sharpening stone or a specialized tool to restore the edge. Then prepare a sanitizing solution to wipe between plants. A 3% hydrogen peroxide solution works well, 70% isopropyl alcohol, or a diluted bleach solution all work well. Let the blades air dry before moving to the next plant. This single step greatly reduces the chance of spreading disease from one perennial to another.
3. Identify Whether They Bloom on Old Wood or New Wood
This is one of the most important decisions you will make during spring perennial pruning. Some shrubs and perennials produce flowers on growth from the previous year — this is called old wood. Others bloom on the current season’s new growth. A few types, like certain hydrangeas and some clematis, flower on both. If you prune a plant that blooms on old wood too aggressively in spring, you remove the branches that would have carried this year’s flowers. One wrong snip can mean no blooms until the following season.
Take hydrangeas as an example. Bigleaf hydrangea (Hydrangea macrophylla) sets its flower buds on old wood in late summer of the previous year. Cutting it back in early spring can eliminate the buds. On the other hand, panicle hydrangea (Hydrangea paniculata) blooms on new wood, so you can prune it harder in spring and still get a full display by midsummer. If you are unsure about a specific plant, look it up or watch it through one full season before making major cuts. Over time, you will learn the pattern for each perennial in your garden.
4. Deadhead to Extend the Blooming Season
Deadheading is the simple act of removing spent flowers. For long-flowering perennials such as coneflower, bee balm, and coreopsis, deadheading redirects the plant’s energy into producing new buds instead of forming seeds. This results in a longer and more impressive bloom period. It also prevents unwanted self-seeding, which is helpful if you have perennials that tend to take over a border.
When you deadhead, cut the flower stem back to a healthy leaf or a node. This encourages branching and creates a fuller look. You can also bring the faded blooms indoors for small arrangements before they fully wilt. If you want to enjoy the dried seed heads for winter interest or bird food, stop deadheading in late summer. Otherwise, keep at it through the growing season for continuous color.
5. Remove the Three D’s Without Hesitation
The three D’s — dead, diseased, and damaged growth — should be cut energy from your perennials and increase the risk of infection. You can remove these parts at any point in the season, and spring is an excellent time to do a thorough check. Look for branches that snapped under snow load, stems that appear blackened or moldy, and foliage that looks withered without any sign of new life. Take these out first before you do any shaping or thinning.
You may also enjoy reading: 7 Pro Tips to Grow Sweet Potato Slips.
Do not compost diseased material. The pathogens can survive in your compost pile and re-infect plants when you spread the finished product. Instead, bag it and throw it in the trash. For dead or damaged growth that is healthy, you can compost it as usual. Removing the three D’s is the easiest and most forgiving part of spring perennial pruning, and it makes an immediate difference in the appearance and vigor of your garden.
6. Wait for New Growth Before Cutting Back Winter Stems
Many gardeners are eager to tidy up the garden as soon as the snow melts. But perennials that retain standing stems through winter — such as ornamental grasses, echinacea, rudbeckia, and sedum — benefit from a delay. The old stems provide winter habitat for beneficial insects and add visual structure to the dormant garden. They also help protect the crown from extreme temperature shifts.
Wait until you see fresh green shoots emerging at the base of the plant. This is the signal that the perennial is awake and ready for a trim. Then cut the old stems down to a few inches above the crown. Use sharp pruners and make clean cuts. For tall grasses, you can bundle the stems with twine before cutting to make cleanup easier. By waiting, you avoid damaging the tender new growth and you give your garden a clean, refreshed start.
7. Prune Above Buds and Feed After Cutting
When you are shaping a perennial or shortening a stem, always prune just above a bud or a leaf node. This encourages the plant to branch out and fill in with more flowers. If you leave a long stub above the bud, that piece will die back and become an entry point for disease. A clean cut at a 45-degree angle, about a quarter inch above the node, promotes quick healing and a natural look.
Spring perennial pruning is often a good time to give your plants a nutrient boost. After cutting, the plant is in an active growth phase and can make good use of extra food. Spread a thin layer of compost around the crown, or apply a slow-release fertilizer formulated for flowering perennialsWater the area well to help the nutrients reach the roots. This combination of proper cutting and post-pruning nourishment sets your perennials up for a season of lush growth and abundant blooms.
Spring perennial pruning is a skill that rewards you with healthier plants and more vibrant displays. Each snip you make is a decision that influences the coming months. With these seven principles guiding you, you can approach your garden with confidence and watch your perennials thrive.


