If you’re searching for a herb that practically thrives on neglect, one that pops up reliably every spring and adds a vibrant touch to your culinary creations, look no further than the humble chive. These unassuming plants, often relegated to a simple garnish, hold a surprising amount of charm and are remarkably easy to cultivate. They’re incredibly cold hardy perennials, and will pop up reliably every spring.
1. Understanding the Chive Family: Common vs. Garlic
The world of chives can seem a little confusing at first glance. You’ll often hear people simply refer to “chives,” but there are actually two distinct varieties: common chives (Allium schoenoprasum) and garlic chives (Allium tuberosum). They’re closely related, sharing many of the same growing needs, but they have some key differences that affect their flavor and appearance. Common chives are the workhorses of the herb world, boasting hollow, tube-like leaves and vibrant purple pom-pom flowers that bloom in mid-spring. Their flavor is delicate, a subtle oniony tang that’s perfect for adding a fresh burst to salads, dips, and soups. They’re beloved for their fresh, oniony flavor and bright color that comes to the rescue when a dish is in need of a little something green. Garlic chives, on the other hand, have flat, solid leaves and white, star-shaped flowers. As the name suggests, they possess a distinct garlic flavor – a milder, slightly sweeter version than you’d find in a clove of garlic. They bloom later in the summer (August/September), adding a beautiful contrast to the spring purple of their common cousins. The upshot is, you get more plants out of it. It’s very easy to start chives from seed, both indoors and outdoors.
2. Starting from Seed: A Beginner-Friendly Approach
While propagations from division is the most common way to grow chives, starting from seed is surprisingly straightforward and offers a fantastic way to expand your patch. It’s a rewarding experience, particularly for those new to gardening. Indoors, begin 6-8 weeks before the last expected frost. Sow chive seeds about 1/4 inch (6 mm) deep in a seed-starting mix. Keep the soil consistently moist, and place the pot in a dark location with temperatures between 60 and 70°F (15-21°C). The darkness encourages germination. Once the seeds sprout, gradually introduce them to light, moving the pot to a brighter spot. You’ll know they’re ready to transplant when they’ve developed a few sets of true leaves, roughly 6 inches (15 cm) tall. Outdoors, wait until after the last frost. Plant the seeds about 1/4 inch (6 mm) deep in well-prepared soil. Remember that the soil needs to warm up before the seeds will germinate, so starting indoors gives them a head start. This method allows you to cultivate a larger quantity of chives simultaneously, offering a more efficient route for gardeners eager to establish a robust herb garden. It’s very easy to start chives from seed, both indoors and outdoors.
3. Perfecting the Planting Conditions: Soil and Sunlight
Chives thrive in conditions that mimic their native temperate Northern Hemisphere habitat. They prefer well-draining soil rich in organic matter. Adding compost or well-rotted manure to the planting area will significantly improve the soil’s fertility and drainage. They can tolerate a range of soil types, but heavy clay soils should be amended to ensure proper aeration. Regarding sunlight, chives are adaptable and can flourish in both full sun and partial shade. However, they’ll produce the most abundant flowers and the strongest growth when exposed to at least six hours of sunlight per day. In hotter climates, a bit of afternoon shade can prevent the plants from scorching. They are surprisingly resilient and can tolerate a degree of neglect, which is part of their appeal as a gardener’s favorite.
4. The Importance of Dormancy: A Winter’s Rest
Chives are incredibly cold hardy perennials, and will pop up reliably every spring. This resilience stems from their natural dormancy cycle. During the winter months, chives need a period of cold exposure to trigger this dormancy, which is crucial for their long-term health and vigor. A frost or two is exactly what they need. If you live in a region with mild winters, you may need to simulate dormancy by bringing the plants indoors or covering them with a frost blanket for a few weeks. This period of rest allows the plant to conserve energy and strengthen its roots, ensuring a robust display of growth and flowers in the spring. Without this dormancy, the plants may become weak and leggy, producing fewer flowers and less flavorful leaves.
5. Dividing for Expansion: Creating More Chives
As mentioned earlier, chives are prone to forming dense clumps, and these clumps can eventually become overcrowded, hindering growth and reducing the quality of the leaves. The solution? Dividing the plants! This is a simple and effective way to expand your chive patch. The upshot is, you get more plants out of it. In early spring or mid-fall, carefully dig up an established clump of chives. Gently pull apart the clump, separating it into smaller sections containing 5-10 bulbs each. Replant the smaller clumps at least 8-10 inches apart, or wherever you want more chives to take hold. This method not only increases your supply of chives but also rejuvenates the plants, promoting healthier growth and more abundant harvests. It’s a cyclical process, ensuring a continuous supply of these flavorful herbs for years to come.
You may also enjoy reading: 13 Classic Annual Flowers for Endless Blooms.
6. Harvesting for Maximum Flavor: Timing is Everything
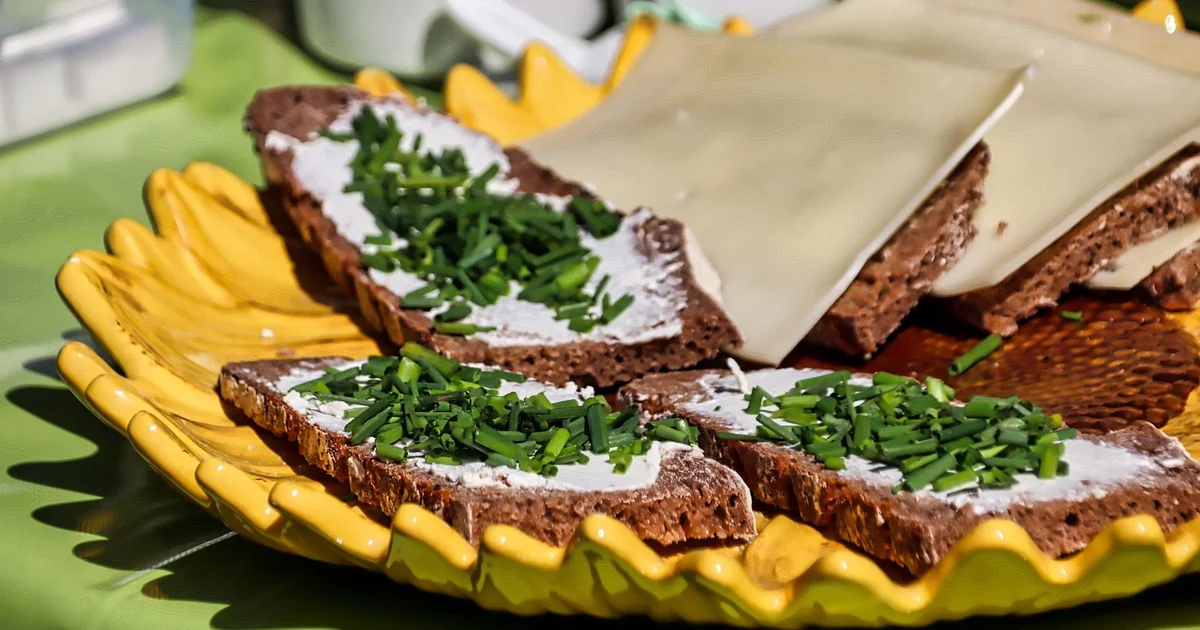
To ensure you’re getting the most flavorful chives possible, it’s important to harvest them at the right time. Young leaves, harvested in the spring, tend to be milder and sweeter. As the plants mature, the leaves become slightly more pungent. Regular harvesting also encourages new growth, keeping the plants productive. You can harvest chives throughout the growing season, snipping off the leaves as needed. For flowers, pinch them off as they begin to fade to direct the plant’s energy into leaf production. Don’t be afraid to experiment with different harvesting times to find what works best for your taste preferences. It’s a simple act, but it has a significant impact on the overall quality of your chive harvest. The leaves don’t need to be perfectly uniform, either – a bit of unevenness adds character to the dish.
7. Indoor Growing Tips: Bringing the Garden Inside
There’s no rule that says you can’t grow chives indoors! They’re surprisingly well-suited to indoor life and can thrive in a sunny windowsill or under grow lights. Grow indoor chives in a pot that drains well and is full of good potting soil. Place the pot in bright light, ideally near a south-facing window. Harvest the leaves regularly, just as you would outside, to encourage continued growth. It’s a great option for those who lack a sunny outdoor space or simply enjoy the satisfaction of growing their own herbs year-round. They’re still growing, right where I set them down and continue to neglect them. A small, contained garden adds a touch of green to any indoor space, providing a fresh supply of these versatile herbs for your culinary adventures. The leaves don’t need to be perfectly uniform, either – a bit of unevenness adds character to the dish.
Growing amazing chives is a delightfully simple and rewarding experience. From understanding the subtle differences between common and garlic chives to mastering the art of dividing and harvesting, these herbs offer a surprising amount of charm and culinary delight. With a little care and attention, you’ll soon be enjoying a continuous supply of these flavorful greens, adding a vibrant touch to your dishes and your garden. They’re also highly ornamental, producing the lollipop-esque pompom flowers all alliums share. And with their ability to thrive in a variety of conditions, chives are a fantastic addition to any gardener’s repertoire. They’re beloved for their fresh, oniony flavor and bright color that comes to the rescue when a dish is in need of a little something green. They’re still growing, right where I set them down and continue to neglect them. (No baked potato bar would be complete without them).


