If you’re searching for a culinary herb that practically thrives on neglect, look no further than the humble chive. These unassuming plants, with their delicate oniony flavor and vibrant green hue, are a gardening staple for a reason – they’re remarkably easy to grow, incredibly resilient, and offer a delightful burst of freshness to countless dishes. From the rustic charm of a freshly baked potato to the sophisticated garnish on a fine dining plate, chives add a touch of elegance and flavor. But beyond their convenience, understanding the nuances of chive cultivation can dramatically improve your harvest and unlock the full potential of these versatile plants.
Secret #1: Understanding the Chive Varieties – Common vs. Garlic
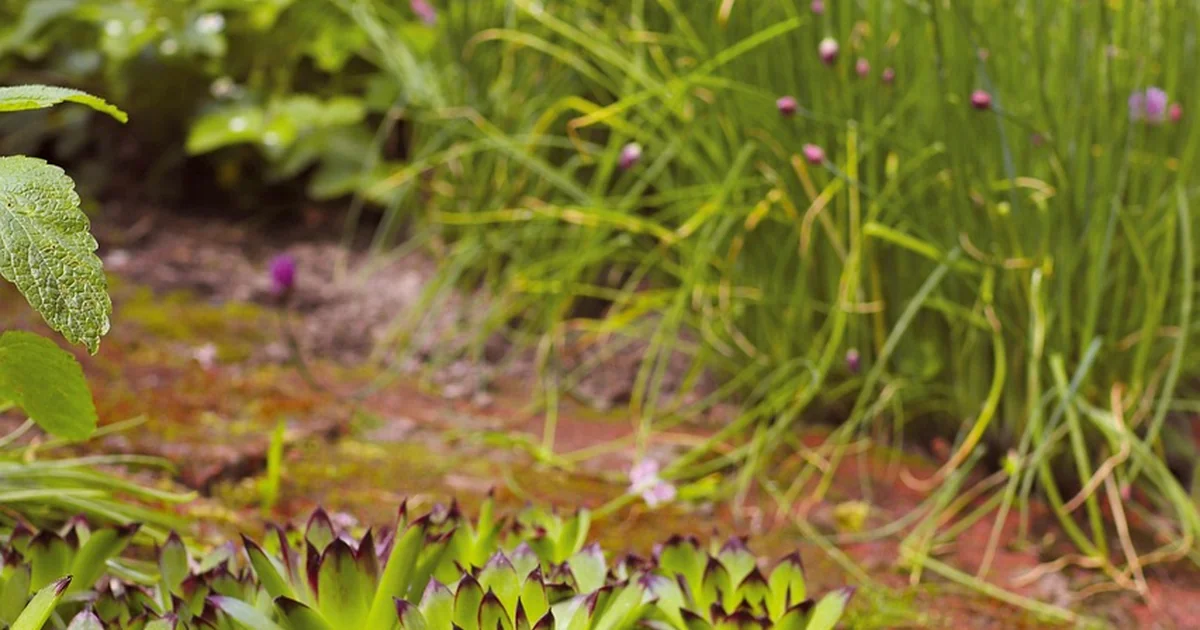
The first step to growing delicious chives is recognizing that there isn’t just one type of chive. You’ll encounter two primary species: common chives (Allium schoenoprasum) and garlic chives (Allium tuberosum). While both belong to the same family and share a similar growing habit, they offer distinct flavor profiles and visual appeal. Common chives, the ones most often pictured, boast hollow, tube-like leaves and produce charming purple pom-pom flowers in the spring. These flowers, surprisingly, are also edible and add a subtle sweetness to salads. Garlic chives, on the other hand, have flat, solid leaves and creamy white, star-shaped blossoms that appear later in the summer – typically August and September. They possess a noticeable garlic flavor, making them a popular addition to Asian cuisine and a lovely alternative for those who prefer a less pronounced onion taste. The key difference lies in the leaf structure and the intensity of their respective aromas; understanding this distinction will help you choose the variety that best suits your culinary preferences and garden aesthetic. Did you know that chives have been cultivated in Europe for over 2,000 years, originating in Persia (modern-day Iran)? Their early introduction to Western cuisine was largely due to the Silk Road, facilitating the exchange of herbs and spices across continents.
Secret #2: The Power of Cold – Triggering Dormancy for Maximum Yield
Chives are incredibly cold hardy perennials, a trait that might seem like a disadvantage in warmer climates. However, this resilience is precisely what makes them so successful. But there’s a secret to unlocking their full potential – a period of cold dormancy. After a generous harvest in the spring, chives naturally begin to slow down their growth and prepare for winter. This process, triggered by a period of frost and cooler temperatures, is absolutely vital for ensuring a robust and abundant harvest the following year. Without this dormancy period, the plants will continue to grow throughout the winter, depleting their energy reserves and resulting in a significantly reduced yield the next spring. Aim for at least six to eight weeks of consistent temperatures below 40°F (4°C) – this is typically achieved in regions with cold winters. Simply allowing the plants to be exposed to the elements during the fall and winter months will encourage this natural dormancy, resulting in a stronger, healthier plant ready to burst forth with new growth in the spring. Interestingly, research has shown that the intensity of the cold exposure can influence the intensity of the chive’s flavor – colder winters tend to produce chives with a more pronounced oniony taste.
Secret #3: Seed Starting – A Surprisingly Rewarding Journey
While division is the most common method for propagating chives, starting from seed offers a fascinating and rewarding experience. It’s a fantastic project for gardeners of all levels, and it gives you complete control over the genetics of your plants. Indoor seed starting is surprisingly straightforward. Begin 6-8 weeks before the last expected frost. Sow chive seeds about 1/4 inch (6 mm) deep in seed-starting trays or small pots filled with a well-draining seed-starting mix. Water gently and consistently, keeping the soil moist but not soggy. Place the trays in a dark location – light will inhibit germination. Once the seeds sprout (which can take anywhere from 7 to 21 days, depending on the conditions), gradually introduce them to light, starting with a few hours a day and increasing the exposure over a week or two. Transplant the seedlings to larger pots when they develop their first set of true leaves – typically around 6 inches (15 cm) tall. When transplanting outdoors, wait until after the last frost. The soil needs to be warmed up, so starting indoors gives your chives a head start. It’s estimated that approximately 60-70% of chive seeds germinate, so don’t be discouraged if you don’t have a lush, uniform planting.
Secret #4: Division – The Simplest Route to a Thriving Patch
In most cases, starting chives from seed is unnecessary. The easiest and most common method of propagation is through division. Chives are notorious for becoming quite dense, forming large clumps that can quickly become overcrowded. This overcrowding leads to reduced airflow, increased disease risk, and a decreased yield. Dividing the plants is an efficient way to rejuvenate them and create more plants. The best time to divide chives is in early spring or mid-fall – avoid disrupting the plants during their active growing season. Gently dig up the entire clump, taking care not to damage the roots. Carefully separate the clump into smaller sections, each containing 5-10 bulbs. Replant the smaller clumps 8-10 inches (20-25 cm) apart in a sunny location with well-draining soil. You can repeat this process as many times as you like, creating a multitude of new chive plants from a single parent plant. It’s a remarkably simple process that yields impressive results – essentially, you’re multiplying your chive supply exponentially!
Secret #5: Sunlight and Soil – The Foundation for Success
While chives are surprisingly adaptable, they thrive in specific conditions. They prefer full sun to part shade, meaning they need at least six hours of sunlight per day to flourish. However, in extremely hot climates, a little afternoon shade can help prevent the leaves from scorching. Regarding soil, chives are not overly fussy, but they do appreciate a well-draining, fertile soil. A soil pH of 6.0 to 7.0 is ideal. Amend your soil with compost or well-rotted manure before planting to improve its fertility and drainage. If you have heavy clay soil, consider adding sand or perlite to lighten it up. Furthermore, chives benefit from a little extra nutrients; a light feeding of balanced fertilizer in the spring can encourage vigorous growth. The average garden soil pH for optimal chive growth is around 6.5, but it’s important to test your soil to be sure.
You may also enjoy reading: 7 Plants to Start Your Subsistence Garden.
Secret #6: Harvesting for Maximum Flavor – Timing is Everything
Harvesting chives correctly is crucial for maximizing their flavor. You can begin harvesting the leaves as soon as they reach a height of 6 inches (15 cm). Snip the leaves with scissors or shears, taking only what you need. Regular harvesting encourages the plant to produce new growth, resulting in a continuous supply of fresh chives. Avoid cutting off the entire plant, as this can weaken it. The best time to harvest is in the morning, after the dew has dried, as the leaves will have the highest concentration of flavor at this time. Chive flowers are also edible and can be added to salads or used as a garnish. Interestingly, the flavor of chives intensifies as they mature, so don’t be afraid to harvest them frequently throughout the season. A good rule of thumb is to harvest about one-third of the plant’s foliage at a time – this will prevent the plant from becoming stressed and ensure continued growth.
Secret #7: Indoor Chive Gardening – Bringing the Garden Indoors
Believe it or not, you can successfully grow chives indoors! They’re remarkably well-suited to indoor life and often perform better than outdoor chives, particularly in regions with challenging climates. Choose a pot that drains well and is filled with good quality potting mix. Place the pot in a sunny location, ideally near a south-facing window. Alternatively, you can supplement natural light with a grow light. Water regularly, allowing the top inch of soil to dry out between waterings. Harvest the leaves as needed, just like you would outdoors. Indoor chives require slightly less maintenance than outdoor plants, but they still benefit from occasional feeding with a diluted liquid fertilizer. With a little care and attention, you can enjoy a continuous supply of fresh chives year-round, adding a touch of garden freshness to your indoor kitchen. The most common indoor growth rates are around 8-12 inches per year.
Growing delicious chives is a surprisingly simple and rewarding experience. By understanding their unique needs and employing these seven secrets, you can transform your garden into a source of fresh, flavorful herbs that will elevate countless dishes. So, grab a packet of seeds, dig in the dirt, and prepare to be delighted by the vibrant green beauty and irresistible flavor of these versatile perennials. Happy gardening!


