
For outdoor tile installation, use a concrete base for floors or CMU backer for walls. Apply waterproofing membrane. Use exterior-grade thinset on both substrate and tile back.
Align joints with slab expansion joints. Use soft joint material. Grout with flexible grout like PERMACOLOR Select.
Seal grout. Outdoor tile installation is the process of setting tiles in exterior spaces using thicker, denser materials and waterproofing techniques to withstand weather and foot traffic. The materials and methods differ sharply from interior work because the assembly faces rain, freeze-thaw cycles, and unfiltered UV light. Outdoor tiles require higher strength than interior tiles to withstand weather, water, and light, according to LATICRETE.
What Type of Substrate Do You Need for Outdoor Tile?
Outdoor floor tile installations on the ground require a solid concrete base, LATICRETE states. A slab-on-grade or a properly compacted concrete pad provides the stable, non-deflecting surface exterior tile demands. Any movement beneath the tile — from soil settlement, root growth, or drainage issues — transfers directly into the tile layer and causes cracks.
Wall installations follow a different set of rules but the same principle: rigidity and moisture resistance. Outdoor tile installations on walls require substrates such as concrete, concrete masonry units (CMU), or cement backer board, per LATICRETE. Wood-framed walls sheathed with cement backer board give a flat, dimensionally stable surface that won’t rot or swell.
Never use drywall or standard plywood in an exterior tile assembly. Once the substrate is right, you’ll need to add a waterproofing layer.
How Does Waterproofing Protect Outdoor Tile Installations?
Waterproofing and crack isolation membranes reduce crack transmission, eliminate water leakage, and decrease efflorescence, according to LATICRETE. These membranes act as a continuous barrier between the substrate and the tile assembly. A crack isolation membrane absorbs lateral substrate movement so that stress does not telegraph through into the grout joints or the tile itself.
For a deck, balcony, or kitchen patio, a liquid-applied membrane rolled directly onto the concrete slab forms a seamless, fully bonded layer. Tiles set on top stay dry from below. The assembly drains at the surface.
Water never reaches the substrate to freeze and expand. With waterproofing in place, you must account for movement with expansion joints.
Why Must You Align Tile Joints With Expansion Joints?
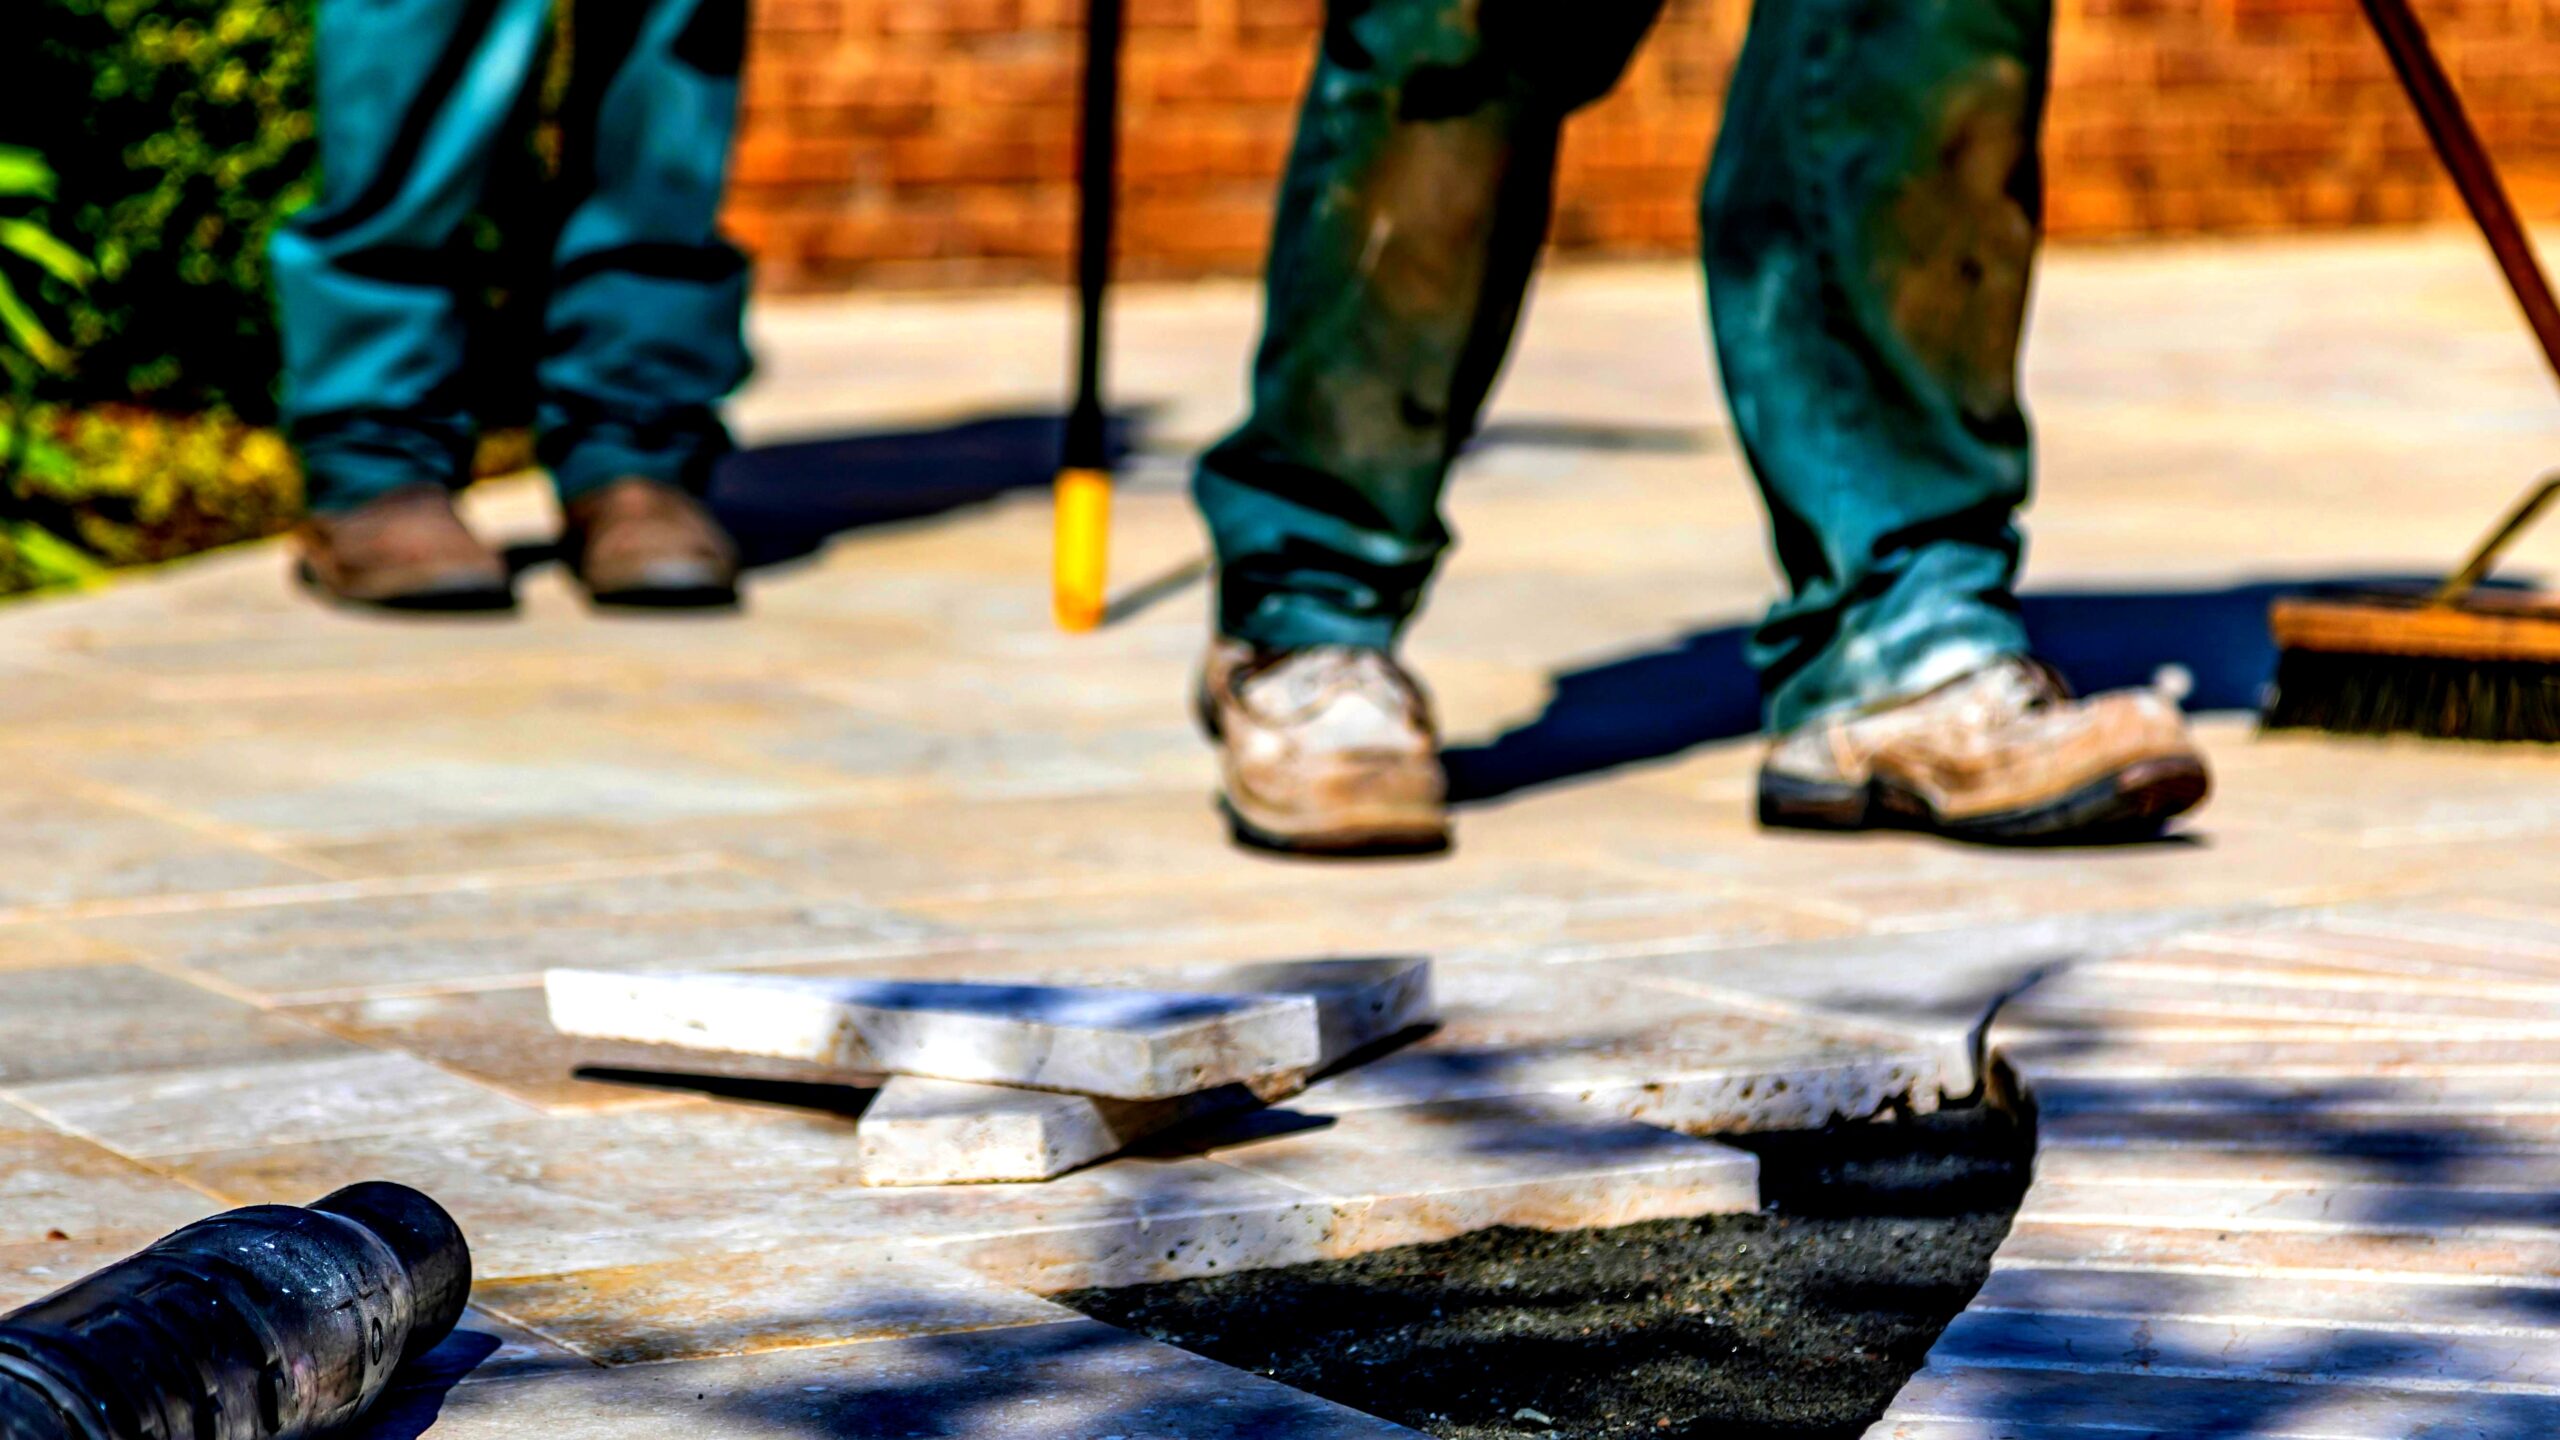
LATICRETE recommends aligning tile layout joints with existing concrete slab expansion joints. Concrete expands in heat and contracts in cold. The expansion joints in the slab are engineered lines of controlled weakness — they give the concrete a designated place to crack and shift. When tile joints do not align with those slab joints, subsurface movement creates uncontrolled stress that snaps tiles or crumbles grout.
A tile layout that mirrors the slab’s expansion joints transforms an inevitable fact of physics into a managed design detail. LATICRETE recommends using LATASIL soft joint material or natural stone silicone sealant for expansion joints. These flexible materials compress and stretch without cracking. They maintain a watertight seal while letting the two adjacent sections of tile move independently.
Which Mortar Works Best for Outdoor Tile Installation?
Mortar selection and application technique decide whether the tile stays bonded through winter. Here is the correct method:
- Choose an exterior-grade thinset mortar. LATICRETE suggests using MULTIMAX Lite or 254 Platinum exterior-grade thinset mortar for tile application. These mortars deliver high bond strength and flexibility to handle thermal expansion and moisture.
- Condition the substrate. Clean the concrete surface so it is free of dust, oil, and curing compounds. Dampen it slightly to prevent the dry slab from pulling water out of the mortar too fast.
- Mix the mortar. Follow the manufacturer’s water ratio precisely. Mix to a smooth, lump-free consistency and let it slake, then remix briefly.
- Apply mortar to the substrate. Trowel the mortar onto the concrete with the flat side of the trowel to key it into the surface. Then comb with the notched side, holding the trowel at a consistent 45-degree angle to create uniform ridges.
- Apply mortar to the tile back. Mortar should be applied to both the substrate and the back of each tile to prevent air spaces, per LATICRETE. Use the flat side of the trowel to burn a thin, even coat onto the back of each tile. Air pockets left under a tile collect water, which freezes and pops the tile off the substrate.
- Set the tile firmly. Place the tile into the wet mortar ridges and slide it perpendicular to the ridges to collapse them. Press down firmly or beat in with a rubber mallet to achieve full contact.
What Grout Should You Use for Weather Resistance?
LATICRETE recommends PERMACOLOR Select grout jointing materials for high strength and flexibility. A rigid, brittle grout cracks the moment the tile assembly moves under thermal stress. Outdoor installations need a grout that bends without breaking and resists water absorption. PERMACOLOR Select meets those demands with a factory-blended formula that delivers consistent color without efflorescence risks.
Joint width matters here too. Wider joints absorb more movement. For exterior tile over concrete, maintain a minimum 3/16-inch joint, though climate and tile size can push that wider.
Pack the joints fully and tool them consistently. Before grouting, consider pre-sealing porous tile to make cleanup easier.
How Do You Seal Outdoor Tile and Grout Properly?
Sealing outdoor tile and grout transforms them from a porous, stain-prone surface into a durable, cleanable assembly. The process differs for tile and grout. Follow these steps exactly:
- Pre-seal unglazed tile before grouting. STONETECH Heavy Duty Sealer is recommended for pre-sealing unglazed porcelain tile or stone products to ease cleaning, according to LATICRETE. Brush or wipe the sealer onto the tile face, keeping it out of the grout joints. Let it absorb, then buff off the excess.
- Grout the installation. Apply the flexible grout per the manufacturer’s instructions and allow it to cure fully. Cure time depends on temperature and humidity — don’t rush to seal too early.
- Apply a grout sealer after cure. Grout sealers protect grout from spills, stains, mold, mildew, and lower the absorption rate. A penetrating sealer, applied with a small brush or roller bottle after the grout has cured, soaks into the grout and leaves a breathable barrier. Water beads on the surface instead of soaking in.
- Reapply on a schedule. Even premium sealers wear down under UV exposure and traffic. Test by sprinkling a few drops of water onto the grout. If the water absorbs rather than beading up, it is time to reseal.
Step-by-Step Outdoor Tile Installation Checklist
Porcelain tile and stone are commonly used for outdoor installations due to thickness, density, foot traffic durability, and water absorption prevention, per LATICRETE. Choose a tile rated for exterior use with a high slip resistance. Then work through this sequence in order. Skipping a step saves a few hours today and costs an entire installation later.
- Prepare the concrete substrate. Confirm the slab has a proper slope — 1/4 inch per foot minimum. Fill cracks and grind high spots flat. Ensure the expansion joints are clean and structurally sound.
- Apply the waterproofing and crack isolation membrane. Roll or trowel the liquid membrane over the entire slab, extending it up walls 6 inches where applicable. Embed reinforcing fabric at cracks and joints per the manufacturer’s instructions.
- Map the tile layout to the slab joints. Measure the slab expansion joints and mark those lines on the membrane. Dry-lay tiles to confirm the tile joints align directly over the slab joints. Adjust the layout so no tile sliver smaller than half a tile falls at the edges.
- Install soft joints at expansion lines. Fill the tile joints that overlay the slab expansion joints with LATASIL soft joint material or natural stone silicone sealant instead of grout.
- Pre-seal unglazed tile. Apply the sealer to the tile face, buff it dry, and verify coverage.
- Set the tile with exterior-grade thinset. Mix MULTIMAX Lite or 254 Platinum per instructions. Burn a coat onto the substrate, comb notches, and burn a coat onto the tile back. Set each tile and beat it in for full coverage.
- Grout with a flexible, high-strength grout. Force PERMACOLOR Select into all grout joints, pack them completely, and tool them smoothly. Clean the tile surface thoroughly before the grout cures.
- Seal the grout after cure. Once the grout reaches full cure, apply a penetrating grout sealer. Cover every joint without puddling sealer on the tile.
- Inspect and detail. Check every joint. Touch up low spots. Verify the soft joints are properly bonded.
FAQ
Q: Can outdoor tile be installed directly on soil or grass?
A: No. Outdoor floor tile installations require a solid concrete base. Installing on soil or grass would lead to shifting, cracking, and failure from moisture and movement.
Q: Do you need to seal outdoor tile grout?
A: Yes. Grout sealers protect grout from spills, stains, mold, mildew, and lower the absorption rate, which is essential for weather resistance in outdoor tile installations. Q: What is the best material for expansion joints in outdoor tile?
A: LATICRETE recommends using LATASIL soft joint material or natural stone silicone sealant for expansion joints to accommodate movement without cracking.


