Linen has a reputation for looking effortlessly elegant, but anyone who has tried to wrangle a wrinkled linen shirt knows the struggle is real. The secret to a crisp finish lies in technique, not brute force. Linen fibers resist creasing when bone-dry, so moisture and heat become your greatest allies. With the right approach, you can banish stubborn wrinkles and enjoy that polished, breathable look linen is famous for. Below are seven proven methods to iron linen clothing like a professional.
Getting Started: Tools That Make Ironing Linen Easier
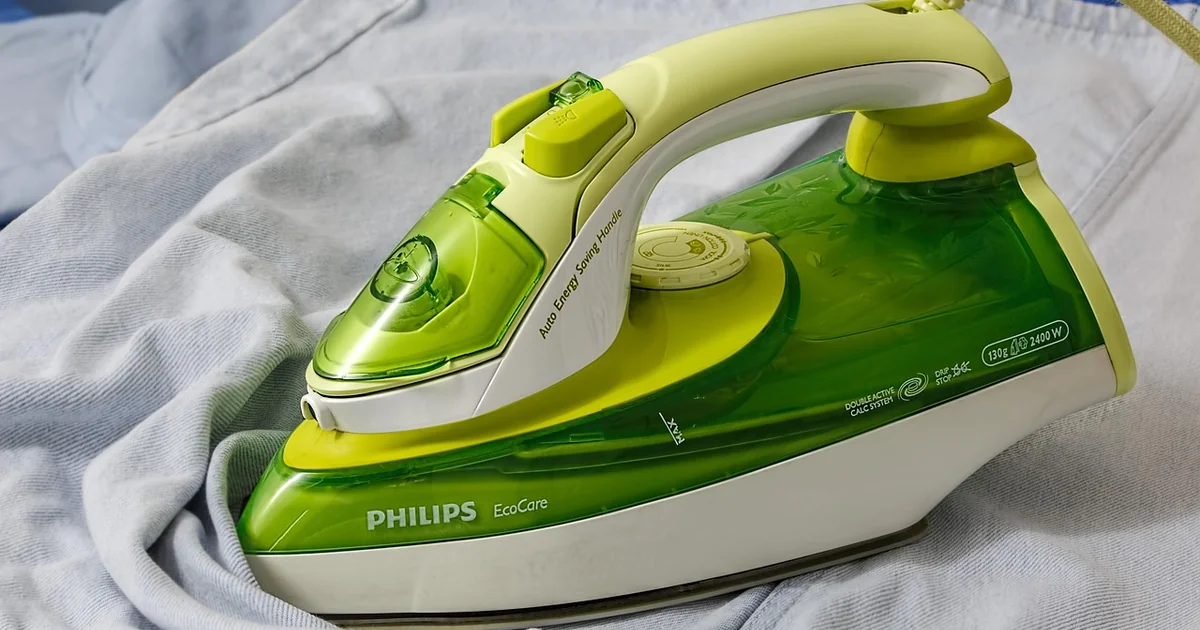
Before diving into the seven techniques, it helps to gather a few essentials. A spray bottle filled with cool water lets you dampen garments on demand. A quality steam iron with a high-temperature setting (cotton/linen zone) delivers the sustained heat needed to relax flax fibers. A sturdy ironing board provides a stable surface for even strokes. And a pressing cloth—often just a clean cotton handkerchief or an old tea towel—acts as a buffer to prevent shiny patches. Having these items on hand transforms the process from frustrating to straightforward.
Why Dampness Matters
Linen is nearly impossible to press when completely dry. The flax fibers need a touch of moisture to become pliable. Even the best steam iron struggles if the fabric is arid. So before you turn on the iron, give the garment a good spritz with plain water and let it sit for 5 to 10 minutes. This simple step makes everything that follows far more effective.
7 Proven Techniques for Perfectly Ironed Linen
1. Dampen the Fabric Thoroughly Before You Start
Fill a spray bottle with clean, cool water and mist the entire garment evenly. Pay special attention to collars, cuffs, pocket flaps, and button plackets—those areas tend to hold deep wrinkles. After spraying, loosely roll the item and let the moisture penetrate for at least five minutes. For very stubborn creases, you can dampen the fabric more heavily or even iron it straight out of the washing machine while it is still slightly wet. This initial soak is the foundation of every successful linen-ironing session.
2. Use High Heat with Plenty of Steam
Set your iron to the cotton/linen setting, which typically reaches temperatures around 210°C (410°F). Make sure the water tank is full and the faceplate is clean. When you glide the iron over the damp fabric, press the steam burst button every few strokes to add extra moisture. A combination of high heat and ample steam relaxes the flax fibers quickly, allowing wrinkles to fall out. Keep the iron moving constantly; lingering in one spot for more than a couple of seconds can scorch the linen.
3. Always Iron on the Wrong Side (or Use a Pressing Cloth)
One of the most common mistakes people make when they iron linen clothing is pressing the right side directly. The intense heat can create an unwanted glossy sheen, especially on darker garments. Instead, turn the shirt, pants, or dress inside out so you are ironing the reverse side. If the fabric is too thick or the item is not reversible, place a pressing cloth (a thin cotton cloth works perfectly) between the iron and the linen. This barrier protects the fibers from flattening and keeps the original texture intact. It also safeguards any embroidery or decorative stitching.
4. Tackle Thick Seams and Heavier Areas First
Collars, cuffs, waistbands, and seam junctions are naturally denser and take longer to press. Begin with these sections while the fabric is at its dampest. Use the tip of the iron to work into tight corners, and apply a little extra steam if needed. For a collar, iron from the points toward the center on both sides. For cuffs, open them flat and press in a circular motion. Once the heavy parts are smooth, move to the larger body panels. This order prevents you from accidentally re-wrinkling areas you have already finished.
5. Stretch and Reshape While the Fabric Is Hot and Damp
Linen has a natural tendency to stretch out of shape, especially after washing. While the material is still hot and moist from the iron, gently tug along the seams, hems, and corners to square them up. If a shirt hem has curled, pull it straight. If a pant leg has twisted, reshape it by hand. This active reshaping makes the final appearance crisp and symmetrical. As you stretch, keep the iron gliding—do not stop moving or the heat will set an unintended crease.
You may also enjoy reading: Bella Hadid Styled 5 Trainers With Coolest Capris.
6. Apply Starch or Fabric Sizing for Extra Crispness
If you prefer your linen shirts and blouses to have that tailored, just-pressed look, a light application of spray starch or fabric sizing works wonders. Mist it onto collars, cuffs, and the front placket before ironing, then press as usual. The starch stiffens the fibers slightly, giving them a polished finish that holds longer. It also provides a subtle barrier that helps repel stains. Test any new starch product on an inconspicuous seam first, especially on colored linen, to ensure it does not alter the hue.
7. Let the Garment Cool and Hang Freely After Ironing
Once you have finished pressing, do not yank the shirt off the board and throw it on. Instead, hang the item on a padded hanger in an uncrowded space. Leave it untouched for at least 10 to 15 minutes to allow the fibers to cool and fully dry. Wearing linen while it is still warm or damp will cause it to crumple immediately. During this cooling period, the fibers set into their smoothed shape, so the garment holds its crispness throughout the day. For extra protection, you can lightly mist the air around the hanging piece with steam from a steamer to further relax any residual ripples.
Bonus Tips: Removing Stubborn Wrinkles Without Re-Ironing
If you are short on time or simply want to avoid a full ironing session, there are a few tricks to tame stubborn creases in linen. A handheld steamer works beautifully—it will not deliver the razor-sharp edges of an iron, but it will relax deep folds and freshen the fabric. Another method: toss the wrinkled garment into the dryer with a damp towel for five minutes on medium heat, then hang immediately. For minor creases, you can spritz the area with water and use a hair dryer on high heat (directing the airflow across the wrinkle while gently stretching the fabric). These alternatives are lifesavers for busy mornings.
Why These Techniques Work with Linen’s Unique Fibers
Linen is made from the flax plant, and its long, sturdy fibers give it both durability and a tendency to crease. Moisture swells the fiber walls, making them more flexible under heat. High heat relaxes the internal bonds, allowing the fiber to conform to a smooth shape. Using a pressing cloth or ironing on the wrong side prevents surface fibers from being flattened into a shine. Starching adds temporary rigidity. And the cooling period locks the new shape in place. Understanding this basic science helps you make better decisions when you iron linen clothing, whether it is a crisp summer shirt or a flowing dress.
Some people love the soft, rumpled look that natural linen develops over time. But if you want a tailored appearance, these seven methods give you full control. With a little practice, you can achieve that fresh-from-the-dry-cleaner finish—without the expense. Remember: moisture, heat, and patience are your three best friends. Keep them close, and your linen will look sharp all season long.