
Installing outdoor camera means following a simple process: physically mounting and configuring a weather-resistant security camera, such as the Ring Outdoor Cam, by choosing a power type, securing the mount, and completing the app-based setup. The steps are straightforward and require only a Phillips-head screwdriver, and possibly a drill for masonry. This guide covers everything from power selection to final configuration. The Ring Outdoor Cam is weather-resistant for outdoor use.
To install an outdoor security camera like the Ring Outdoor Cam, first choose a power source: battery, solar, or plug-in. Use a Phillips-head screwdriver to secure the mounting plate to the desired surface—wall, ceiling, or eave—taking care that the UP arrow points correctly. For masonry, drill pilot holes with a 0.24 in (6 mm) bit, insert wall anchors, and use the included screws.
Then complete setup in the Ring app by scanning the QR code and adjusting the camera’s field of view using Live View. Finally, remove the protective film to enable motion detection.
What Power Options Does the Ring Outdoor Cam Offer?
The Ring Outdoor Cam runs on battery, solar, or plug-in power, with Dual Power mode allowing simultaneous use of battery and plug-in adapter for continuous operation. Insert the Quick Release Battery into the camera; when you connect the plug-in adapter, both sources work together. Charging the battery is straightforward: a solid green and amber light indicates charging in progress, and once only the green light remains lit, the battery is fully charged. This clear indicator removes guesswork—you won’t need to check the app just to confirm a full charge.
Choosing the right power method shapes where you place the camera. A battery-only setup gives the most flexibility—walls, eaves, or shelves anywhere within Wi-Fi range. A solar panel needs direct sun for several hours daily.
The plug-in path requires an outdoor outlet and clear cable routing, with clips every 12 to 18 inches. Test the signal strength in the Ring app before you commit to a final spot.
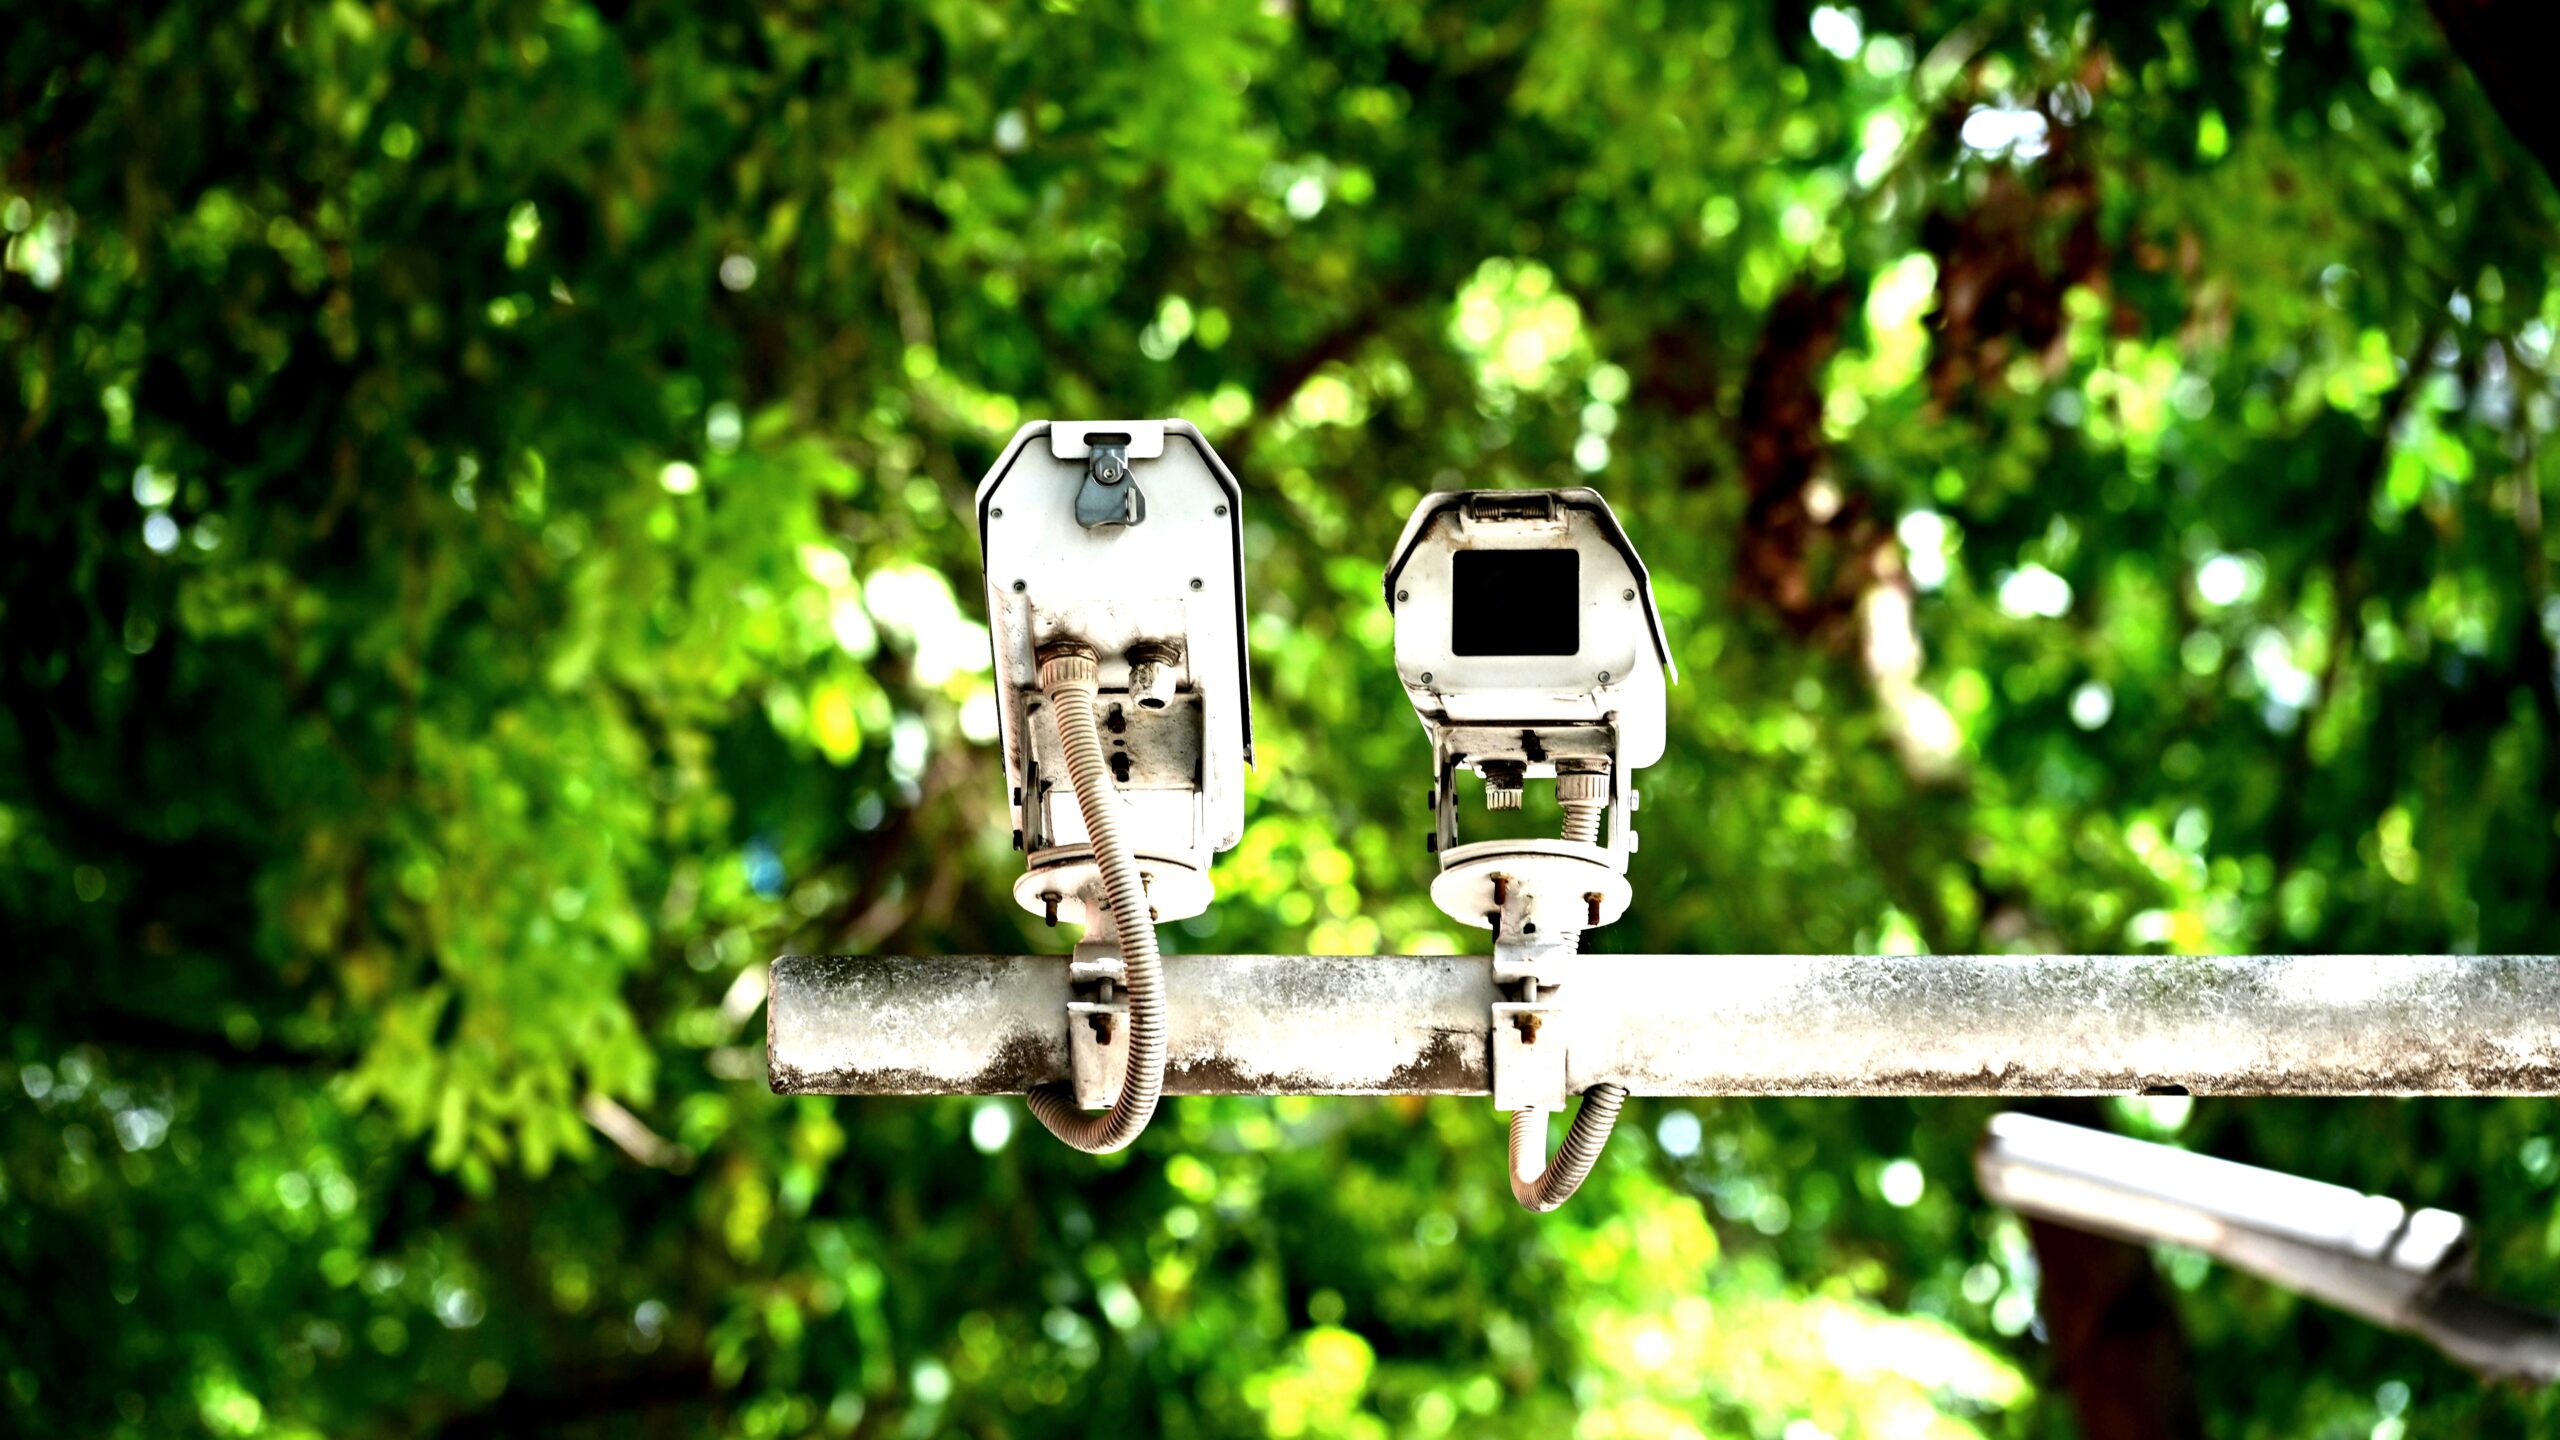
How to Mount the Ring Outdoor Cam on Different Surfaces
A Phillips-head screwdriver is the only tool you need; for masonry, you’ll also need a drill with a 0.24 in (6 mm) bit. The camera can mount on walls, ceilings, eaves, or flat surfaces using its pre-installed base. The mounting plate is central: the UP arrow must point up for walls or toward the target for ceilings, otherwise your view will be misaligned. Mark screw holes with a pencil before drilling.
Wood surfaces are the simplest—drive the included screws directly. For masonry, mark four holes through the mounting plate, drill pilot holes with a 0.24 in (6 mm) masonry bit to the depth of the anchor, tap in the wall anchors, then align the plate and drive the four screws. Once the plate is secure and sits flush with no wiggle, slot the camera onto it until it clicks, then give a gentle tug to confirm it’s seated. The mount holds firmly but allows easy removal for battery changes.
How to Connect Power to Your Ring Outdoor Cam
Battery installation takes seconds: slide the Quick Release Battery into the bottom until it clicks, and the camera powers on with the status light flashing. For solar, mount the panel in direct sunlight and plug its cable into the camera’s charging port; partial shade can slow charging. Plug-in setup requires pressing the PUSH button on the indoor faceplate to expose the connection, snapping the outdoor cable in, routing it along the wall with clips every 12 to 18 inches (using a 0.24 in drill bit and anchors on masonry), and fastening the adapter to the wall. Keep the adapter and all cable connections shielded from direct water exposure.
When to Use the Security Screws on the Ring Outdoor Cam
Security screws cover the battery compartment and mounting bracket to prevent quick removal. Pry out the rubber plugs covering each screw hole, then thread a security screw using the included star-shaped bit and tighten it just enough so it can’t be turned by hand. Install both screws before replacing the plugs to keep moisture out. These screws add a meaningful layer of tamper resistance for cameras within arm’s reach.
How to Set Up and Configure the Ring Outdoor Cam in the App
Open the Ring app, tap Set Up a Device, select Outdoor Cam, and follow the prompts to scan the QR code and connect to Wi-Fi. Use Live View to adjust the camera angle by standing in the monitored area and tilting the ball-and-socket mount until the frame covers entry points without blind spots. Before finalizing, remove the protective film from the lens and PIR sensor—motion detection won’t trigger until you do. Wipe the lens with a dry microfiber cloth after removal.
Conclusion
A successful installation comes down to three decisions: power type, mounting surface, and app configuration. Choose battery, solar, or plug-in based on where your camera lives and how much maintenance you want.
Mount it with the UP arrow oriented correctly, using anchors on masonry. In the Ring app, scan the QR code, fine-tune the view with Live View, and peel off the protective film to activate motion detection.
Double-check that security screws are in place and the battery is seated. Once you’ve done all that, the Ring Outdoor Cam is ready to monitor your home without further tinkering.
FAQ
Q: What tools do I need to install a Ring Outdoor Cam?
A: A Phillips-head screwdriver is required. If mounting on masonry, you will also need a drill with a 0.24 in (6 mm) drill bit, wall anchors, and the included mounting screws.
Q: How do I power the Ring Outdoor Cam?
A: The Outdoor Cam supports battery, solar, and plug-in power. You can use battery alone or combine it with a plug-in adapter in Dual Power mode. Insert the Quick Release Battery into the bottom, or connect a Ring Solar Panel or the plug-in adapter.
Q: Why is my Ring Outdoor Cam not detecting motion?
A: Make sure you have removed the protective film from the front of the camera. The film blocks motion detection and must be peeled off before use.


