You love your ceramic pots. They make any plant look like a work of art. But there is one problem. Most of them come without a drainage hole. Without that hole, water collects at the bottom. Roots rot. Soil turns soggy. Your plant slowly suffocates. The fix is simple. You can drill a drainage hole in ceramic yourself. It takes about ten minutes. You do not need to be a DIY expert. You just need the right approach and a bit of patience.
Why a Drainage Hole Makes All the Difference
Plants need oxygen at their roots. When you water a pot without drainage, the excess moisture fills the air pockets in the soil. Roots cannot breathe. Over time they decay. This is called root rot. It is one of the most common causes of indoor plant death. With a drainage hole, gravity does the work. Water flows out the bottom. Fresh air moves in. The root ball stays healthy. You can also tell exactly when to stop watering — the moment you see water trickling out, you know the entire root system is hydrated.
Ceramic pots are beautiful. They are also dense and non-porous, especially when glazed. That means moisture cannot evaporate through the walls. Every drop of water either soaks into the soil or stays trapped. Drilling a hole changes everything. It turns a decorative container into a functional home for your plant. The process is straightforward, and with the five steps below you will get a clean hole every time.
Step 1: Gather the Right Tools and Safety Gear
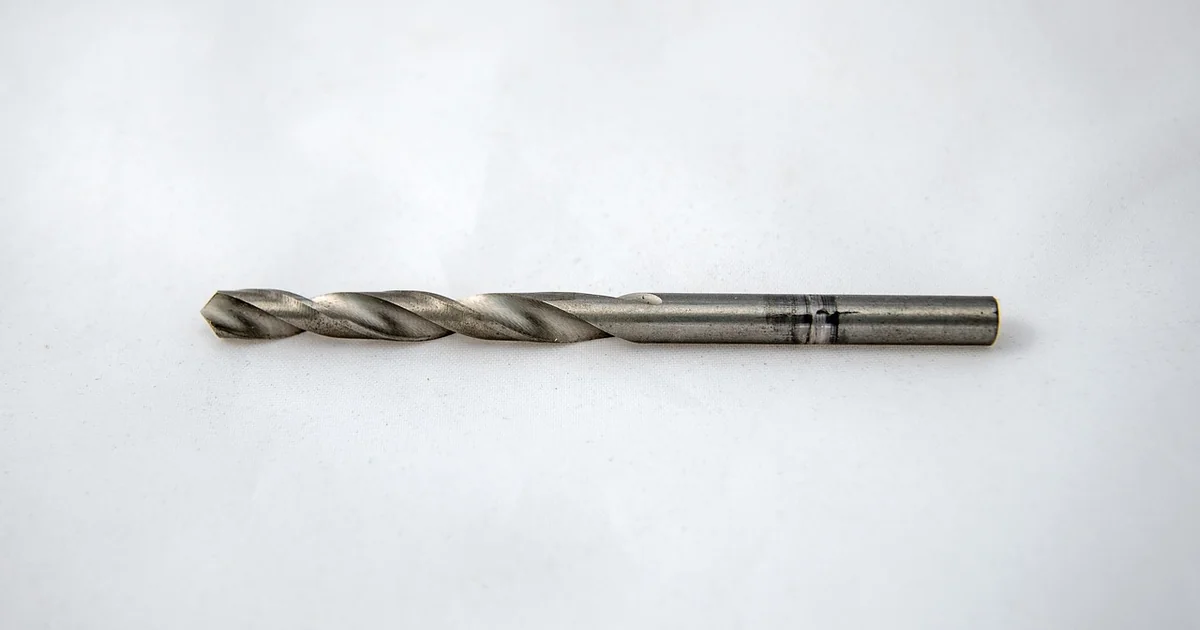
Before you start, collect everything you need. The most important item is the drill bit. For ceramic, standard twist bits often slip or shatter the surface. A diamond-grit bit or a carbide-tipped bit works best. These materials cut through both glazed and unglazed ceramic without cracking. If you only have a regular masonry bit, you can use it on unglazed clay pots, but avoid it on glossy finishes. Diamond bits are the safest and most reliable option for any ceramic surface.
You will also need:
- A power drill (corded or cordless)
- Safety goggles (dust and tiny ceramic chips fly everywhere)
- A thick towel or folded cloth
- A permanent marker
- A spray bottle filled with water (to keep the bit cool)
- A firm, stable work surface
Safety is not optional. Ceramic dust can irritate your eyes and lungs. Always wear goggles. A dust mask is helpful if you drill often. Keep a firm grip on the pot so it does not spin or crack. The towel underneath prevents sliding and cushions the rim.
Choosing the Right Drill Bit for Ceramic
Many people ask what bit to use to drill drainage hole ceramic pots. The answer depends on the finish. Glazed ceramic has a hard, glass-like coating. Only diamond or carbide bits can penetrate it without chipping. Unglazed ceramic (terra cotta, for example) is softer. A masonry bit works fine there. But if you want one bit that handles both, buy a small diamond-tipped hole saw (usually ¼ inch to ½ inch in diameter). It costs a few dollars and lasts for many projects.
For pots under six inches wide, a smaller bit is safer. A ¼-inch or ⅜-inch hole is plenty for drainage. Larger pots benefit from a ½-inch hole. Start with a smaller pilot hole if you are nervous. You can always widen it later.
Step 2: Prepare the Pot and Work Area
Place your towel on a flat, sturdy table or bench. Fold it so it is at least a quarter-inch thick. Turn the ceramic pot upside down and set it on the towel. The pot should be stable, not wobbling. If the rim is uneven, press it gently into the towel to create a steady base.
Mark the exact center of the pot’s bottom with the permanent marker. A small cross or dot works. For round pots, eyeball the center. For square or odd shapes, measure approximately — the hole does not have to be perfectly centered, but central is best for even drainage.
Spray the area where you will drill with a little water. This keeps the bit cool and reduces dust. Ceramic can get hot during drilling; water prevents heat cracks and makes the cut smoother.
Step 3: Start Drilling at Slow Speed with Light Pressure
Attach your chosen bit to the drill. Set the drill to its lowest speed setting. High speed generates friction and heat, which can crack ceramic. Low speed gives you control and lets the bit grind through the material gradually.
Position the tip of the bit directly on your mark. Hold the pot firmly with one hand (or ask someone to hold it steady). Turn on the drill and apply very light, even pressure. Do not push hard. Let the bit do the work. You will see a fine dust or slurry as the bit cuts.
If the bit starts to wander, pause and reposition. A wandering bit can scratch the glaze. Keep the drill perpendicular to the pot’s bottom — a 90-degree angle ensures the hole goes straight through.
What to Do When You Feel the Release
After about 30 seconds to a minute (depending on the thickness of the ceramic), you will feel a subtle give. The resistance drops suddenly. That means the bit has broken through the other side. Stop drilling immediately. Do not push further or you might crack the bottom edge.
Pull the bit out slowly while it is still spinning. This cleans the hole. Now inspect the underside. There may be a small burr or sharp edge. You can smooth it with a piece of sandpaper or a file. Rinse the pot to remove dust and ceramic grit.
Step 4: Test the Drainage
Before you plant anything, test your new hole. Place the pot upright on a saucer or tray. Pour a cup of water into the pot. Watch the bottom. Water should begin dripping out within seconds. If it does not, the hole might be clogged with dust or a ceramic shard. Poke it with a toothpick or run a thin wire through it. Once water flows freely, you are good to go.
If the hole seems too small, you can enlarge it slightly by repeating the process with a bigger bit. But for most houseplants, a ¼-inch to ½-inch hole is sufficient. Larger pots with heavy soil may need two holes. You can drill a second one by repeating the steps an inch away from the first.
You may also enjoy reading: 7 Low-Maintenance Shade Perennials That Thrive in the Dark.
Step 5: How to Drill a Hole Without a Power Drill
Not everyone owns a drill. You can still create a drainage hole using basic household tools. The method takes a little more time and patience, but it works. You will need a hammer, a large nail or a screwdriver (a flathead works well), and safety goggles.
Lay the towel down and place the pot upside down as before. Mark the center. Put on your goggles. Position the tip of the nail or screwdriver on the mark. Tap the handle gently with the hammer. Start with light taps. The goal is to chip away a small indentation. Gradually increase the force. As the ceramic thins, you will feel the tip break through. Continue tapping around the edges of the indentation until a small hole forms. You can widen it by inserting the screwdriver at different angles.
This method is riskier — the pot may crack if you hit too hard. Start slow. Use a nail with a sharp point. A blunt screwdriver will cause more impact force. With care, you can create a functional hole in about five minutes.
Additional Tips for Healthy Plants in Ceramic Pots
Now that your pot drains properly, here are a few extra pointers to keep your plants thriving:
- Choose a pot size that matches your plant’s root ball. A pot that is too large holds excess soil, which stays wet longer.
- Use a well-draining potting mix. Add perlite or coarse sand to standard soil to improve aeration.
- Place a saucer under the pot to catch runoff. Empty the saucer after watering — do not let the pot sit in water.
- Water thoroughly until water runs out the hole, then wait until the top inch of soil is dry before watering again.
- Consider using a pot with feet or a small pebble layer inside the saucer to elevate the pot slightly, allowing air to circulate underneath.
Common Mistakes to Avoid
Many beginners press too hard or drill too fast. Both actions can shatter the pot. If you hear a cracking sound, stop immediately and check for cracks. A small crack can be sealed with epoxy, but a large one means the pot is compromised. Always start with a new, intact pot — never drill a pot that already has a hairline crack.
Another mistake is drilling near the edge. The bottom of a ceramic pot is thickest near the center. Drilling close to the wall can cause the entire bottom to break. Stick to the middle.
Frequently Asked Questions About Drilling Ceramic Pots
What is the best drill bit to drill a drainage hole in a ceramic pot?
Diamond-coated hole saws or diamond-grit bits are the best. They cut through both glazed and unglazed ceramic without chipping. For small pots, a ¼-inch diamond bit is ideal. For larger pots, use a ½-inch bit.
Can I use a regular drill bit on ceramic?
Only if the ceramic is unglazed and soft, like terra cotta. A regular carbide-tipped masonry bit will work on unglazed surfaces but will struggle or slip on glossy glazed finishes. Diamond bits are always preferable.
Do I need water when drilling ceramic?
Yes. Water cools the bit and the ceramic, preventing heat cracks. It also reduces dust. Spray the area before you start and occasionally during drilling.
What if my pot cracks while drilling?
Stop immediately. Assess the crack. If it is a hairline crack that does not go all the way through, you can seal the inside with silicone caulk or epoxy. If the crack runs from the hole to the edge, the pot is structurally weak and should not be used for planting. Repurpose it as a decorative cachepot (place a plastic nursery pot inside).
How long does it take to drill a hole in a ceramic pot?
Typically one to two minutes per hole, depending on the thickness of the ceramic and the quality of the bit. Thicker, harder glazes take longer. Go slowly.
Drilling a drainage hole in a ceramic pot is one of the easiest upgrades you can make for your plants. It costs almost nothing. It prevents root rot. And it gives you the freedom to use any beautiful pot as a long-term home for your greenery. With these five steps and a little practice, you will be drilling like a pro in no time.


