A raised bed can transform a backyard into a thriving vegetable patch. The drainage is superior, the soil warms up faster in spring, and weeds are far less aggressive than they are in an in-ground plot. When done correctly, it is one of the most efficient and rewarding ways to grow food. But a single oversight during the planning or building phase can turn that dream into a frustrating, expensive lesson. Luckily, these pitfalls are easy to avoid once you know what to look for.
Whether you are sketching out a new garden layout or troubleshooting an existing setup that is underperforming, getting the fundamentals right makes all the difference. A well-built raised bed should last for years and produce abundant harvests with less effort than a traditional garden. Here are the five critical errors gardeners often make, along with practical, step-by-step fixes that will save you time, money, and disappointment.
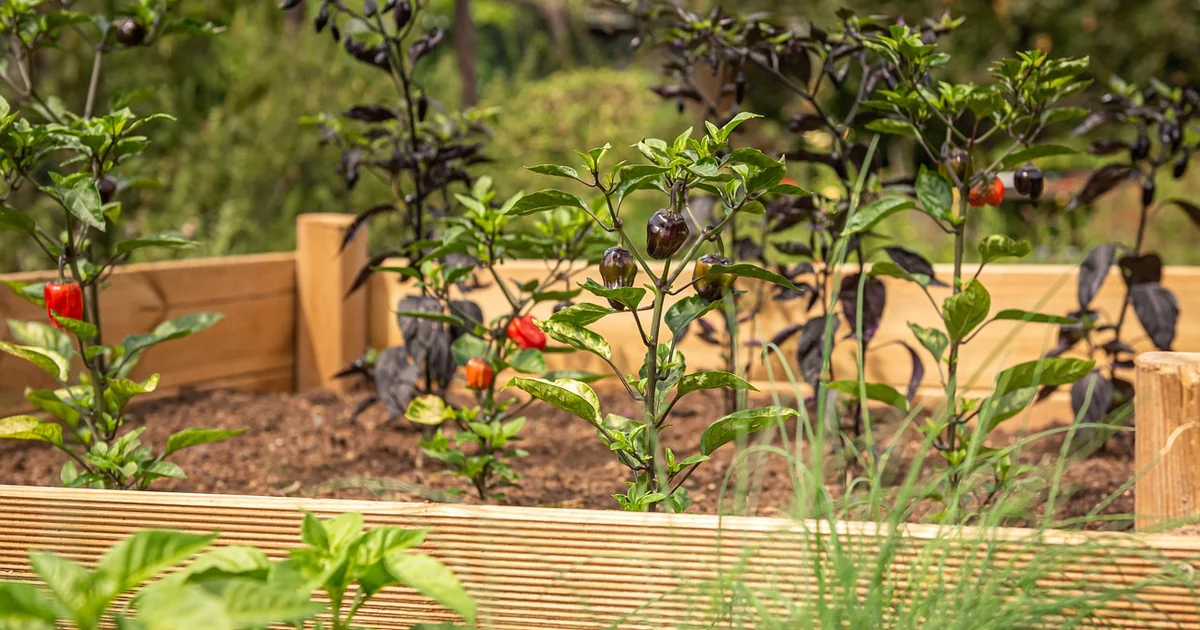
1. Building Your Bed Too Wide
It is tempting to maximize growing space, but width is where many raised beds go wrong. Around 4 feet (1.2 meters) is the functional limit for a bed accessible from both sides. This measurement matches the average adult arm reach, meaning you can tend to the entire center without stepping into the bed. If your bed is against a fence or wall and only accessible from one side, reduce the width to 3 feet (0.9 meters) to ensure you can still reach the back comfortably.
When a bed is wider than 4 feet, the natural reaction is to step or kneel inside it. Foot traffic is the enemy of loose, aerated soil. One hard stomp compresses the delicate structure you have worked to build, reducing pore space and making it harder for roots to breathe. Compacted soil has a higher bulk density, which restricts root penetration and limits water infiltration. It defeats the primary purpose of a raised bed entirely. Taller beds, around 36 inches high, can be slightly wider because you can sit on the edge to reach the center, but 4 feet remains a solid rule of thumb.
The fix: For new builds, keep the width to 4 feet or less. If you need more space, build two narrower beds with a path between them. For an existing bed that is too wide, install a sturdy center plank or a series of flat stepping stones to distribute your weight evenly without crushing the soil. You can also convert it into a dedicated perennial bed that requires less access, or simply accept that you will need to lean carefully from the edges. The key is to never let your feet touch the growing area.
2. Skipping Internal Bracing
Wet soil is surprisingly heavy. A cubic foot of saturated growing mix can weigh over 80 pounds. A raised bed filled with this heavy mix exerts tremendous outward pressure on the side walls, especially on beds longer than 6 feet (1.8 meters). This force, known as hydrostatic pressure, pushes the boards outward. The wood does not fail all at once. Over a season or two, the boards bow outward, joints loosen, and the structural integrity of the bed collapses under its own weight. Even rot-resistant woods like cedar can bend under this constant stress.
The fix: Internal cross-bracing stops this movement entirely. Install a simple metal tie or a short length of lumber running across the width of the bed every 4 to 6 feet. This holds the sides in place and distributes the pressure evenly. Galvanized corner brackets and purpose-built bed braces make this an easy afternoon project for any skill level. If your existing bed is already starting to bow, adding bracing now will halt further damage and extend its life significantly. Use carriage bolts and pilot holes to secure the braces firmly into the existing frame. For steel raised beds, look for models with built-in vertical supports or external rivets that prevent the walls from bulging.
3. Filling the Entire Bed with Bagged Potting Mix
A 2-foot-deep raised bed filled entirely with high-quality bagged potting mix is an expensive investment that delivers mediocre results. Most vegetable roots do not penetrate the full depth of a deep bed in a single season. Spending premium soil money on the bottom half is wasteful. Furthermore, bagged mixes compress as organic matter breaks down, meaning the bed level drops noticeably every year, requiring costly top-ups. Over time, the mix becomes dense and loses the aeration that made it valuable in the first place. A standard 4×8 bed that is 2 feet deep requires roughly 64 cubic feet of soil. At current prices for bagged organic mix, that is a significant expense.
The fix: Adopt a hugelkultur approach for the lower half. Fill the bottom 12 inches (30 cm) with logs, branches, wood chips, and coarse yard waste. Avoid black walnut wood, which contains juglone, a natural compound that inhibits growth in many plants. As this organic matter decomposes, it creates long-term aeration, holds moisture like a sponge during dry spells, and slowly releases nutrients. Use a high-quality organic raised bed mix for only the top 10 to 12 inches. This is where the investment matters most, as it provides the immediate growing environment for your seedlings. Expect the bed to settle 3 to 6 inches in the first year as the lower materials decompose. You can also use leaves, grass clippings, or straw as filler, but avoid fresh manure in the lower layers as it can burn roots as it breaks down.
You may also enjoy reading: 7 May Seed Starting Ideas to Plant Now.
4. Watering on a Fixed Schedule
Raised beds drain faster than in-ground gardens. This is a major benefit, but it also means they dry out faster. Watering on a rigid schedule, regardless of weather conditions or plant growth stages, leads to two common problems: overwatering during cool, cloudy periods, which causes root rot, and underwatering during heat waves, which stresses plants and reduces yields. Inconsistent moisture is particularly harmful to fruiting vegetables like tomatoes and peppers, which need steady hydration to prevent blossom-end rot. A raised bed in full sun during July can lose a half-inch of water to evaporation in a single day.
The fix: Learn to read your soil. Push your finger 2 inches (5 cm) into the growing mix. If it feels dry at that depth, it is time to water. If it feels moist, wait another day. Installing a drip irrigation system on a timer connected to a soil moisture sensor automates this process perfectly. Alternatively, burying unglazed clay pots (ollas) in the bed provides slow, deep watering directly to the root zone. Applying a 2-inch layer of organic mulch, such as straw or shredded leaves, on the soil surface reduces evaporation significantly and keeps the roots cooler during hot weather. In the peak of summer, a well-mulched bed may need water every other day, while an unmulched bed might need it daily.
5. Placing the Bed in the Wrong Location
A raised bed is a long-term investment in your yard. Putting it in a spot that receives fewer than 6 hours of direct sunlight per day severely limits what you can grow. Most fruiting vegetables, including tomatoes, cucumbers, peppers, and squash, require full sun (6 to 8 hours) to produce a worthwhile harvest. A bed placed in partial shade will yield leggy plants and small harvests. Additionally, raised beds placed in low-lying areas can suffer from frost pockets in spring and fall, and beds in extremely windy spots will dry out faster and may suffer physical damage to tall plants.
The fix: Before building, observe your yard for a full day. Mark the areas that receive the most consistent direct sun. If your only available sunny spot is small, build a smaller bed there rather than a large one in the shade. If your yard is predominantly shady, focus on crops that tolerate lower light conditions, such as lettuce, spinach, kale, parsley, and cilantro. Consider using reflective materials or white mulch on the north side of the bed to bounce light onto the plants. Matching the location to the crop is the simplest way to ensure success. If wind is an issue, install a windbreak fence or hedge on the prevailing wind side to protect your plants and reduce water loss.
Avoiding these five common raised bed mistakes transforms the gardening experience from a series of frustrations into a season of steady harvests. A well-planned bed, built with the right dimensions, proper bracing, strategic filling, attentive watering, and correct sun exposure, will outperform a neglected one by a wide margin. Take the time to get these fundamentals right, and your raised bed will reward you with healthy, productive plants year after year.


