Gardening can be incredibly rewarding, connecting us with nature and providing fresh produce for our families. But let’s be honest – it can also be time-consuming and a little stressful, especially when you’re juggling everything else life throws your way. What if I told you there’s a way to drastically reduce the amount of time you spend watering and worrying about your plants? The secret lies in a simple, surprisingly effective solution: DIY self-watering planters. These ingenious containers use a clever reservoir system to deliver water directly to the roots, ensuring your plants thrive with minimal effort. And the best part? You can build them yourself using readily available materials – no fancy tools or complicated construction required. Forget expensive commercial options; creating your own DIY self-watering planter is a game changer for container gardening, saving you money, water, and a whole lot of time. Let’s dive into how to build these incredibly useful planters, step by step.
The concept behind self-watering planters is surprisingly straightforward. They utilize a reservoir beneath the soil, connected to the planting area via wicking action. As the plant’s roots absorb water, it pulls more water up from the reservoir, maintaining a consistent level of moisture without the need for constant manual watering. It’s a beautiful example of passive irrigation – a system that works mostly on its own. These containers provide water to plants from a reservoir beneath the soil, ensuring plants always have the perfect amount of moisture, and maintaining them requires nothing more than an occasional refill of their reservoir.
Understanding the Science Behind Self-Watering
Before we get to the how-to, let’s unpack why this works so well. Traditional watering methods can often lead to overwatering – a common killer of houseplants and garden vegetables. When you water a plant from above, the topsoil quickly becomes saturated, and the water runs down and out before the roots can fully absorb it. This creates a soggy environment that encourages root rot. Self-watering planters, however, bypass this issue entirely. The wicking action, typically achieved with a porous material like felt, rope, or even fabric strips, acts as a conduit, drawing water up from the reservoir to the soil as needed. This ensures the soil remains consistently moist but never waterlogged. This is particularly beneficial for plants that prefer consistently damp soil, such as tomatoes, herbs, and many vegetables. Furthermore, the consistent moisture levels also suppress fungal diseases, like early blight, that thrive in overly wet conditions. The science is simple: consistent moisture = happy, healthy plants.
Why DIY? The Cost-Effective and Creative Advantage
Commercial self-watering planters can range in price from $30 to $100 or more, depending on size and features. While they’re undeniably convenient, the cost can quickly add up, especially if you’re growing a significant number of plants. Building your own DIY self-watering planter is a fantastic alternative, offering significant cost savings without sacrificing functionality. You can often repurpose existing materials like plastic storage bins or buckets, drastically reducing the initial investment. Plus, the DIY route opens up a world of creative possibilities. You can customize the size, shape, and even the aesthetics of your planters to perfectly match your garden’s style. The cost of materials for a DIY version is dramatically lower than purchasing a commercially produced container. I’ve consistently found that the cost of materials for a single large DIY self-watering planter is about $15-$25, a fraction of the price of comparable commercial options. Building these DIY self-watering planters is totally worth it, especially for families looking to garden on a budget.
Step 1: Gathering Your Supplies – It’s Easier Than You Think!
The beauty of DIY self-watering planters is that they require minimal tools and materials. Here’s what you’ll need:
- Two Plastic Storage Bins or Buckets: Choose bins of the size you desire. 50-gallon bins are excellent for larger plants like tomatoes, while smaller buckets (5-gallon or larger) are ideal for herbs and smaller vegetables.
- Wicking Material: Felt strips, old t-shirts cut into strips, nylon rope, or even strips of landscape fabric work well. The key is to choose something porous that will effectively draw water.
- Potting Mix: Use a high-quality potting mix designed for containers. Avoid using garden soil, as it can compact and impede drainage.
- Gravel or Small Stones: This will create a drainage layer at the bottom of the planter.
- Watering Spigot (Optional): A small spigot allows you to easily refill the reservoir without disturbing the plants.
Step 2: Creating the Reservoir – Laying the Foundation
This step is crucial for ensuring the wicking action works effectively. Place the bottom bin inside the larger bin. This creates the reservoir. You’ll want about 4-6 inches of space between the bottom of the smaller bin and the bottom of the larger bin – this is where your water will reside. If you’re using a watering spigot, install it now, ensuring it’s positioned so it won’t interfere with the plants. A good rule of thumb is to install the spigot on the side of the larger bin, about 2 inches from the bottom. This will allow you to easily access the reservoir for refills.
Step 3: Adding the Drainage Layer – Preventing Root Rot
Next, add a layer of gravel or small stones to the bottom of the smaller bin. This layer acts as a drainage barrier, preventing the potting mix from clogging the wicking material and ensuring water can flow freely from the reservoir to the soil. Aim for a layer about 2-3 inches deep. This simple step can significantly reduce the risk of root rot, a common problem in container gardening.
Step 4: Installing the Wicking Material – The Key to Success
Now it’s time to install the wicking material. Cut strips of felt, fabric, or rope – about 2-3 inches wide and long enough to reach from the bottom of the smaller bin to the bottom of the reservoir. Place these strips evenly throughout the smaller bin, ensuring they make good contact with both the gravel layer and the potting mix. The more wicking material you use, the better the water will be drawn up to the soil. Don’t be shy – a generous amount of wicking material is key to a successful DIY self-watering planter.
Step 5: Filling with Potting Mix – Time to Plant!
Fill the smaller bin with your high-quality potting mix, leaving about 2-3 inches of space at the top. Gently press down on the soil to remove any air pockets. Now you’re ready to plant your seedlings or seeds. Water the soil lightly from the top to help settle the soil and establish good contact with the wicking material.
You may also enjoy reading: 5 Proven Ways to Feel Safe When Panic Feels Dangerous.
Step 6: Filling the Reservoir – The Moment of Truth
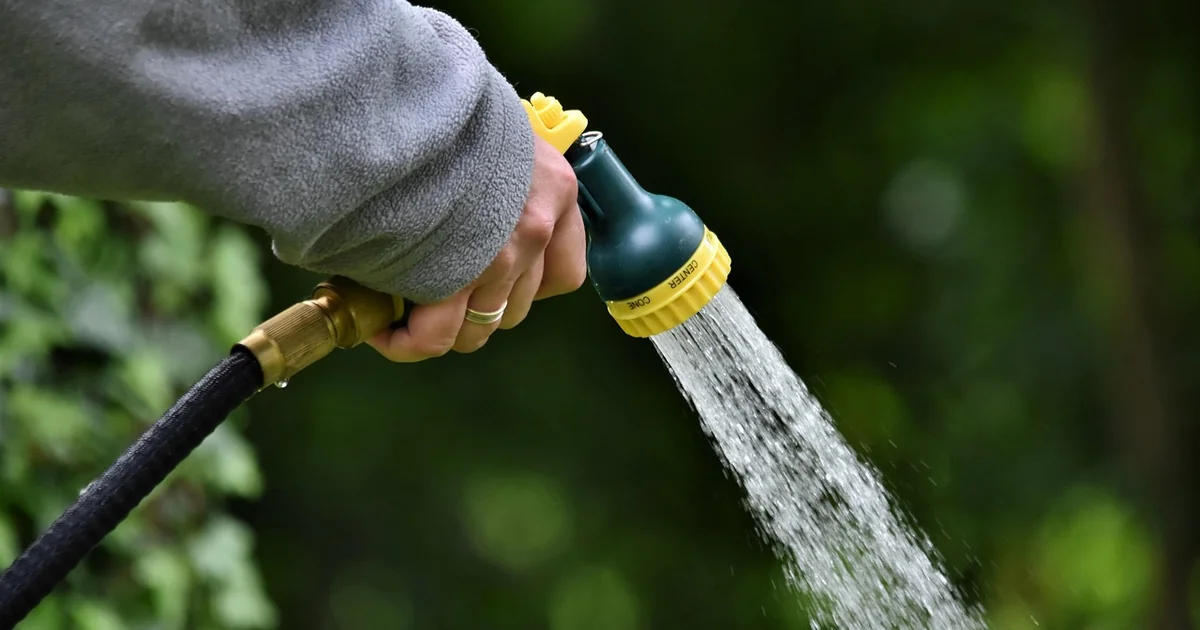
Finally, it’s time to fill the reservoir! Pour water into the larger bin, being careful not to overfill. The water level should be below the bottom of the smaller bin, ensuring the wicking material remains submerged. Monitor the reservoir level regularly and refill as needed. The frequency of refills will depend on the plants you’re growing, the weather conditions, and the size of the reservoir.
Tips & Tricks for DIY Self-Watering Planters
Here are a few extra tips to help you maximize the success of your DIY self-watering planters:
- Choose the Right Plants: Self-watering planters are ideal for plants that prefer consistently moist soil, such as tomatoes, peppers, herbs, strawberries, and lettuce. Avoid using them for plants that prefer dry conditions, such as succulents or cacti.
- Monitor the Soil Moisture: While self-watering planters reduce the need for frequent watering, it’s still important to monitor the soil moisture levels. Stick your finger into the soil to check for dryness.
- Adjust the Wicking Material: If your plants are consistently soggy, try using less wicking material or a less porous material. If your plants are consistently dry, try using more wicking material or a more porous material.
- Mulch the Soil: Adding a layer of mulch to the top of the soil will help retain moisture and suppress weed growth.
- Consider a Timer: For extra convenience, you can use a timer to automatically refill the reservoir.
Scaling Up: Using 5-Gallon Buckets for Smaller Spaces
If you’re short on space or just starting out, you can easily adapt this DIY self-watering planter design to use 5-gallon buckets. Simply follow the same steps, using a 5-gallon bucket as the smaller bin and a larger storage bin as the reservoir. This is a great option for growing herbs, lettuce, and other small vegetables in a limited space. Using a 5-gallon bucket for this DIY is a fantastic option to grow herbs, lettuce, and other small vegetables in a limited space.
Beyond the Basics: Adding Flair and Functionality
While the basic DIY self-watering planter is incredibly effective, you can also add a bit of flair and functionality to your creations. Consider painting the bins to match your garden’s décor, adding labels to identify your plants, or incorporating decorative elements like pebbles or shells. Elevating the smaller bin slightly off the ground can also improve drainage and airflow. The possibilities are endless – let your creativity shine!
Conclusion: A Simple Solution for a Thriving Garden
Creating your own DIY self-watering planters is a surprisingly simple and rewarding project that can transform your gardening experience. By harnessing the power of wicking action and readily available materials, you can create a low-maintenance system that ensures your plants thrive with minimal effort. This isn’t just about saving time and water; it’s about creating a more sustainable and enjoyable gardening experience for the entire family. So, ditch the expensive commercial options and embrace the DIY spirit – your garden (and your schedule) will thank you for it. It’s truly a win-win scenario: reduced watering, healthier plants, and a family that enjoys the simple pleasure of watching their garden flourish. And with just a few simple steps, you can bring this easy, sustainable, and rewarding gardening method to your home.


